
Growing Peppers For Beginners In 10 Easy Steps
Growing peppers at home can be a hugely rewarding task. Harvesting your own carefully cultivated chilies to use in cooking is a great feeling. But, from seed to harvest, how do you achieve this? We've put together 10 easy-to-follow steps that are perfect for beginners looking to get the best from their pepper plants.
Once seen as a tricky process, growing your own peppers at home couldn't be an easier task. While there is a certain amount of care, maintenance, and upkeep required (as with all plants!), you'd be surprised just how easy it can be. With that in mind, regardless of your climate, growing environment, or preference of growing indoors or outdoors, we've put together 10 steps for flawless homegrown peppers that will undoubtedly impress.
1. Select the Right Pepper Seeds
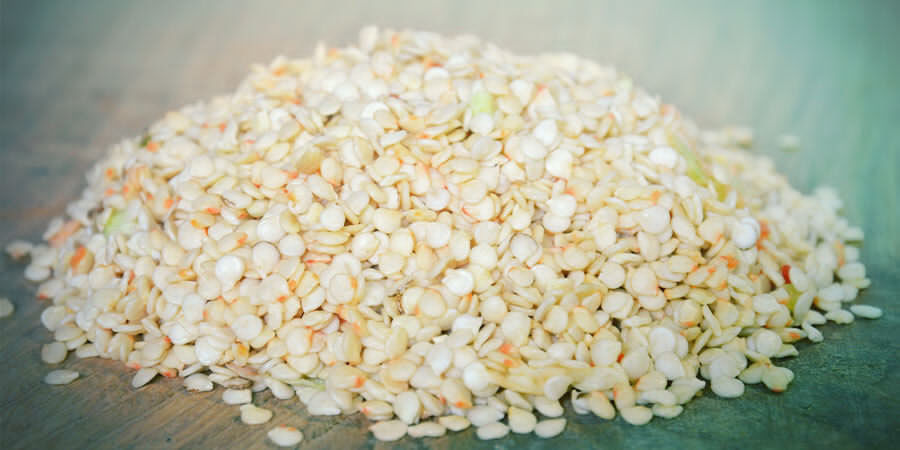
Arguably the most important step in growing your own peppers is choosing the right seed for you. There are a few factors you'll need to consider before taking the plunge and purchasing your seeds. First and foremost, are you looking for a pepper that's got a nice level of heat, or something really spicy that will have you in tears and your mouth burning in no time? Of course, it's all down to personal preference as to how hot you go.
Another area to consider is the environment you live in. Those that live in warmer climates with plenty of heat and sun will find their options for peppers almost unlimited. As with most plants, peppers respond positively to consistent light and heat cycles.
That's not to say those looking to grow peppers in colder environments will have no luck; in fact, quite the opposite! With the right indoor setup and a little more of a “hands-on” approach, healthy and flavourful peppers can be produced with no issues. Of course, many peppers are geared towards growing outdoors in a warm environment.
Oftentimes, beginners will choose jalapeño peppers, not only because they're one of the most common chilies available, but because they have an average heat level, and plants can flourish in almost any setting. Taking around 75 days to mature on average, jalapeño peppers are ideal for those whose growing experience is a little limited.
2. Plan Your Grow
Now you've got your preferred pepper seed. While flavour and heat preference are one thing, it's time to plan your grow properly. As mentioned, climate and setting are both important factors when it comes to cultivating your seeds. Those living in consistent, warmer environments may favour growing outdoors instead of indoors.
However, growers looking to cultivate inside can do so during the wintertime, or at any time of year. This can either be carried out completely indoors, or you can migrate your plants indoors once the weather takes a turn at the end of the year. This move inside is not detrimental to the plant’s growing cycle. It will just give it a warmer setting to thrive in.
Once you've decided where you'd like your plants to grow, it's just a simple case of clearing a suitable space and preparing your seeds to germinate. You can even look to invest in an LED grow light if you live in an area that doesn't get much sunlight. Using a grow light will give your plants scheduled access to light, and you'll notice a huge difference between ones left on a cold windowsill compared to those with a dedicated light source.
3. Germinate Your Pepper Seeds
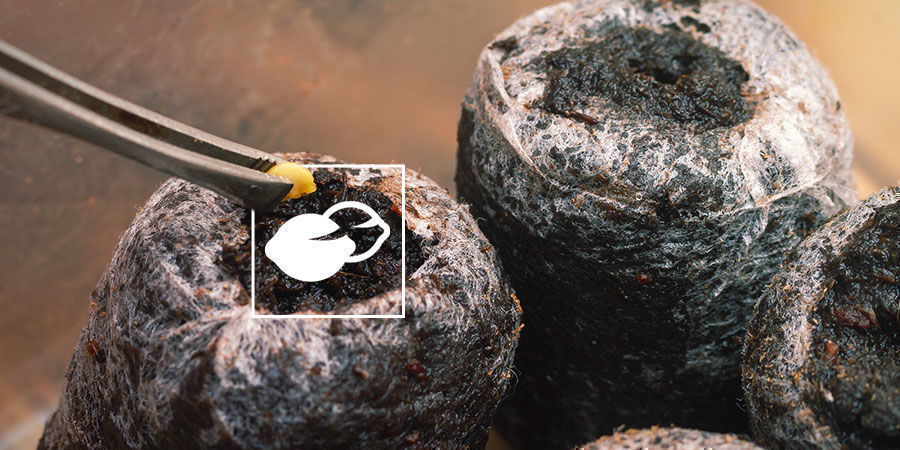
With your seeds ready to go, it’s time to germinate them and kick-start their growing cycle. By all means, you can go ahead and plant your seeds in soil and hope for the best, but why take such a gamble? Regardless of what you're growing, germinating should be your number one priority at the start. This isn't a complicated process, but it is a necessary one!
There are a few different ways you can germinate seeds, from the damp paper towel method to the glass of water method, each of which has a varying success rate.
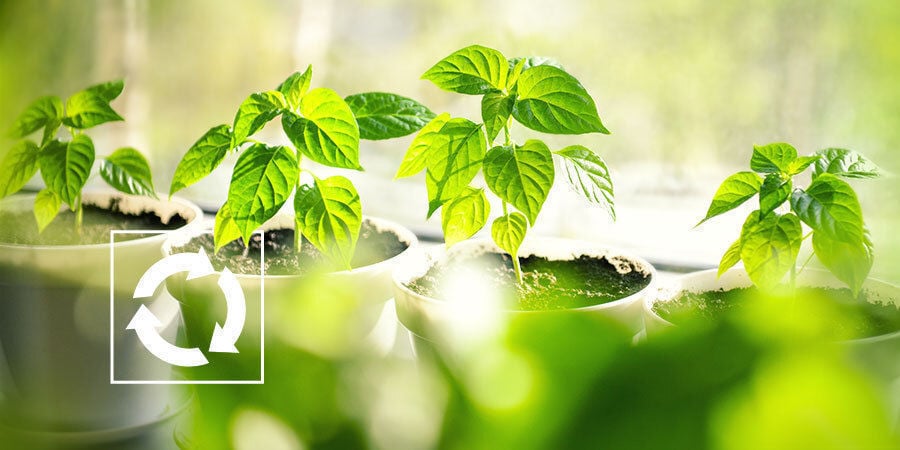
For a sure-fire way to germinate your seeds, it's definitely worth taking a look at some of the pre-made germination kits out there, such as the Plagron Seedbox. These dedicated kits come with individual soil-filled pods to house your pepper seeds. By adding a little water, you can germinate your seeds with ease. As soon as they’ve sprouted into seedlings, you'll nearly be ready to transfer them into your chosen container or plot so they can continue to flourish.
4. Fertilise Pepper Seedlings With Half-Strength Fertiliser
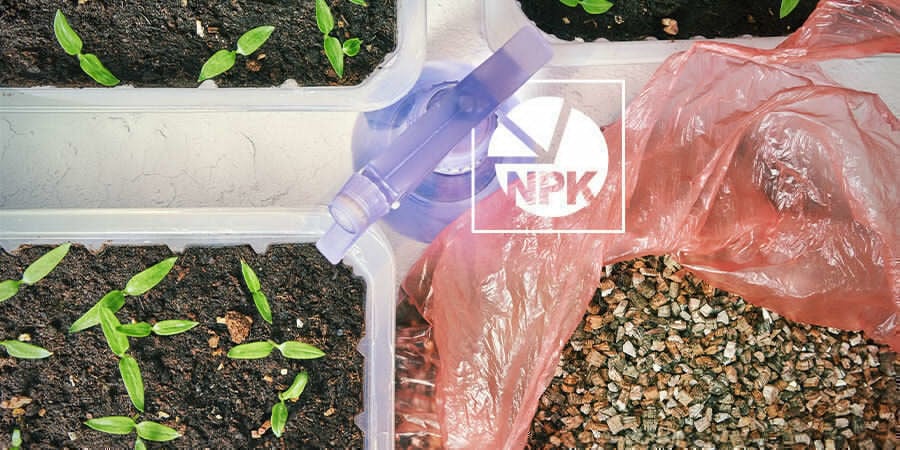
This step will help your seedling get all of the nutrients and vitamins it needs to aid its initial growth. Many pepper plants will require fertilising after a period of around two weeks. It is advisable to use a half-strength fertiliser at the start, as using anything stronger can negatively impact the plant's delicate roots.
Many growers prefer a 10:10:10 NPK fertiliser for this purpose. This type of fertiliser contains 10% nitrogen, 10% phosphorus, and 10% potassium. When used on a seedling, this concoction will strengthen the roots and promote healthy growth.
5. Prepare the Grow Site
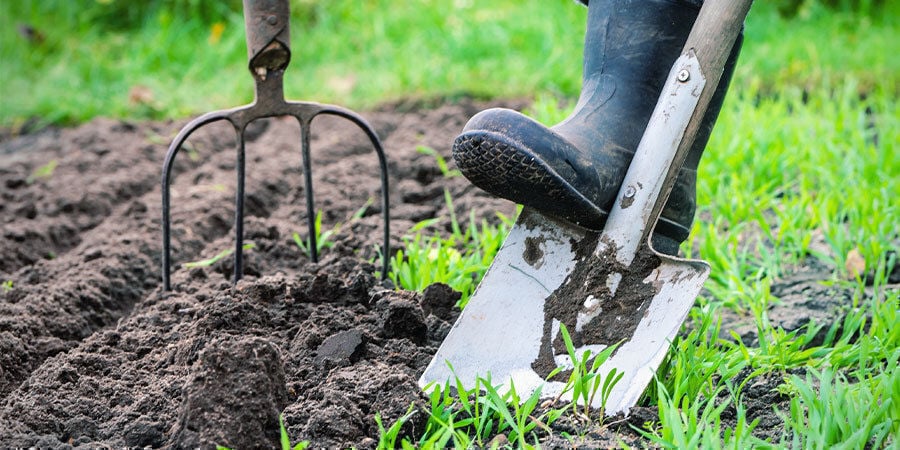
Now that your seedlings are ready to flourish fully, it's time to prepare your grow site. This stage is arguably one of the most crucial you'll face, as an ill-prepared growing area will only serve as a detriment to your already carefully cultivated seedlings.
If you're looking to continue growing your peppers outside, it is advisable to choose an area of your garden that receives plenty of sun and warmth. The soil should be deep, rich, and loamy, giving the roots ample room to spread out. However, if you feel your soil isn't quite up to the task, you can always look to add around an inch of compost to compensate for any substrate shortcomings.
The same method of thinking is required for dedicated indoor growing projects as well. Fill your containers with some loosely packed soil, as you'll be adding your plants very soon. Once you've prepared them, position your pots in an area where they can get at least 6–8 hours of sunlight a day.
6. Harden Off Pepper Seedlings
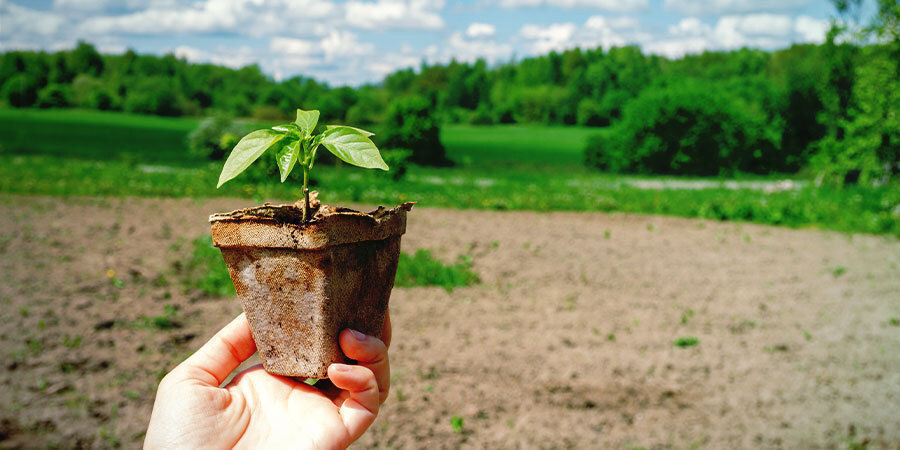
While your seedlings are still in their germination containers, it's time to get them accustomed to the growing conditions they'll face. This is a process known as hardening. Exposing the seedlings to outdoor conditions will result in them being less stressed when it comes time to transplant. An overly stressed plant will not be anywhere near as productive as one that has been gradually conditioned.
To harden your seedlings, take them outside during the day and let them rest in a sheltered area such as a garden. Do this for a few hours each day, for three or four days, then gradually increase the amount of time you leave them outside before bringing the seedlings back indoors. Do this correctly, and you'll have some plants that look healthy and are ready to continue their growing cycle.
7. Pinch Off Early Flowers
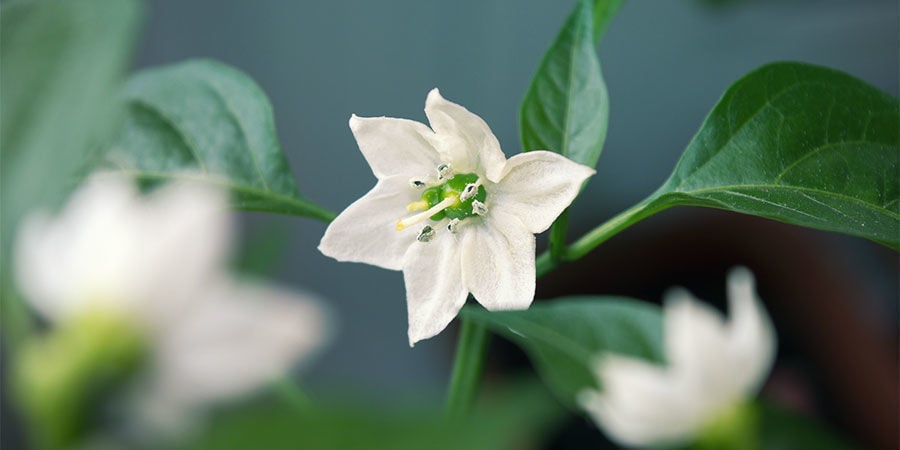
This may seem counterproductive, but as soon as your plant begins to blossom, cut off any early flowers. This won't cause any negative effects for your plant, and it will actually allow it to direct its energy into growing. This technique often results in a much larger yield than those from plants left to their own devices.
8. Transplant Pepper Seedlings and Give Water
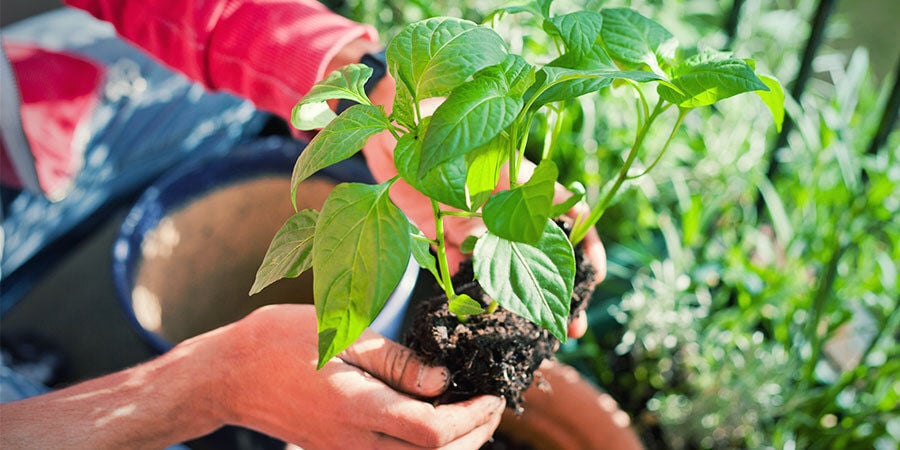
Once your seedlings have gone through the harden and pinch off processes, they're ready to be transplanted into their respective growing areas. Whether you've chosen to grow them in pots inside or outside, or have picked a specific plot for your plants to be transferred into, now is the time to do it.
But, how do you know if your pepper seedlings are ready to be transferred? Easy, there are a couple of ways to check. One is to wait until the plant has sprouted its third set of true leaves. This method isn't necessarily the most accurate, though.
The more reliable one involves gently removing the plant from its container and seeing how much the roots have developed. If the seedling only has small roots that haven't spread to the extent of the pot, they are not ready to be transplanted. Roots that have grown to the very base of the soil and are beginning to coil are equipped to be transferred into a bigger pot.
However, be sure to keep an eye on your plants if you feel they need a little longer before transferring, as leaving them too long without checking can cause them to become rootbound. Rootbound plants occur when the roots are left to grow too long in a confined area. The roots wrap themselves around the plant, potentially stunting the growth of, or even killing, the seedling. So be wary and check on your plants when it comes time to transplant.
Once the seedlings have been transferred into their pot or plot, this is where the real task of cultivating begins. Throughout its growing cycle, you'll want to make sure that your plant is getting enough water. Initially, this can be a tricky aspect to monitor. However, if you go by the rule of thumb that pepper plants should receive at least an inch of water per week, that will keep your plants hydrated and looking healthy.
It is worth noting that those living in warmer climates should check on their plants regularly as periods of extreme heat and drought will, of course, have a detrimental effect. This can be remedied by providing plants with a little more water during these times, or by simply moving them into shaded areas for part of the day.
9. Add Nutrients During Flowering
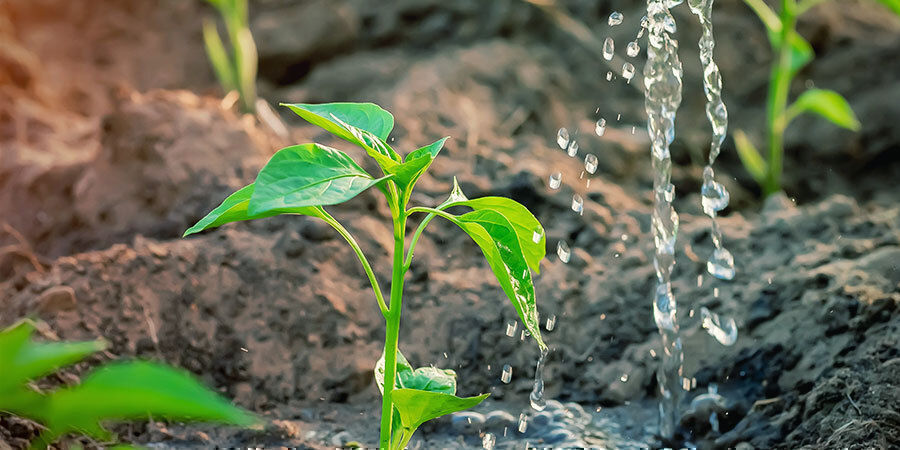
Of course, when it comes to getting the best out of your plants, water and sunlight will only go so far. To maximise your pepper plants' potential, feel free to add some nutrients during the flowering phase. More specifically, a feed rich in potassium and phosphorus will give your plants a boost. A store-bought (5-10-10 NPK) tomato fertiliser will do the trick, or you can look to make comfrey feed.
Comfrey feed is made from comfrey leaves that are left to break down in a container. As the leaves break down, they leave behind a brown, potassium-rich liquid that can be diluted and used as an organic fertiliser to encourage growth in your pepper plants.
As well as adding nutrients during the plant's flowering stage, many look to mist the plant with a spray bottle filled with lukewarm water. This process is in an effort to boost the productivity and yield of a pepper crop.
Adding nutrients should not be a daily part of maintenance for your plants. Feed your plants nutrients every 10–14 days to maximise their potential, and avoid overfeeding them. Done correctly, your pepper plants will flourish in no time.
10. Harvest Your Peppers!
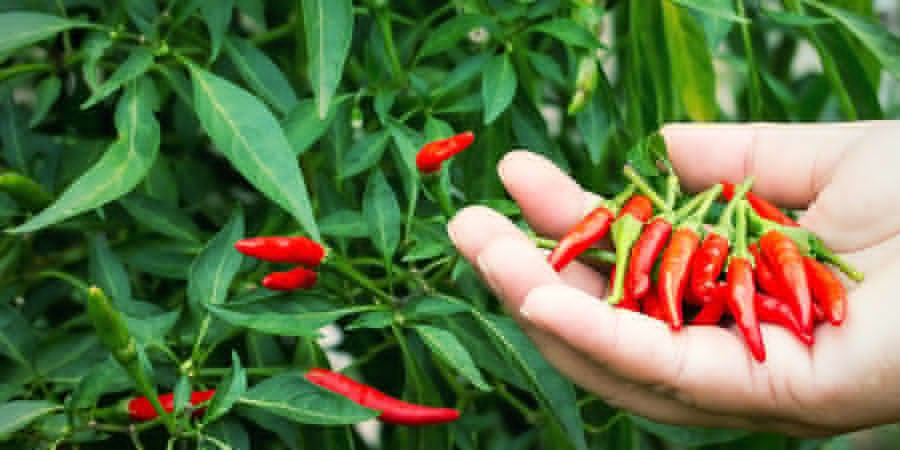
Now it's time to reap the rewards. The moment has come for you to harvest your plants. If you've followed the steps correctly up until this point, you'll have some plump pepper plants at your disposal.
There are a couple of ways to know when your peppers are ripe for the picking. As all varieties of chilies are different, the packet will often give you a clear indication of when your plant will be ready. Simply refer to the colour and size of the chili in the picture on the packet. Usually, peppers require a period of around 60–90 days from fruit set to harvest, but there are specimens that require up to 150 days to reach full maturity.
There may be times when you're given chili seeds without any packaging. Luckily, there is no exact time in which you should harvest your chilies. Jalapeño peppers, for example, can be picked the very moment they appear on your plants. They begin as a green colour and will eventually ripen into a red. They can be harvested in their early stages, but will offer a bitter taste compared to the sweeter flavour of mature peppers. So, do a little research on your chosen pepper and keep an eye on plants as they approach harvest.
If you believe you have harvested too early, don't worry! Chilies will continue to ripen for up to three days after being removed from the plant.
Spotting when your chilies are ready to harvest is one thing, but how do you actually pick them? It may seem like a basic question, but it is worth considering to avoid any unnecessary damage to your plants. Be gentle when removing peppers from your plants, and feel free to use a tool such as scissors or hand pruners to make for cleaner work. Of course, it should go without saying, but use gloves when harvesting, or immediately wash your hands once you've finished, and avoid touching your face until you have done so.
What To Do With Your Pepper Plants After Harvest
Once harvested, your peppers are yours to enjoy. Whether you're looking to cook with them, freeze them, or pickle them, the choice is up to you.
You can bring in your plants from outside over the winter months, provide them with warmth and light, and they'll behave like house plants. They might lose some leaves, but you should be able to care for them while you wait for the next growing season. You can also leave them outside, and the cold temperature will trigger dormancy. Just remember to shelter them from frost and extremely cold temperatures—if you have a greenhouse, you could leave pepper plants there in the winter.
Those are our 10 steps to growing your own successful crop of pepper plants. Now that you have the knowledge, head over to the Zamnesia webshop, check out the many varieties of chilies we have for sale, and begin your growing journey!
-
 6 min
6 November 2025
Top 20 hottest peppers in the world (2026 edition)
Think you can handle the heat? Discover the 20 hottest peppers of 2026, from record-breaking Pepper X to legendary Carolina Reaper and Scotch Bonnet. Explore fiery heat levels, unique flavours, and...
-
 5 min
27 January 2022
The Surprising Benefits Of Combining Cannabis And Hot Peppers
Cannabis chills out the body and the mind. Peppers, in contrast, send a jolt through the central nervous system and wake up the senses. However, despite their differences, these two plant species...
-
 6 min
24 September 2021
Ghost Pepper (Bhut Jolokia): How To Grow And Use
Ready to put your spice limit to the test? The ghost pepper is synonymous with massive heat, but it also has some big flavours to showcase too. If you've ever wanted to cultivate these chili...
-
 7 min
6 September 2021
Jalapeño Pepper: How To Grow And Use
While not as mind-blowingly hot as, say, the ghost pepper or habanero, there's still plenty to love about the jalapeño. It's arguably many people's first step into the world of spicy foods, but did...
-
 4 min
5 August 2021
Hot Peppers And The Scoville Scale
There's no denying the appeal of spicy food. Whether you're keen on Mexican delicacies, Pad Thai, or Vindaloo curries, they have one thing in common; peppers.


 United States


