Kitchen Alchemy: The Herbal Percolator
There are many advantages of plant extracts over bulk plant material: They are more potent, easier to consume, and can be cleaned to filter out impurities. Producing extracts certainly is a science, and each plant calls for another approach. However, even without fancy lab equipment and a degree in chemical engineering, you can successfully produce basic extraction procedures at home.
Maceration vs. Percolation
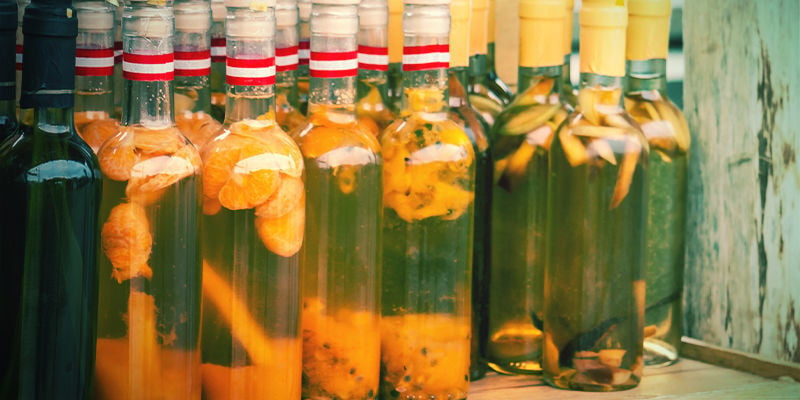
The two easiest and most common methods used to produce fluid extracts are maceration and percolation. Maceration is probably one of the oldest methods of extraction, and it is also one of the simplest: Maceration involves soaking the herb in a solution for a period of time, easily more than a month. The result is a tincture, which can already be used as is or processed further.
Percolation has been introduced to western medicine-making relatively late, but its advantages quickly made it become a method of choice for many. When percolating a herb, a solvent is slowly passed through the herb (by gravity), thereby extracting the soluble parts of the plant. A complete percolation can be completed - depending on the plant and quantity - within a few minutes to a few hours. The most common example for a percolation is a regular filter coffee. A solvent - water in this case - is poured over the ground herb, and the result is a fluid extract of the soluble constituents.
The increased efficiency of percolation is one of the main reasons why many prefer it over maceration, however, there is some dispute over which method yields better results. Without doubt - both macerated and percolated extracts are potent, but percolation has the distinct advantage of making it easier to prepare tinctures with a high concentration, such as 1:2 or 1:1. Another advantage of percolation is that the marc (the residual herb) doesn’t need to be pressed since the solvent that is left doesn’t contain any more constituents.

The Homemade Herbal Percolator
You can either buy an expensive percolator cone made from Pyrex glass, or you can make one yourself for €10 or less based on a regular glass water bottle. The idea is simple: just cut off the base of the bottle, and voilà - you have a column with a narrow neck. When turned upside down, the neck of the bottle fits perfectly into a properly sized mason jar, which functions as the collection flask.
Here’s how you transform a glass bottle into a herbal percolator:
Take a glass cutter (available in any hardware store) and carve around the bottom of the bottle. Make sure the line is straight, otherwise the bottle splinters later. An easy way to get the line straight is by using a velcro strip which you can follow.
Once the line is cut, hold the cut over the flame of a candle and let it get hot. Immediately after, hold it under running cold water from the tap. The temperature change will make the glass burst following the line you cut. Repeat the flame/water treatment around the bottle until the bottom falls off.
How to run a percolation

This is what you need to make a percolation:
- The percolator
- The lid for the bottle
- A mason jar
- A packing rod
- Cotton
- 2 pieces of cloth
The packing rod can be any long utensil with which you can slightly compress the herb once they’re loaded in the column.
- Place a piece of cotton in the neck of the bottle. This will prevent herb from flowing through with the solvent. Add a little water or solvent to the cotton to compress it a bit. Alternatively, you can use a cone from a coffee filter.
- Add the ground herb on top of the cotton.
- Push one piece of cloth down the tube to prevent the herb from floating up when solvent is added.
- Take the second piece of cloth and put it between the neck of the bottle and the opening of the jar as to allow air escaping from the jar. If this is not done, the flower of solvent will stop.
- Attach the lid of the bottle. By loosening and tightening it you can adjust the flow rate of the solvent.
- Add your solvent of choice from the top. Water, Alcohol and a mix of those are the most common and will extract a wide range of plants.
- If time allows, it’s a good idea to let the solvent thoroughly run through the herb and then let it sit there (macerate) for few hours, up to a day. This can be skipped if in a hurry, but if done it will increase yield. After the period of soaking, open the lid to let the solvent drip through.
- Add more solvent until what comes out at the bottom is clear fluid. That means all constituents have been extracted.
- Collect the extracted liquid in the jar and if necessary reduce to a lower volume.
That’s the basic functioning of a percolator and this method can be applied to almost any herb you would like to extract.
-
 5 min
30 April 2020
10 Best Herbs To Brew A Tea With
At least since the ancient Egyptians, herbs have been brewed into tea. Teas can be used as stimulants and sedatives or even as aphrodisiacs. Use vaping herbs to make teas that can be beneficial in...
-
 3 min
1 May 2017
Best Herbs To Mix With Cannabis
Vaping has earned itself the reputation of being the healthiest and purest way to consume cannabis and other herbs without inhaling all the unhealthy carcinogens. We take a look at a few herbs you...


 United States


