


 United States

How To Prevent Magic Mushroom Side Pins

When growing your own magic mushrooms in a bin at home, one of the most common issues you can run into is side pin growth. But what are side pins, exactly? How can you get rid of or prevent them in your magic mushroom growing setup? It's simpler than you think, and keeping clear of them just involves some basic precautions.
When you start growing magic mushrooms at home, you might notice something weird happening during later phases of the process. Specifically, as they're meant to start fruiting, you might see things growing out of the side of the substrate. These growths, known as side pins, can cause quite a few problems for your mushroom crop.
Getting rid of them is important, but preventing them from happening at all is even better. Here, we'll discuss what side pins are, how to get rid of them, and how to prevent them from showing up in the first place.
WHAT ARE MAGIC MUSHROOM SIDE PINS?

Based on the name, you might expect side pins to be a strange, diseased-looking growth. This, however, is not the case. Simply enough, side pins are magic mushrooms that grow on the side of the substrate. For those who don't know, the substrate is the cake of natural material your mushrooms grow out of. Visualising this, note that there is a small amount of space between the substrate and the container you keep it in. In this space, under certain conditions, you'll notice side pins starting to pop out.
WHY DO MAGIC MUSHROOMS GROW ON THE SIDE OF A SUBSTRATE?

So, why do they even appear in the first place? Well, it has to do with the particular area in which they occur. As the substrate shrinks during the growing process, that tiny space between it and the container is formed. This small space, oddly enough, is the perfect microclimate for magic mushroom growth. Meaning, even though it's a far smaller space, the mushrooms will naturally form in that direction.
Why is this a problem, you wonder? Well, theoretically, these are just like any other mushrooms. What makes them problematic, though, is the placement. The area they grow in is quite moist, and they could end up pressing against the container since there's limited space. With this much moisture in a compressed space, it's likely for those areas to become a hotbed for bacteria and mould. It should go without saying, but those aren't the best things to have hanging around your precious mushrooms.
WHAT CAN YOU DO ABOUT MAGIC MUSHROOM SIDE PINS?
So, if the space between the container and the substrate is the perfect microclimate for side pins, what can you even do to stop them? Luckily, there are a few solid options open to you.
MAKE SURE MOISTURE LEVELS ARE CORRECT

One of the first preventative steps you can take is verifying that you're keeping the substrate as moist as necessary. The easiest involves one simple step: misting the substrate surface when it isn't moist.
Keeping the substrate from drying out is the best way to make sure those side crevices don't even form in the first place. Also, since you're keeping the top moist, you'll be coaxing the mushrooms to grow out of that end. The microclimate up top is optimised, and any crevice that might appear on the sides isn't nearly as tempting.
Blindly spraying your substrate with a mister won't work too well, though. You'll want to spray from directly above the substrate, high enough above that the mist falls lightly onto the cake. Look for beads of moisture on the surface; these beads should form on their own after you mist. Be generous with the mist, but make sure you don't have water pooling on the surface.
If you’re using a grow kit, however, we recommend spraying the inner walls of the growing bag from time to time as this will be safer than the method mentioned above.
You can also control the moisture level by monitoring the air circulation in your grow area. If you're getting heavy-handed with circulation, for instance, you're likely to see the substrate drying up. Just tone it down until you see moisture beads starting to form on the surface again.
USE A LINER

While this won't be a valid option for people with growing kits, those preparing their own substrates should take note. Specifically, covering the side and bottom of the substrate with a simple liner can drastically cut down side pin growth. The liner really is simple, too; it's typically made from a black garbage bag. It'll shrink with the substrate, if the substrate shrinks at all, and cover all ends but the top. With no other ends for the mushrooms to grow out of, they'll be forced to grow out of the top.
Don't worry if you don't have a black garbage bag lying around. Even if it's a regular clear bag, it should work fine as long as it's large enough. It'll serve the same purpose of blocking that area and hindering the perfect microclimate from forming.
BLOCK LIGHT FROM THE SIDES

These liners also serve a nifty secondary purpose. You see, as they limit the potential space for side pins, they also inhibit light that would normally hit the substrate sides. This, as it so happens, is another strong step you can take in making sure side pins don't grow.
The liner doesn't impact light exposure much, though, and some debate that it doesn't affect it at all. It wouldn't hurt to monitor where light is hitting your substrate and either fixing the light or shifting the position of your container. All this being said, light is only a secondary trigger for mushroom growth. It does affect things, but monitoring moisture and keeping a liner in place are far more effective.
WHAT TO DO WITH MAGIC MUSHROOM SIDE PINS

Let's say, though, that you've already got side pins growing. No moisture control, liner, or lighting will stop them, so what can be done? Well, you should honestly just harvest them like the rest of your mushrooms, letting them grow with the others. Once they're ready, you can go ahead and harvest them all at once.
When the time comes, pour water into your container to slowly lift the substrate out of it. Once you've got it removed, harvest whatever is popping out of the sides or bottom. After that's over with, drain the water you poured into the container, and put the substrate back inside. Simple as that! Be sure to exercise extreme caution and follow sterile protocol to avoid any possible contamination.
Will they look as appealing as the mushrooms that came out of the top? Unfortunately no, and as we mentioned before, they'll be quite moist. However, they'll have all the same properties as the other shrooms and are just as safe to consume—as long as they show no sign of mould formation. Yeah, it's not the best way for a mushroom to end up, but what enthusiast ever said no to a magic mushroom?
-
 5 min
14 April 2025
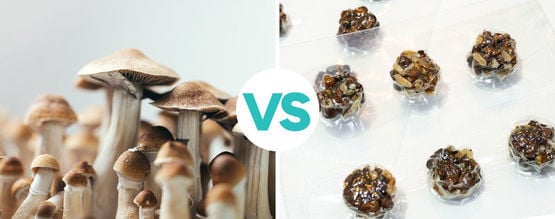
What's the difference between magic truffles and magic...
Magic truffles and magic mushrooms both come from psilocybin-containing species of fungus. However, there are important differences between the two regarding potency, growth, and effects—and these...
5 min
14 April 2025
What's the difference between magic truffles and magic...
Magic truffles and magic mushrooms both come from psilocybin-containing species of fungus. However, there are important differences between the two regarding potency, growth, and effects—and these...
-
![How To Grow Magic Mushrooms Indoors [3 Methods]](https://www.zamnesia.com/modules/prestablog/themes/responsive/up-img/slide_2060.jpg?47b99d78391d53bb267ede03090091dc) 3 min
22 February 2022
How To Grow Magic Mushrooms Indoors [3 Methods]
Growing magic mushrooms is simpler than it looks, but it still rewards clean handling and patience. Here's what it takes, and why a grow kit is the easiest place to start.
3 min
22 February 2022
How To Grow Magic Mushrooms Indoors [3 Methods]
Growing magic mushrooms is simpler than it looks, but it still rewards clean handling and patience. Here's what it takes, and why a grow kit is the easiest place to start.
-
 4 min
19 October 2021
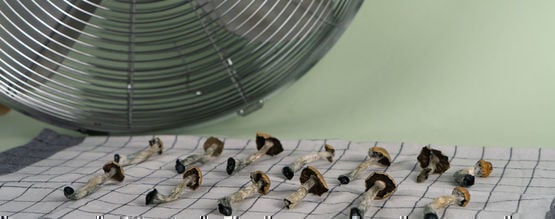
How To Dry Magic Mushrooms
Not sure which drying method fits your setup? Compare dehydrator heat, airflow and desiccants, learn when to slice thick fruits, and aim for a cracker-dry finish.
4 min
19 October 2021
How To Dry Magic Mushrooms
Not sure which drying method fits your setup? Compare dehydrator heat, airflow and desiccants, learn when to slice thick fruits, and aim for a cracker-dry finish.
-
 8 min
13 June 2019
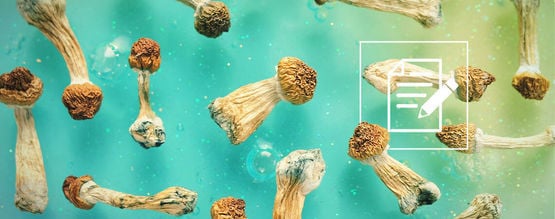
What To Know About Shrooms (Magic Mushrooms)
Shrooms are treasured for their strong psychoactive properties, producing strong hallucinations, euphoria, altered thinking processes, and a distinct clarity unlike any other substance. Below we...
8 min
13 June 2019
What To Know About Shrooms (Magic Mushrooms)
Shrooms are treasured for their strong psychoactive properties, producing strong hallucinations, euphoria, altered thinking processes, and a distinct clarity unlike any other substance. Below we...
-
 4 min
24 November 2017
How To Identify Different Types Of Magic Mushrooms
Looking for help identifying your favourite magic mushrooms? In this article, we take a look at the most common types of shrooms that you can encounter.
4 min
24 November 2017
How To Identify Different Types Of Magic Mushrooms
Looking for help identifying your favourite magic mushrooms? In this article, we take a look at the most common types of shrooms that you can encounter.


