


 United States

How To Grow Your First Cannabis Plant In 10 Steps

For some, cannabis cultivation is a hobby. Many growers want to become marijuana self-sufficient. Others aim to turn pro. Regardless, it all begins with a seed. In this step-by-step guide, we offer you the road map to your first successful cannabis crop.
GROWING MARIJUANA IS EASY
Cannabis is cultivated all over the world by all kinds of people. Growing your own weed is easy. You don’t need any experience to cultivate a successful cannabis crop. All you need is knowledge and the commitment to follow through with your grow plan. 10 simple steps can and will take you from seed to stash. Get ready to join a growing community.
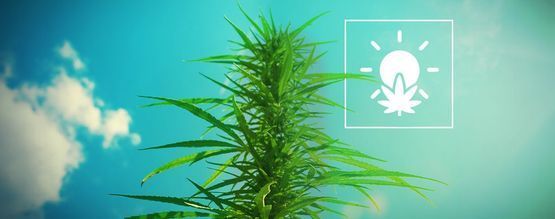
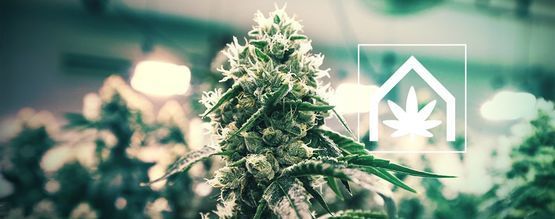
STEP 1: DECIDE TO GROW INDOORS OR OUTDOORS
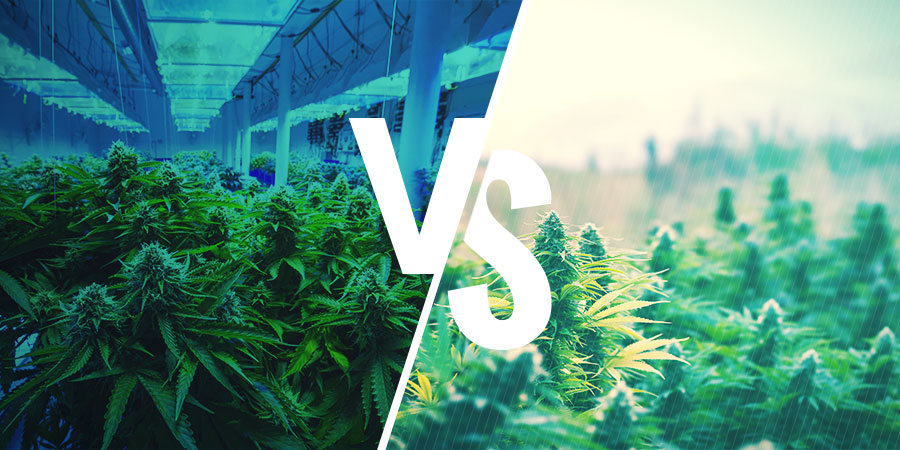
The first decision every grower must make is what grow style to adopt. You can grow outdoors, provided the climate is warm and a minimum of 8 hours per day of sunlight is available. Indoor cultivation can be an ongoing, 365 days a year operation. The growing season outdoors in a hot southern climate can be as long as spring to autumn. In cool northern climates, the cultivation window can be just 8-10 weeks during summer.
Timing is everything to the outdoor grower. Sow seeds too late and winter weather can ruin the crop close to harvest. On the other hand, if you sow too early, photoperiod strains will be in vegetative growth for a long time until the natural day-night cycle gets close to the ideal 12-12 to induce flowering. In contrast, indoor cannabis cultivation allows the grower to control the light cycle.
STEP 2: TAKE CARE OF LIGHTING ACCORDINGLY

SUNLIGHT
Outdoor growers must sow seeds at the right time. To figure this out, you must research the weather and climate data available for your locality. Another important factor is to decide whether to use a container or sow directly into the ground. Cannabis plants need strong sunlight. If you plant in a pot, you can always move it to a sunnier spot if your original spot becomes shaded later in the season. Also, should the weather take a turn for the worse, you can take your plants inside to shelter them.
OLD-SCHOOL GROW LAMPS
Indoor growers must invest in a lighting kit and timer plug to get their grow on. HID lighting is an affordable and reliable source of illumination. 400W and 600W dimmable digital ballasts are a good choice if you are setting up a grow-op on a budget. You can dial down the output to hang the reflector closer to plants and reduce excess heat. And to keep the electric bills down. Micro-growers using customised wardrobes and cabinets should scale down to a 250W system.
Both MH bulbs for vegetative growth and HPS bulbs for bloom tend to run hot. Intake and outtake fans will need to be powerful enough to maintain optimal environmental conditions. Air-con is often required for multi-lamp grows. The old-school three-part lighting kit of ballast, bulb, and reflector is still used by pro-growers today.
ADVANCED LIGHTING TECHNOLOGY
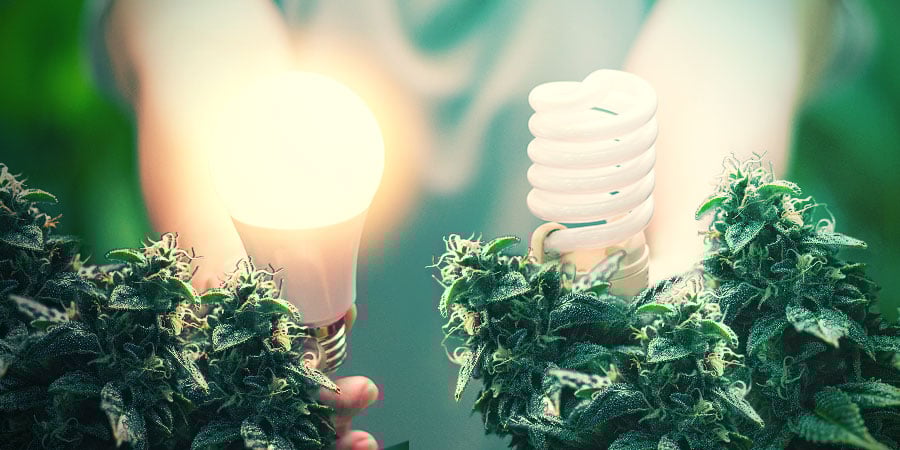
CFL is best used as a supplemental light during bloom, or as a standalone during the vegetative phase as an alternative to an MH bulb. They run cool, but have limited light penetration in comparison with HID or LED. You can hang them close to the canopy and keep power consumption to a minimum.
LED is the lighting technology for indoor growers of tomorrow, available today. Unfortunately, the best-performing LED kits are priced at a premium. Full-spectrum systems can be used for the entire cannabis lifecycle. They are ready to grow right out of the box. No more ballasts, reflectors, or replacing bulbs annually with this next-gen illumination.
The primary advantages of LED lights are they run cool and emit far more light than heat as compared with HID. If you plan on cultivating cannabis long-term, an investment in a high-quality LED kit is worthwhile if you’ve got the loot. Next-gen LED kits have a life expectancy of around a decade, and use 50-75% less power than a comparable HID kit. If you are getting into growing for the long-haul, LED will pay for itself with the savings you make on the electric bill.
STEP 3: GROW MEDIUM?

Cannabis plants can thrive in a variety of substrates. The three most common growing mediums are soil, coco coir, and hydroponic substrates like expanded clay pebbles. Soil is more forgiving and acts as buffer for the root zone. Coco and hydro require more precision with nutrient applications. Beginner growers are often steered toward soil for this reason.
Starting out with coco or hydro is not really any more complicated. Everyone has to start somewhere. The biggest difference is that soil usually has sufficient nutrients to sustain plant development for the first few weeks. Coco and hydro cultivation, however, require fertiliser from the beginning.
Always buy cannabis-specific substrates from the grow store. Time-release fertilised soils from the garden centre are unsuitable for cannabis cultivation. It takes experience and plenty of experimentation to devise a custom super soil. Until you gain some hands-on grow-op experience, stick with store bought substrates. They are inexpensive and won’t give you any unpleasant surprises.
STEP 4: GET NUTRIENTS
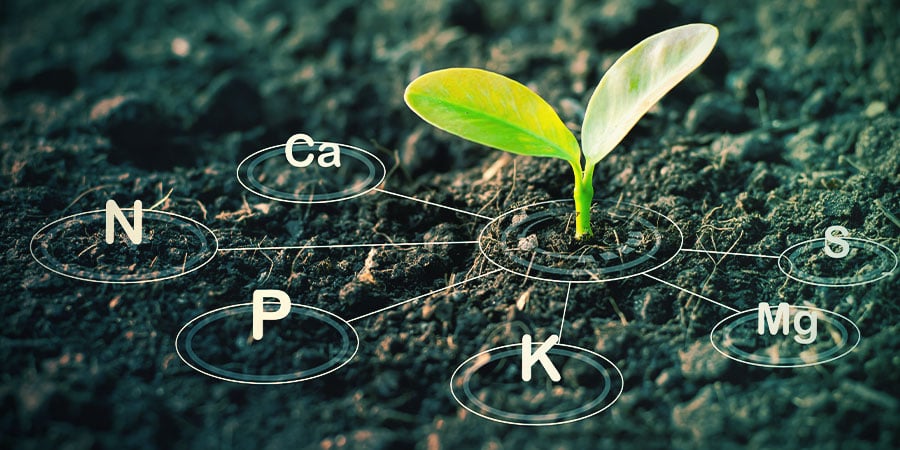
Cannabis-specific nutrients are essential. Most grow stores carry complete starter packs from brand name fertilisers. Most of the popular fertiliser brands have lines tailored to suit your chosen grow medium. Some base nutrients are formulated to the perfect pH. For a beginner grower, adjusting the pH for every watering is one more thing to worry about.
If you are using a line of nutrients that is not pH-perfect, you need to monitor the pH first. Then you need to adjust up or down until you hit the sweet spot for your substrate. To accomplish this, you need a pH monitor pen and a bottle of pH up or pH down solution. Soil growers need to shoot for 6.0-6.5pH, while hydro and coco growers must hit 5.5-6.0pH for optimal nutrient uptake.
In general, chemical fertilisers are better-suited to hydroponics with less salt buildup to cause blockages in the irrigation system. Organic nutrients and soil go hand in hand. Coco crops often require supplementation with Cal-Mag.
Beginner growers shouldn’t get too carried away with using too many supplements in addition to base nutrients. Complex potions and wonder weed elixirs are a waste of money at this stage of your growing career. A simple macro and micronutrient feed-water-feed-water schedule is recommended. Silicon is often overlooked and should be considered as an essential weekly supplement for all substrates.
STEP 5: CHOOSE YOUR SEEDS WISELY
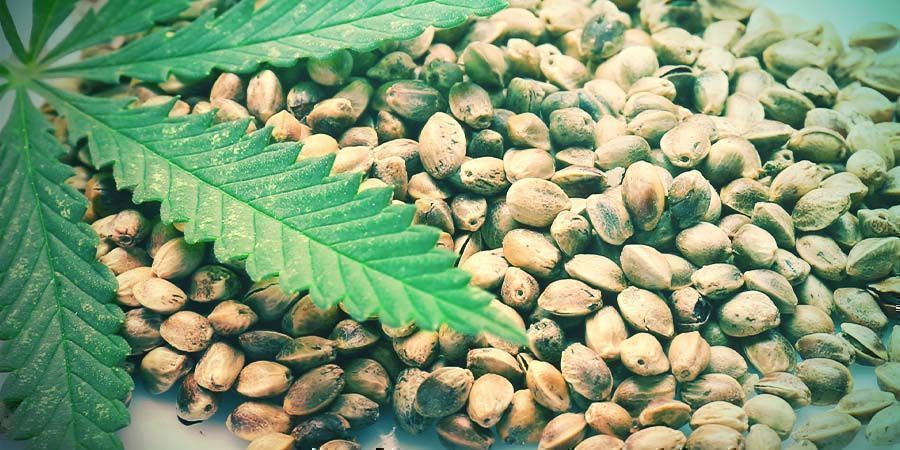
Genetics will ultimately be the decisive factor in any grow-op, indoors or outdoors. The right strain for you is obviously the marijuana you prefer. But it must also be a good fit for your garden, literally. To get some ideas of potential strains, you should make use of online resources like our top 10 lists for feminized and autoflowering cannabis seeds.
You can also come up with a shortlist of suitable strains using our seed finder. Enter the attributes and characteristics you are looking for. Then let our seed finder generate the closest matches given your specifications.
Indica-dominant hybrids and autoflowering strains are generally the easiest for the beginner grower to cultivate. They are low-maintenance, less stretchy, and finish fast, especially in comparison with tall, late-blooming, sativa-dominant varieties. Training and pruning are skills that take practice to master. For your first crop, keep it simple and crop squat plants rather than meandering vines. Don’t try to do too much too soon.
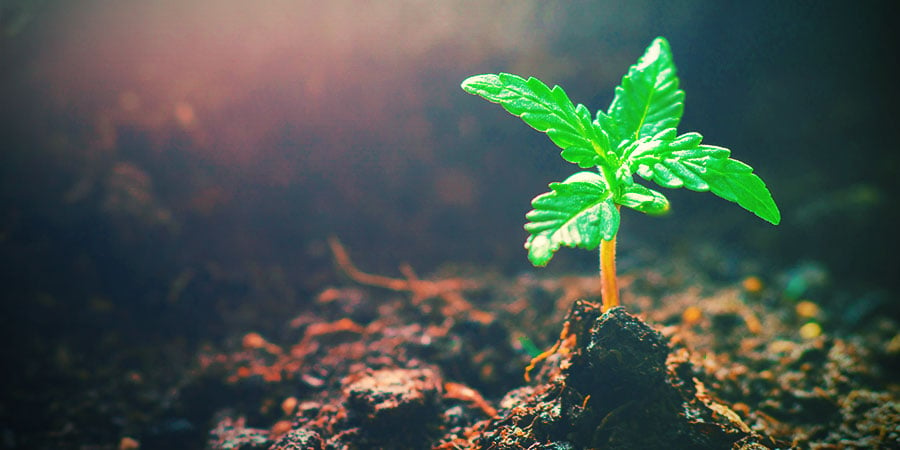
STEP 6: GERMINATE SEEDS
There are many methods to germinate seeds. But since you are new to growing, you need a simple method with a high rate of success. The Smart Start kit is an easy way for the inexperienced grower to germinate seeds. Within 1-8 days, your seeds will sprout. It’s best to house the Smart Start in a propagator to maintain high relative humidity (RH). Cannabis prefers higher RH in the 50-70% range all the way until transitioning to the bloom phase.
Even if you plan on growing outdoors, it is recommended to germinate your beans inside. Many growers leave them on a sunny windowsill for the entire seedling stage before making the move to the great outdoors. Daytime temps of 20-30°C and no less than 15°C at night is what most cannabis plants prefer.
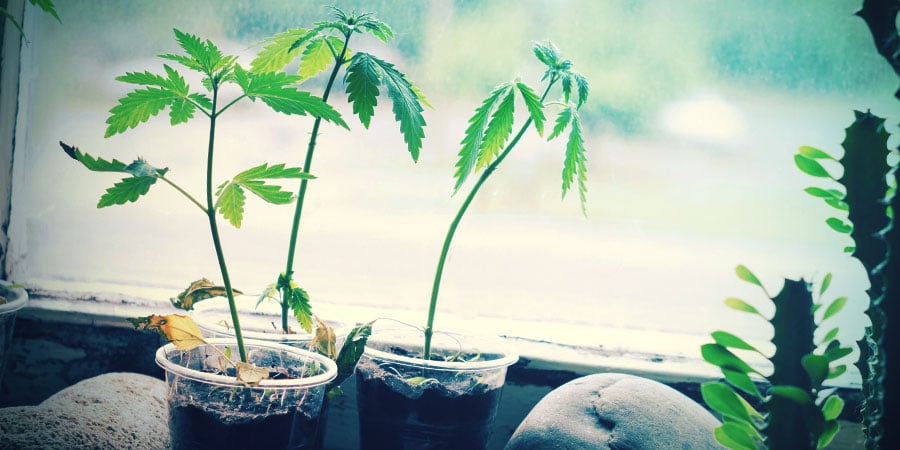
STEP 7: VEGETATION
The moment seedlings emerge from beneath the growing medium, they require light. Pot-up from your Smart Starts directly to final containers as soon as the seedling is 2-3cm. Photoperiod cannabis strains can remain in vegetative growth indefinitely with an 18/6 light cycle, although 4-8 weeks is common. Outdoor growers need to get started during spring/summer when the days are longest.
Autoflowering strains typically have a vegetative growth phase of just 3-6 weeks and will begin to bloom regardless of the light cycle. These seeds can be sown out of season and still perform well. However, 18+ hours for the total 8-12 week lifecycle is the ideal light cycle for ruderalis hybrids. Minimal nutrients and supplements are required by infant cannabis plants. Nitrogen fertilisers and root zone enzymes are usually all that’s needed.
Furthermore, cannabis plants have a pungent aroma. If you are growing indoors, it’s wise to invest in odour control. You can install a carbon filter to your exhaust fan with ducting, and/or deploy odour-absorbing devices around the premises.
STEP 8: FLOWERING
Photoperiod cannabis strains will transition to bloom indoors when you make the switch to 12-12. The bloom phase will take somewhere between 8-12 weeks. The light-dark cycle must be consistent and uninterrupted. Outdoors, cannabis blooms naturally and more gradually as the days grow shorter in late-summer/autumn. As mentioned above, autoflowering cannabis will make the transition independent of the light cycle.
Nutrient requirements shift from nitrogen to phosphorus and potassium. Nitrogen feeding tapers off and the grower must switch to bloom nutes with higher P and K. Many growers also supplement with bloom boosters too. Cannabis strains double or triple in height during flowering. Indoors, grow lights will need to be adjusted several times to avoid burning flower tops.
STEP 9: HARVESTING
During the final week or two of flowering, it is advisable to flush the growing medium with pure water or a light flushing solution. Fertilisers will taint the flavour of the marijuana if you skip this last step. Even biological fertilisers must be flushed.
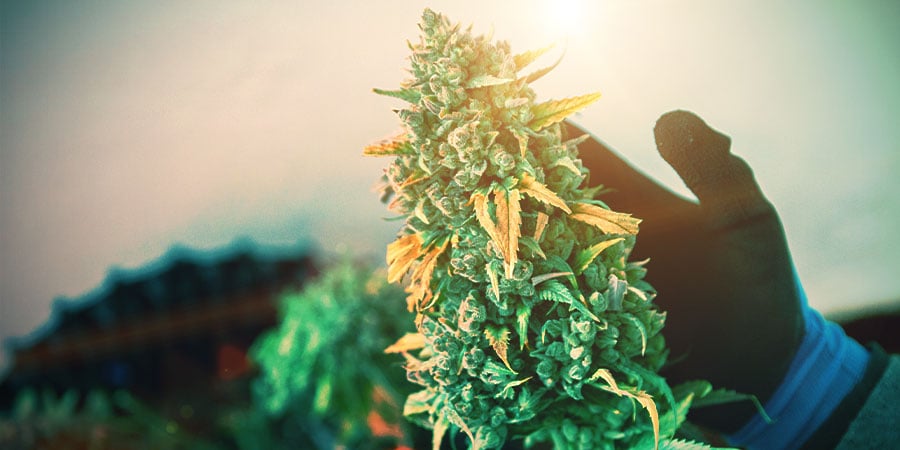
You can tell when your plants are ready for harvest by eyeballing the hairs on buds. When 50-75% have developed colours of red, orange, pink, or brown, the flowers are ripe. If you want to be more precise, a pocket scope will give you a close-up of resin heads. Ideally, the majority will be milky and a few amber-coloured. This tells you it’s time to start chopping. If the majority are still clear, you need to wait.
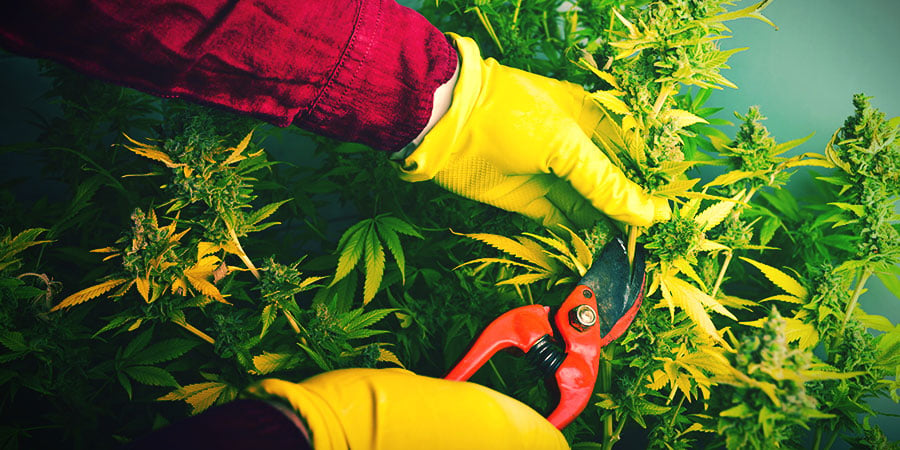
To harvest a plant, you can do it branch by branch or cut smaller plants down whole from the base of the main stem. The objective is to remove as much leaf material from the flowers as possible. Sugar leaves can be saved for hash-making later. Wear latex gloves and use trimming scissors to carefully trim away leaf from the bud.
STEP 10: DRYING & CURING
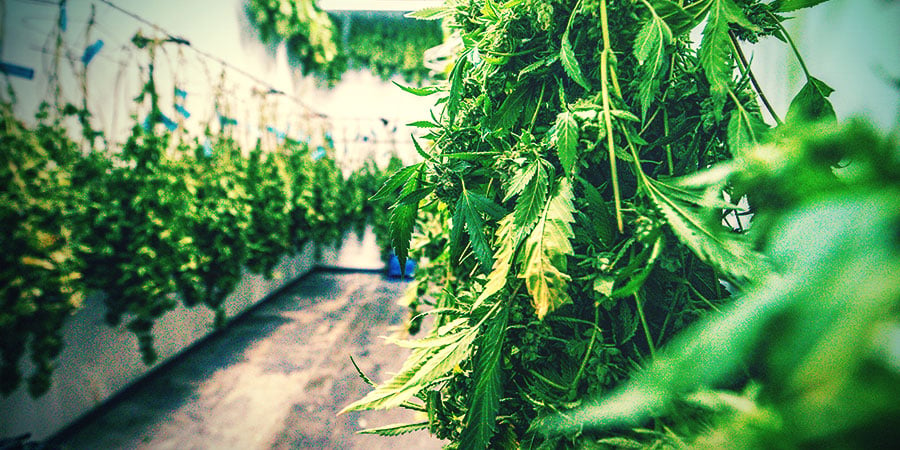
Freshly harvested, manicured buds should be allowed to dry in darkness for 10-14 days. Room temperature and about 50% RH needs to be maintained to avoid mould. Some growers will use a wardrobe and hang buds across a fishing line. Others will remove as much stem as possible and dry buds on racks, rotating every second day to ensure they dry evenly. Popcorn buds can be dried in brown paper bags in about a week.
You can smoke your marijuana as soon as it’s dry. But if you want to unlock maximum potency, as well as the full range of taste and fragrance, it’s worthwhile to cure your cannabis. By simply storing buds for another 2-3 weeks in darkness inside glass jars, the weed will cure.
60% RH and room temp will need to be consistent. It also helps to open up the jars for 10 mins a day to prevent excess moisture buildup. If you can be patient, you will enjoy the full cannabinoid profile and flavour spectrum the strain has to offer.
-
 5 min
5 May 2025
Simple tips to grow better weed
Think growing great weed is hard? With a few essential weed-growing tips and some basic know-how, anyone can enjoy top-shelf harvests in any setup. Get acquainted with eight essential tips for...
5 min
5 May 2025
Simple tips to grow better weed
Think growing great weed is hard? With a few essential weed-growing tips and some basic know-how, anyone can enjoy top-shelf harvests in any setup. Get acquainted with eight essential tips for...
-
 7 min
4 June 2021
5 Problems That Can Occur During Cannabis Flowering
Getting the very best out of your bud requires care and attention. But then, why else would you be growing? From ensuring adequate nutrient levels and lighting conditions to the best ways to cover...
7 min
4 June 2021
5 Problems That Can Occur During Cannabis Flowering
Getting the very best out of your bud requires care and attention. But then, why else would you be growing? From ensuring adequate nutrient levels and lighting conditions to the best ways to cover...
-
 5 min
8 May 2020
How To Grow Cannabis Outdoors
Not much compares to growing cannabis outdoors. The feeling of your hands in the soil, the sun on your skin, and the sound of birds in the air just can't be beat. Watching cannabis plants sway in...
5 min
8 May 2020
How To Grow Cannabis Outdoors
Not much compares to growing cannabis outdoors. The feeling of your hands in the soil, the sun on your skin, and the sound of birds in the air just can't be beat. Watching cannabis plants sway in...
-
 3 min
13 June 2019
How To Grow Cannabis Indoors
Indoor cultivation gives you the power to grow year round, but it also comes with many responsibilities. Here's how to set up a successful indoor garden.
3 min
13 June 2019
How To Grow Cannabis Indoors
Indoor cultivation gives you the power to grow year round, but it also comes with many responsibilities. Here's how to set up a successful indoor garden.


