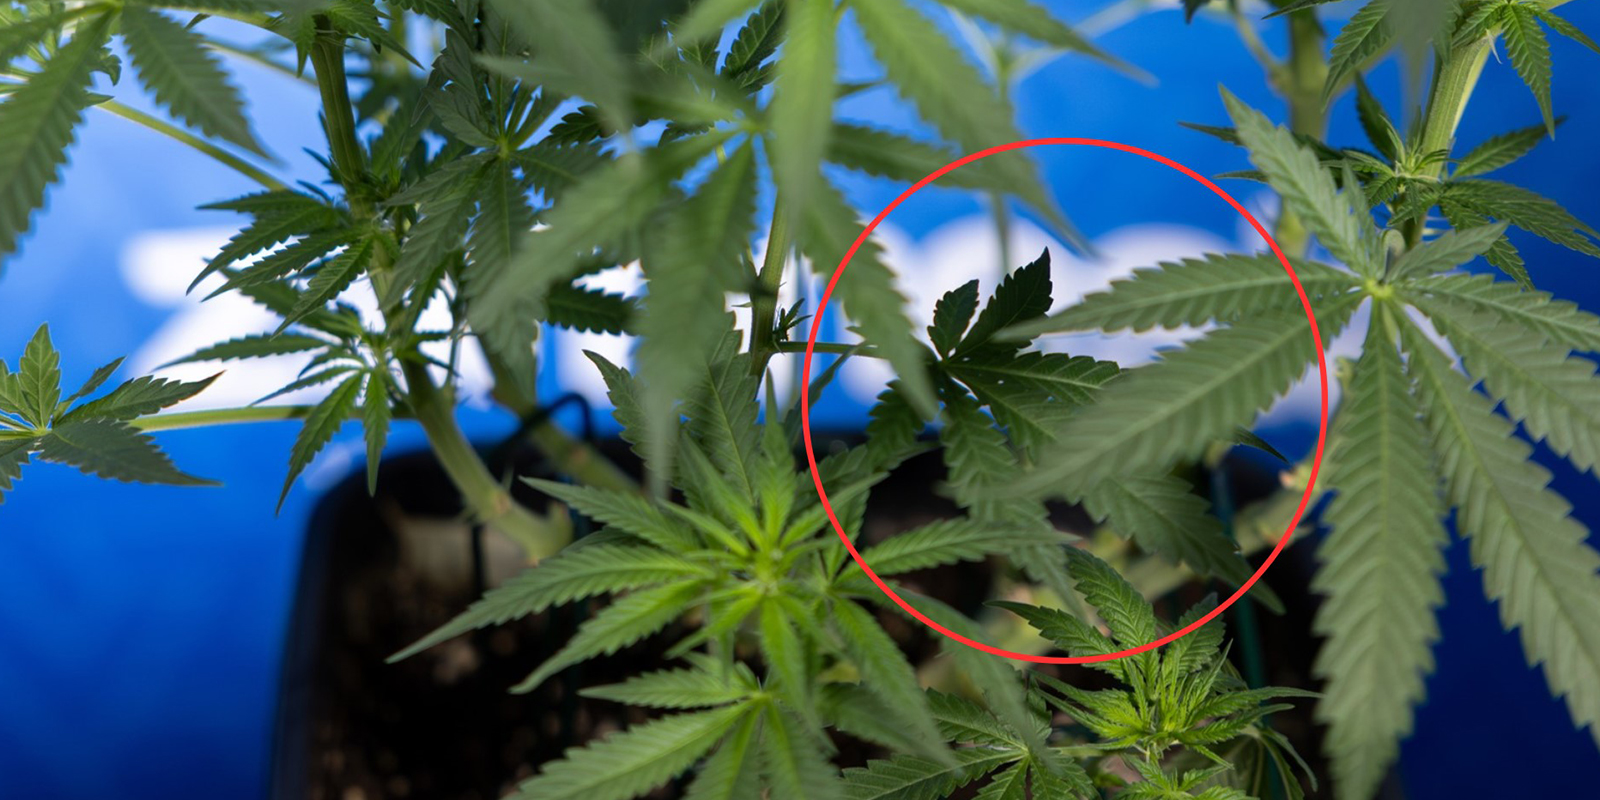
Cannabis defoliation: Everything you need to know

Cannabis defoliation is a proven way to boost airflow, light exposure, and yields, if done correctly. In this guide, you’ll learn how to defoliate step by step, avoid common mistakes, and get special tips for defoliating autoflowers. Read on, grow smarter, and harvest bigger.
Defoliation, when done correctly, has the potential to revolutionise the way you grow cannabis and the amount you harvest. This technique involves carefully removing select fan leaves to open up your plant's canopy. The result? Better light penetration, improved air circulation, and a reduced risk of pests and mould. In this guide, we'll break down exactly how to defoliate your plants, highlight common mistakes to avoid, and cover some special tips for defoliating autoflowers. Whether you're just starting or want to refine your grow, you'll learn how to use defoliation safely and effectively to get the most from your harvest.
What is cannabis defoliation?
While we've already alluded to what the process entails, at its core, cannabis defoliation is the selective removal of fan leaves from a plant to improve its overall health and productivity. By carefully removing excess foliage, growers can direct the plant's energy toward bud sites, increase airflow through the canopy, and allow more light to reach the lower branches that would otherwise remain shaded.
Although it might seem like a modern technique, defoliation has roots in traditional horticulture. Farmers and gardeners have long used leaf thinning to control growth, reduce disease, and enhance fruiting. In cannabis cultivation today, it's applied with more precision and intention, especially by small-scale and home growers who want to optimise every square metre of grow space.
It's important to note that defoliation isn't the same as lollipopping. While both involve removing plant material, lollipopping focuses on trimming away the lower branches that won't receive enough light to produce quality buds. Conversely, defoliation targets specific leaves throughout the entire canopy to balance energy distribution and improve canopy conditions. Used together, these methods can complement each other and significantly enhance yields.
Why defoliate cannabis?
.jpg)
Defoliation isn't just about making your plants look tidy; it serves clear functional purposes that can directly improve yield and plant health. Discover the key benefits of the technique below.
Increased light penetration
Fan leaves are large solar panels but can also act like umbrellas, shading lower bud sites. By carefully removing obstructive leaves, more light penetrates the canopy and reaches parts of the plant that would otherwise be underdeveloped. This can result in fuller, denser buds across the whole plant, not just the top.
Improved air circulation
A dense canopy traps moisture and heat, creating a stagnant environment. Selective defoliation opens up space between branches and leaves, encouraging better airflow. This helps regulate temperature and humidity around the plant, reducing stress and supporting stronger, healthier growth.
Reduced mould and pest risk
Poor airflow and shaded, damp pockets within the canopy are prime breeding grounds for mould, mildew, and pests like spider mites. By thinning out excess foliage, you not only make the plant less inviting to these threats but also make it easier to spot issues early and take action before they spread.
When should you defoliate?
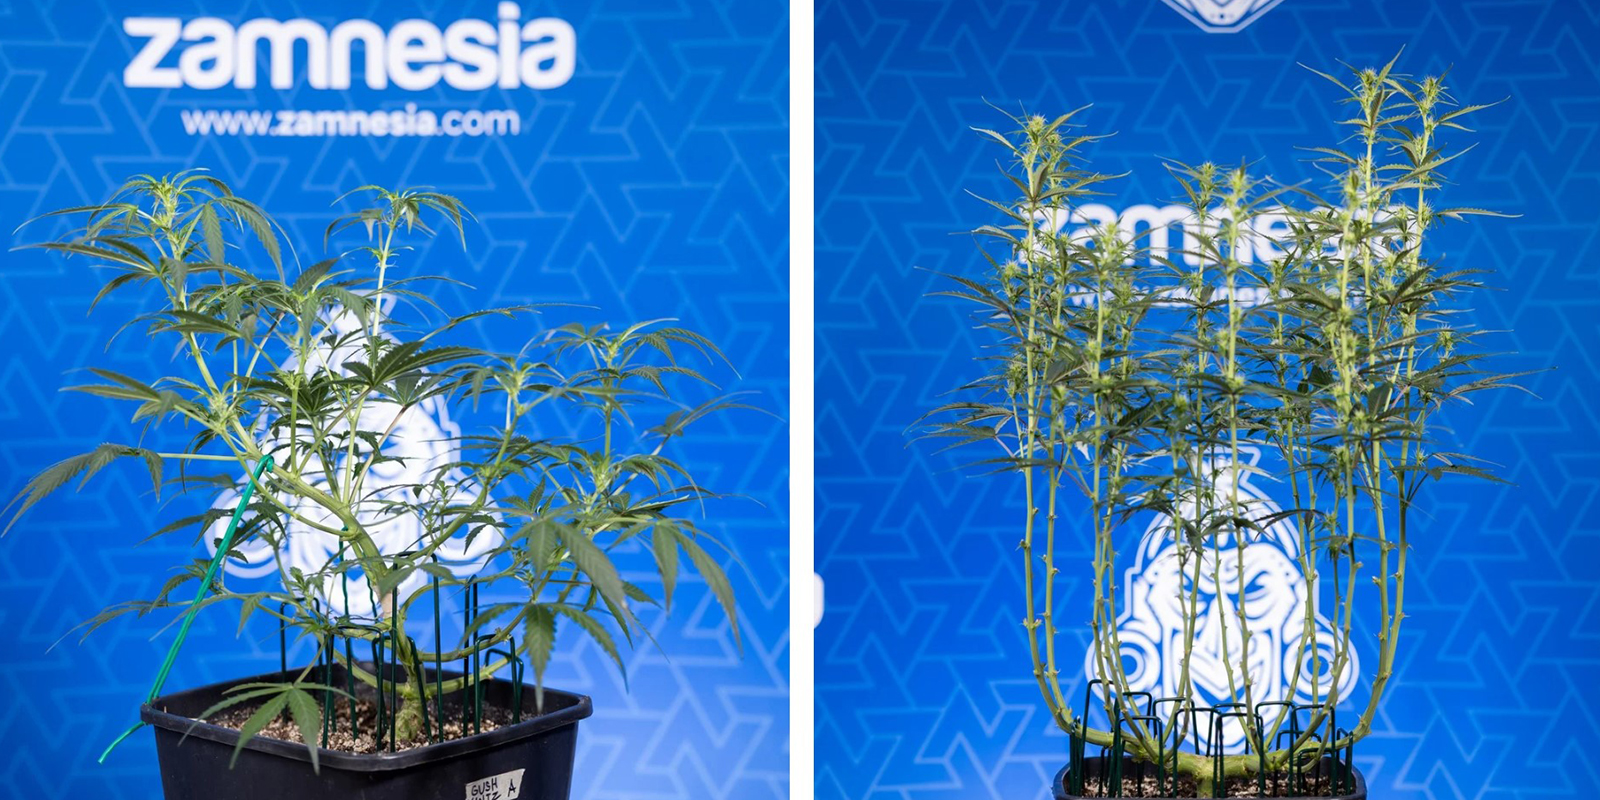
Knowing when to defoliate is just as important as knowing how. Defoliating at the right time ensures your plants get the benefits of improved light and airflow without suffering unnecessary stress. The timing depends on the plant's growth stage and whether you're working with autoflowering or photoperiod strains.
Vegetative stage
This is the safest time for cannabis defoliation. During vegetative growth, plants are resilient and able to recover quickly from leaf removal. Defoliating at this stage helps shape the plant, improve airflow, and ensure even light distribution as the canopy develops. However, avoid going overboard; leave enough foliage to fuel photosynthesis and healthy growth.
Flowering stage
Defoliation during early flowering can be beneficial, especially to expose shaded bud sites and reduce the chances of mould. However, heavy defoliation should be avoided once the flowers are more developed. Plants still require high levels of photosynthesis to power bud formation; removing too many leaves at this point can slow growth and impact yield.
Autoflowers vs photoperiod strains
Timing is even more critical with autoflowers, as they have a shorter life cycle and less time to recover from stress. If you're defoliating autoflowers, keep leaf removal minimal and confined to areas where airflow and light are most restricted. Photoperiod strains, on the other hand, can handle more aggressive defoliation since growers can extend the vegetative phase to allow for recovery.
For a deeper dive into how plant stages impact growth and yield, check out our guide on the different stages of growing cannabis.
How to defoliate cannabis plants (step-by-step)
.jpg)
Defoliation may sound intimidating, but it becomes a straightforward task with the right tools and a careful approach. Here's precisely how to defoliate your plants safely and effectively.
Equipment
Before you begin, make sure you have the right tools:
- Sharp trimming scissors or pruning shears: Clean cuts heal faster and reduce the chances of infection.
- Sterilising solution (isopropyl alcohol): Always disinfect your tools before and after use to prevent the spread of pathogens between plants.
- Gloves: Optional, but helpful to keep your hands resin-free and to avoid contamination.
- Collection tray or bag: This is used to gather the trimmed leaves and keep your grow space tidy.
Instructions
Follow these simple instructions to defoliate like a pro from the get-go.
1. Identify which leaves to remove
- Start with large fan leaves that block light from reaching bud sites lower down the plant.
- Look for leaves growing inward toward the centre of the canopy, as these often restrict airflow.
- Remove yellowing, damaged, or unhealthy leaves first, as they no longer contribute effectively to photosynthesis.
2. Work from the top down
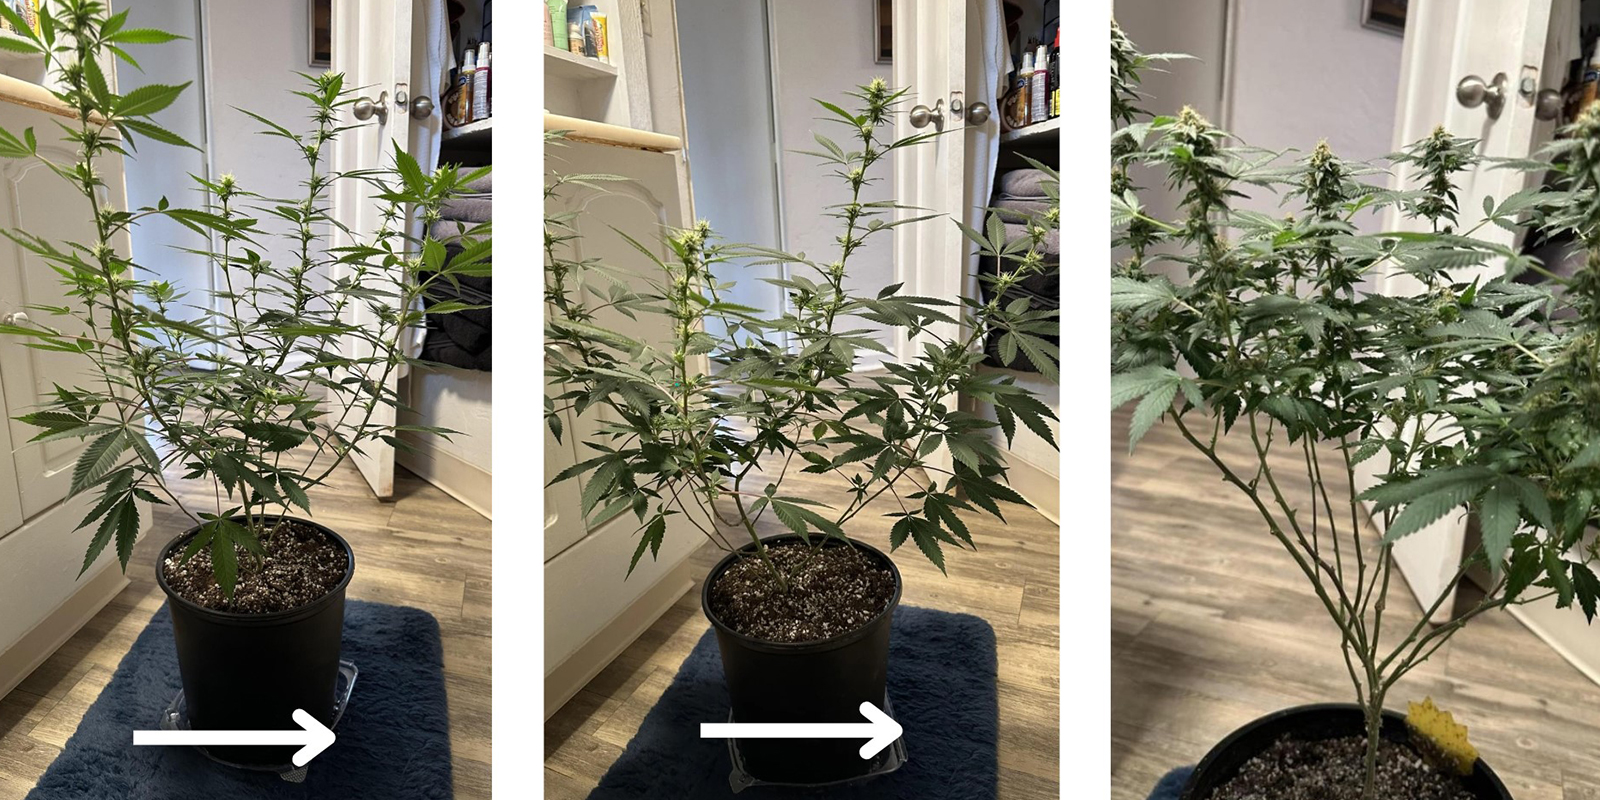
Begin at the top of the plant and gradually move downward. This ensures that you enhance light penetration and airflow throughout the entire canopy without losing track of what you've already trimmed.
3. Cut, don't tear
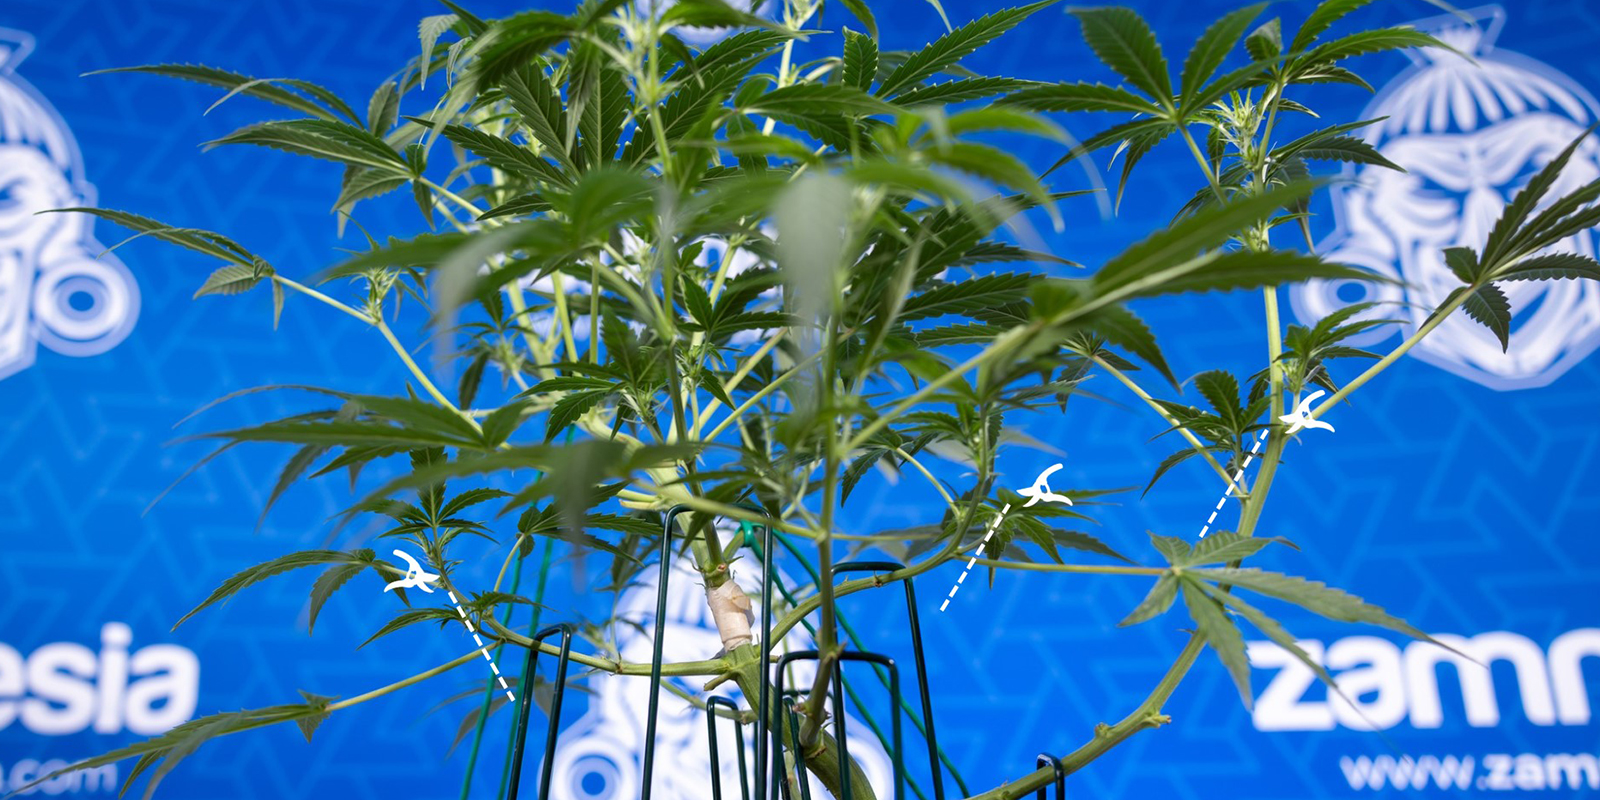
Use sharp scissors or shears to snip leaves cleanly at the base of the petioles (the small stems that connect leaves to branches). Avoid pulling or tearing, as this can damage surrounding tissue and stress the plant.
4. Go gradually
.jpg)
Remove no more than 20–25% of the foliage in one session. Over-defoliating can shock the plant and stunt growth. If you feel more trimming is needed, wait at least two days before removing more leaves to allow plants to recover.
5. Observe plant response
After defoliation, monitor your plants closely. Healthy plants will bounce back quickly with perkier leaves and stronger bud development in newly exposed areas.
Defoliating autoflowers: special considerations

While defoliation can benefit most cannabis plants, autoflowers need a little extra care. Their unique growth cycle means they're less forgiving of mistakes, and aggressive leaf removal can sometimes do more harm than good.
Why are autoflowers more sensitive?
Unlike photoperiod strains, autoflowers switch from the vegetative stage to flowering automatically, often within 3–4 weeks of germination. This short timeline leaves little room for recovery if the plant becomes stressed. Removing too many leaves or defoliating at the wrong time can slow growth and reduce yields rather than enhance them.
Best practices and timing
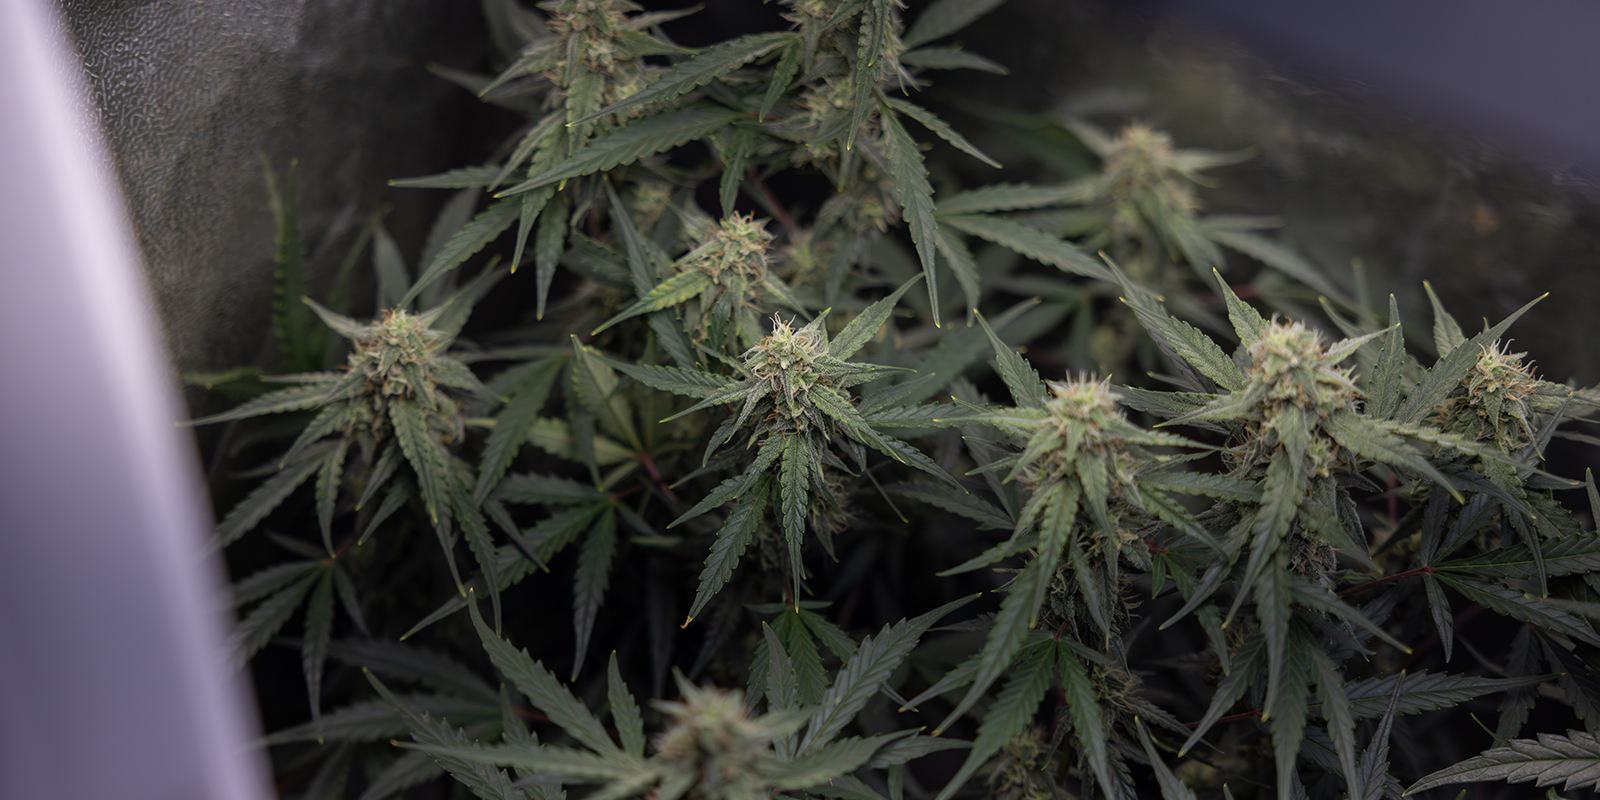
Discover the best practices for defoliating autos to achieve the best results possible.
Choose the right plants
Not all autoflowers respond well to defoliation. Look for vigorous, bushy specimens with lots of foliage. Sparse, slow-growing plants should be left alone, as defoliation will only weaken them further.
Defoliate lightly
Stick to removing only the largest fan leaves that block airflow or light from reaching bud sites. Keep the trimming minimal and avoid stripping whole sections of the canopy.
Defoliate early
If you decide to defoliate, do it during early vegetative growth or very early flowering. Once autoflowers are deeper into bloom, their focus is entirely on bud development, and leaf loss can significantly reduce output at this stage.
Monitor closely
After defoliation, watch your autoflowers carefully for signs of stress, such as drooping, slowed growth, or yellowing leaves. If they react poorly, stop defoliating and let them recover naturally.
In short, defoliating autoflowers is completely possible, but it should always be done sparingly and with great care. Many growers choose to skip this technique altogether with autos, instead relying on training methods like low-stress training (LST) to shape plants without risking shock.
Common defoliation mistakes to avoid
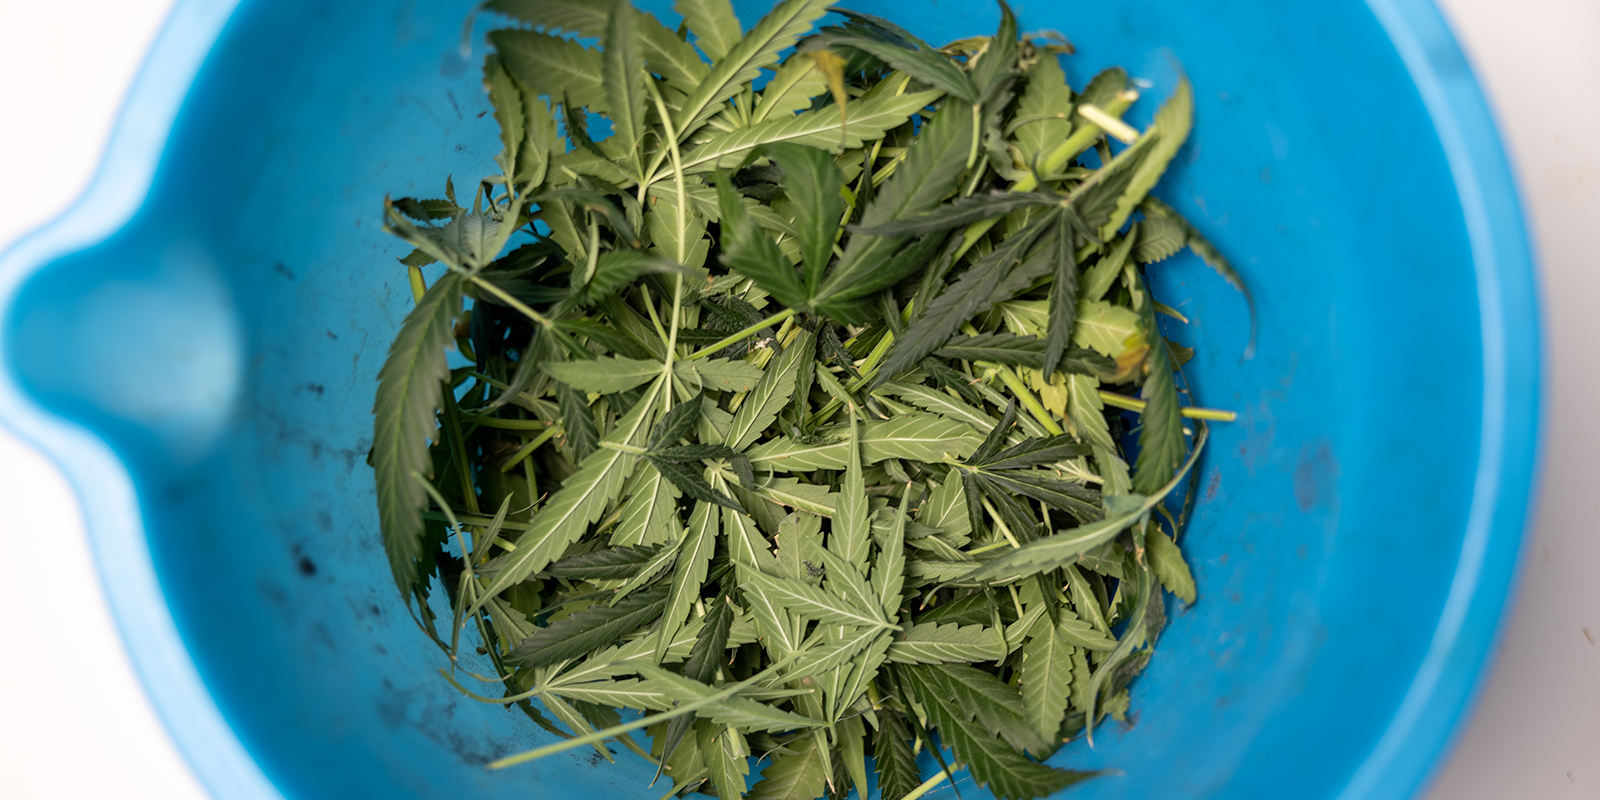
Defoliation can boost yield and plant health, but only if done correctly. Many new growers make the same mistakes, leading to stunted, slowed growth, stressed plants, or reduced harvests. Here are some of the most common pitfalls to avoid when practising cannabis defoliation.
Over-defoliation
It's easy to get carried away, but stripping too many leaves at once robs your plant of the solar panels it needs for photosynthesis. Plants struggle to produce energy without enough foliage, resulting in stunted growth and airy buds. A good rule of thumb is to never remove more than 20–25% of leaves in a single session. Always give your plants time to recover before trimming again.
Wrong timing
Defoliating at the wrong stage of growth can do more harm than good. Heavy trimming late into flowering, for example, diverts energy away from bud production just when the plant needs it most. Limit significant defoliation to the vegetative stage or very early in flowering for the best results. With autoflowers, timing is even more crucial due to their short life cycle.
Cutting healthy leaves
Not all large leaves are “in the way". Avoid removing healthy leaves that do not obstruct light or airflow. Every fan leaf plays an important role in energy production, and cutting off too many vigorous leaves can weaken plants. Focus instead on yellowing or damaged leaves and only remove green, healthy leaves if they're truly blocking bud sites or airflow.
Post-defoliation care
.jpg)
After defoliation, your plants will need a little extra attention to recover quickly and continue thriving. Think of this stage as helping them bounce back so they can focus their energy on developing strong, resin-rich buds.
Nutrients & recovery time
Defoliation temporarily stresses your plants, so providing the proper support is key. Ensure they have access to balanced nutrients and fertilisers to fuel new growth and maintain overall health. Pay particular attention to nitrogen during the vegetative stage and lean more towards phosphorus and potassium during flowering, as these macronutrients will help your plants channel energy where it's needed most. Allow at least a few days between defoliation sessions for plants to recover before trimming again.
Monitoring plant response
Keep a close eye on your plants in the days after defoliation. Signs of healthy recovery include perked-up leaves, steady vertical growth, and new bud site development. On the other hand, drooping leaves, yellowing, or slowed growth may indicate that too many leaves were removed or that the plant is struggling. If you notice stress signals, hold off on further trimming and focus on providing stable conditions: good airflow, consistent lighting, and optimal watering.
Tools and accessories for defoliation
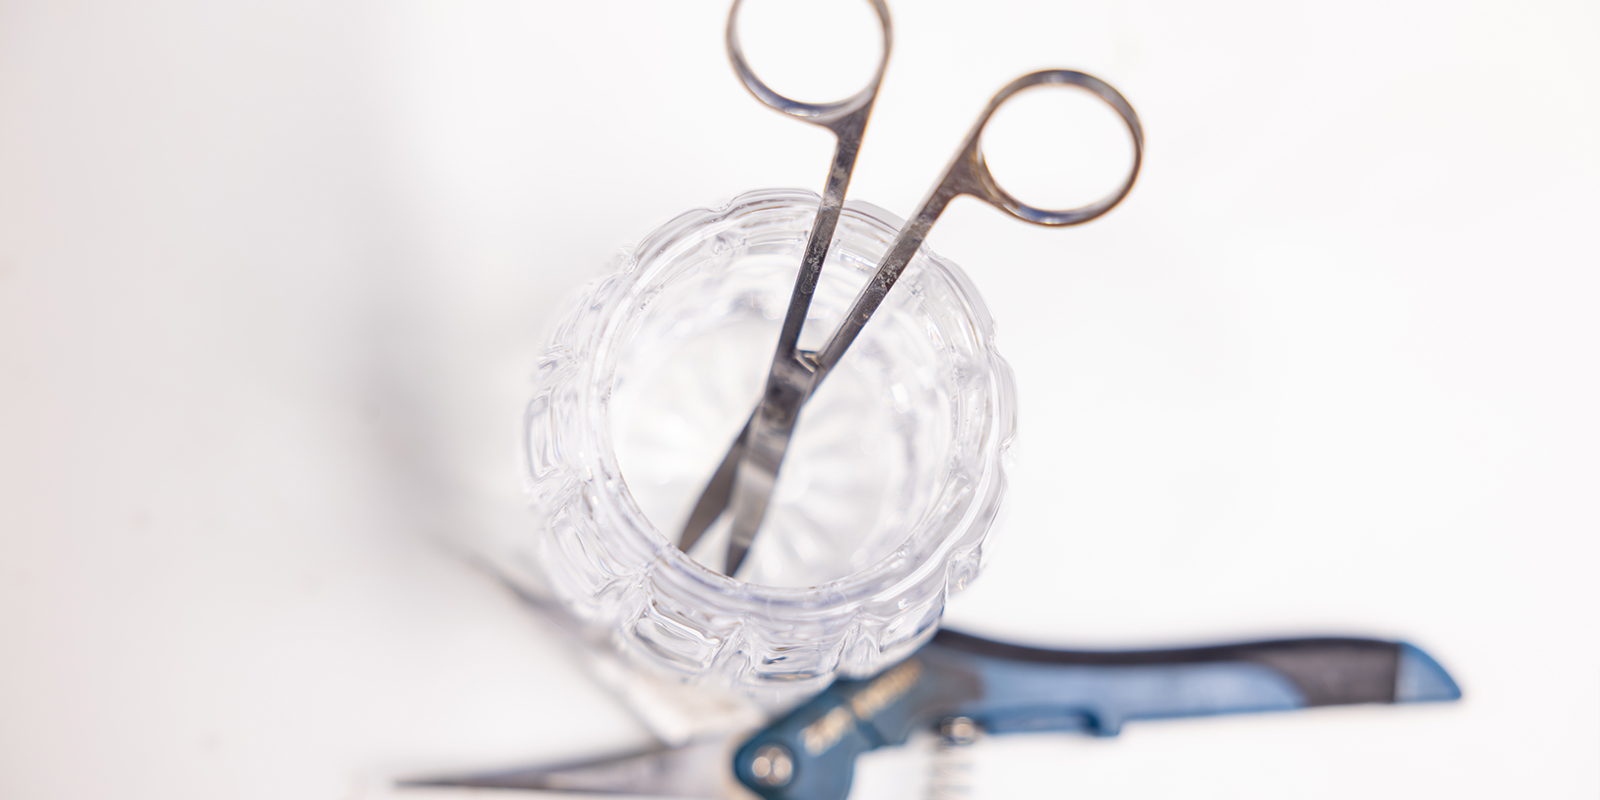
Having the right equipment makes a huge difference in safe and effective defoliation. Clean, sharp tools ensure precise cuts that heal quickly and, most importantly, minimise stress.
Best scissors and pruners
Professional Pruning Shears are ideal for general cutting jobs such as snipping larger fan leaves or tackling thicker stems. Their ergonomic design helps reduce hand fatigue during longer trimming sessions.
Bud Cutter Bonsai Scissors are designed for precision work. These lightweight scissors let you reach into dense canopies and remove individual leaves without damaging surrounding buds. They're also excellent for delicate trimming later in the growing cycle.
Sterilisation tips
Always sterilise your tools before and after each use. A quick wipe with isopropyl alcohol or another disinfectant helps prevent the spread of pathogens, mould, and pests between plants. Clean cuts made with sterilised scissors or shears also heal faster, reducing the chances of infection and stress.
By investing in the right accessories and keeping them clean, you'll make the defoliation process smoother, safer, and more effective for your cannabis plants.
Less leaf, more bud: let's grow
.jpg)
When applied thoughtfully, cannabis defoliation can be the difference between an average harvest and a truly impressive one. By removing select leaves at the right time, you'll improve light penetration, boost airflow, and reduce the risk of pests and mould, all while directing energy where it matters most: your buds.
The key is moderation. Avoid over-defoliating, respect the plant's growth stage, and pay close attention to how your plants respond. Whether you're experimenting with defoliating autoflowers or fine-tuning your photoperiod grow, the principles remain the same: work gradually, be precise, and support your plants with proper aftercare.
Ready to implement these techniques? Explore the Zamnesia Grow Hub for more expert guides, tips, and essential accessories to help you achieve the healthiest plants and the heaviest yields.


 United States

.jpg)
