How to cure your cannabis
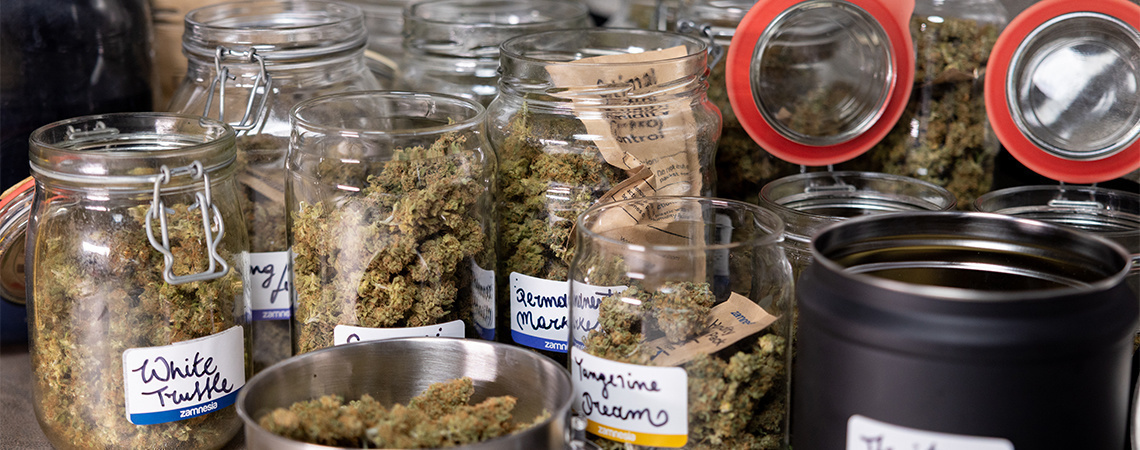
Curing cannabis is what transforms your harvest into a smooth, potent, and flavourful smoke. Learn how to cure cannabis at home using the right tools, techniques, and humidity levels to maximise the shelf life and quality of your buds. Your perfect cure starts here.
Think your grow ends once your plants get the chop? Not quite. Proper curing can make or break your weed. Luckily, you’re about to receive a crash course on how to cure weed at home.
After trimming and drying your pot, it might feel like the hard work of growing is finally over. But if you want flavourful, potent buds that stay fresh for months, there's one crucial step left: curing, a process that transforms fresh flowers into a delectable smoke with a long shelf life.
In this guide, we'll show you how to cure bud using step-by-step instructions, expert tips, and the right tools. From picking the proper containers and monitoring humidity to spotting common curing mistakes, this article covers everything you need to know about perfectly curing your next batch of weed.
What is curing and why does it matter?
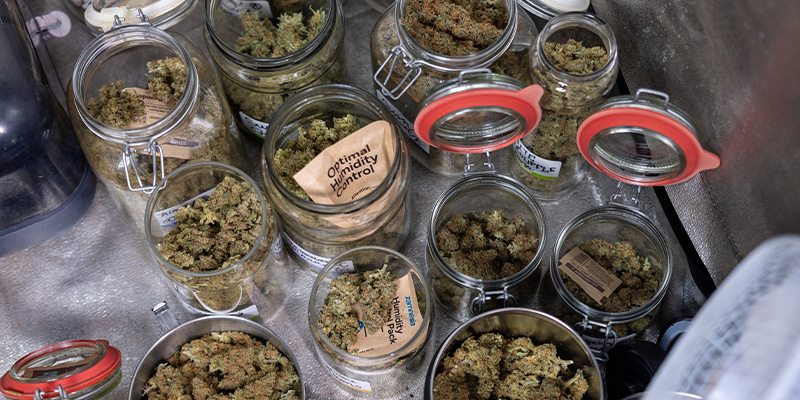
Curing cannabis is the slow, controlled process of ageing freshly dried buds in a stable environment, usually in sealed containers with carefully managed humidity. While drying removes most of the moisture from your flowers, curing helps preserve their cannabinoids and terpenes while breaking down unwanted compounds, such as chlorophyll.
Why proper curing is crucial
Regardless of your level of growing experience, understanding the benefits of proper curing can't be overstated. These include:
- Flavour enhancement: Cured cannabis takes on a deeper, more complex flavour profile. That’s because the curing process locks in aromatic terpenes while degrading chlorophyll, ridding flowers of the “green” or grassy taste they naturally have after being freshly harvested.
- Smoother smoke: Curing reduces harshness by allowing the residual moisture and sugars in cannabis buds to break down gently. This results in a flavourful and smooth experience, whether you smoke or vape.
- Potency preservation: Cannabinoids like THC degrade when exposed to heat, light, and air. Properly curing your buds will slow this degradation and stabilise the potency of your weed over time.
- Longer shelf life: When stored correctly, well-cured bud can stay fresh for months without developing mould or losing terpenes.
For those wondering how long it takes to cure weed or whether the process is worth the wait, the answer is simple: skip curing, and you risk ruining the very harvest you worked for all season.
Preparing buds for curing
There’s some preparation that precedes the curing process. This involves drying your weed, followed by a good trim to remove excess plant matter that could impact its quality. Rushing or skipping these steps increases the risk of mould, uneven curing, or poor flavour.
Drying: The foundation of a proper cure
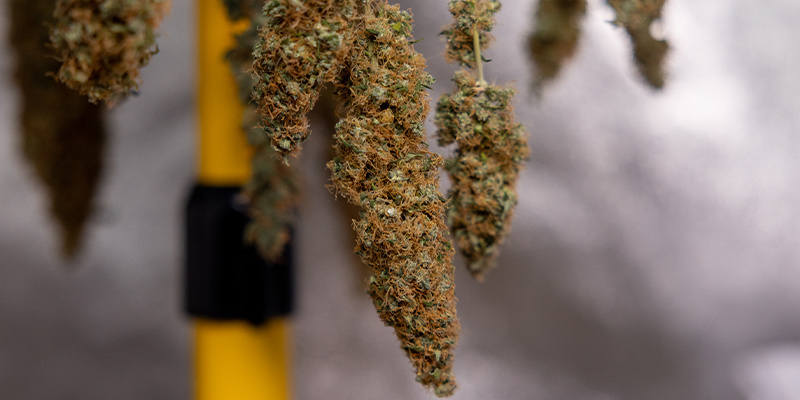
Curing doesn't start until your cannabis has been dried correctly. The goal is to reduce the moisture content in your buds to around 10–15%, just enough so that they're not wet, but still pliable on the inside. Here are some tips for drying your cannabis before curing:
- Hang your branches upside down in a dark, well-ventilated room.
- Maintain a temperature of around 18–22°C (65–72°F).
- Aim for humidity around 50–60%.
- Drying typically takes around 7–10 days, but some growers prefer drying their weed more slowly and for longer to retain more terpenes.
Avoid over-drying your buds during this stage, as overdried weed can lose its aromas, flavours, and smoothness. If your weed is too dry, see our article on how to save over-dried marijuana for rehydration techniques.
Trimming: Clean buds cure better
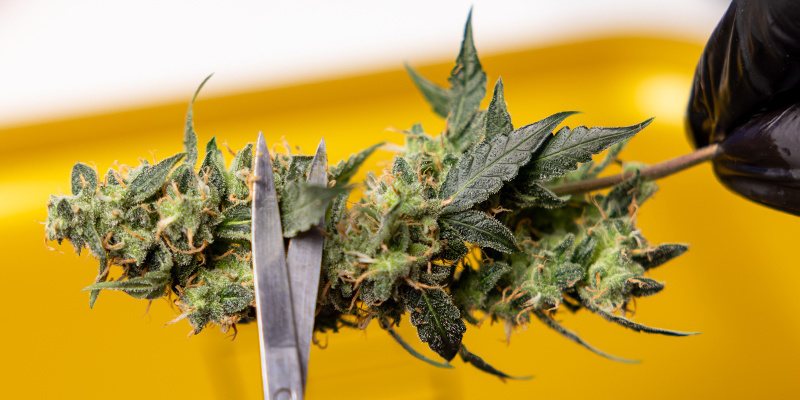
Once your weed has dried, it's time to get trimming. This involves removing sugar leaves and other excess material from your buds to improve their flavours further. While some growers trim before drying (wet trimming), others prefer to trim after (dry trimming). Whichever you choose, the aim is the same: to produce neat, manicured buds that cure evenly.
Here are some basic weed trimming tips:
- Use precision trimming scissors for detailed work around your buds.
- Avoid touching the buds too much, as the oils from your fingers can degrade trichomes.
- Remove stems and fan leaves that serve no benefit in the curing process.
Want to improve your trimming setup? Check out these essential harvesting tools and our guide to trim cannabis plants for more in-depth trimming advice.
By taking the extra time to dry and trim your buds correctly, you're setting the stage for a successful cure that maximises the taste, aroma, and potency of your weed.
Best containers and tools for curing
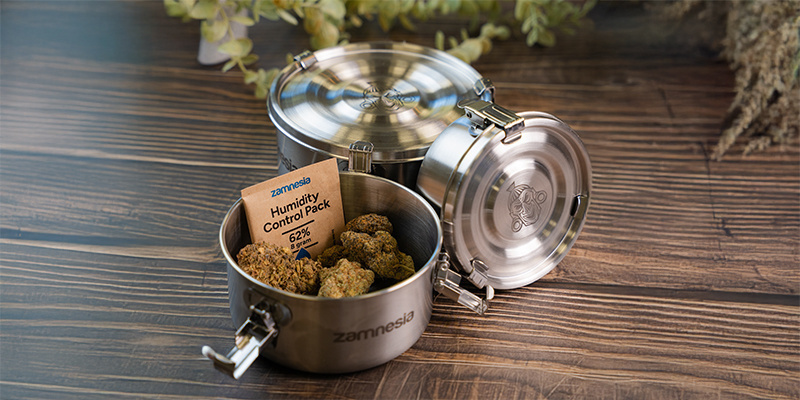
The container you use for curing can make or break your harvest. Whether you’re curing a small personal batch or larger quantities, using the right cannabis curing tools will help you achieve excellent results.
Mason jar vs. grove bags
Mason jars are the go-to method for growers interested in curing cannabis in jars. They're widely available, affordable, airtight, and allow for easy “burping”; the daily air exchange needed during the early stages of the curing process.
Pros of using mason jars
- Affordable and reusable.
- Excellent seal for moisture and oxygen control.
- Perfect for small to medium-sized harvests.
Cons of using mason jars
- Need manual burping (1–2 times daily for the first 1–2 weeks).
- Risk of mould if buds are too wet or over-packed.
For a more automated approach, many home growers are turning to Grove Bags, a modern solution designed specifically for cannabis curing and storage.
Pros of Grove Bags
- Self-regulating humidity environment.
- Less tactile control than traditional jars.
Both options can work effectively when used properly, so the best way to cure marijuana often comes down to personal preference and scale.
Must-have tools for proper curing
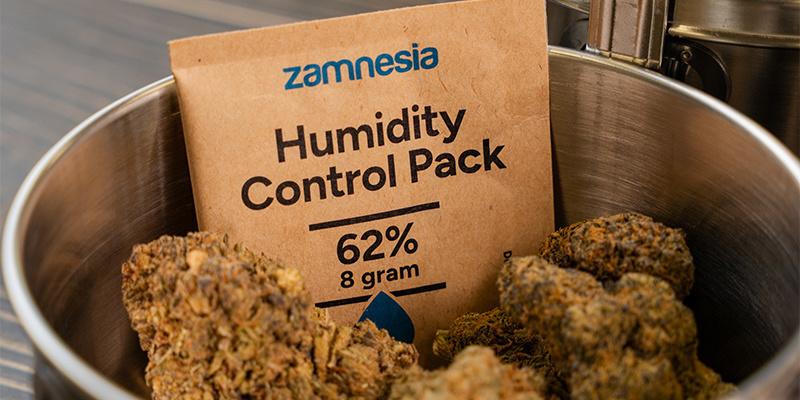
You’ve picked out the kind of container you'd like to use. But there’s a variety of other tools out there designed to help you learn how to cure cannabis like a pro:
Hygrometers
Digital or analogue, these devices measure the relative humidity (RH) inside your container. A mini hygrometer fits perfectly inside mason jars and helps you stay within the ideal curing humidity range of 58–62% RH.
Humidity packs
Two-way humidity control packs help to stabilise RH during the curing process and are a staple choice among both beginners and advanced growers.
Explore Zamnesia's full selection of curing jars, humidity control packs, and other essential curing gear in the harvest, dry & cure section of our grow shop. Using these tools will help you avoid common mistakes like curing at 50% humidity (too low), curing in plastic containers, and more (see Common Curing Mistakes To Avoid below).
Step-by-step: How to cure cannabis
Ready to take your harvest to the next level? Follow the instructions below, and you'll notice a dramatic improvement in the quality of your buds before and after the cure. Don’t worry, curing marijuana is easy, even for beginners!
1. Fill jars or bags ¾ full
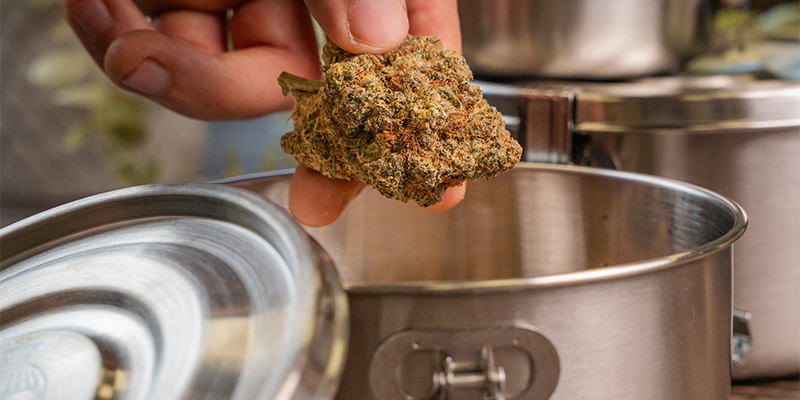
Whether you're using mason jars or curing bags, fill each container to 75% of its capacity. This leaves enough space for airflow and prevents overcompressing your buds. Packing your buds too tightly can trap moisture, creating a breeding ground for mould.
2. Store in a cool, dark place
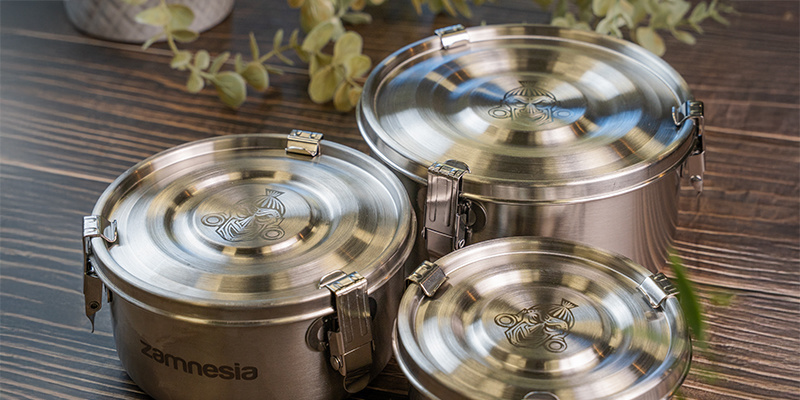
As we mentioned earlier, light and heat degrade cannabinoids, so store your curing containers in a dark cupboard or drawer at a temperature of 15–21°C (60–70°F) for the best results. Avoid direct sunlight and fluctuating temperatures, especially if you're curing your weed in transparent containers like jars.
3. Burp daily for the first 1–2 weeks
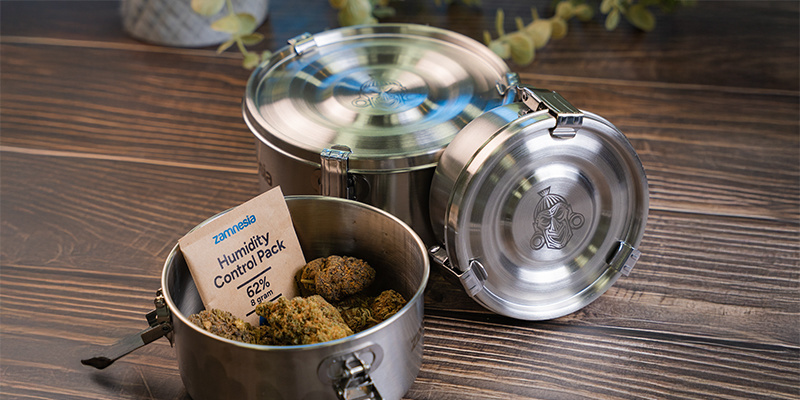
Burping refers to briefly opening your containers once or twice daily to release built-up moisture and replace it with fresh, cool, and dry air. This is vital during the early stages of curing to prevent mould and help regulate internal humidity.
- In weeks 1–2, burp for 5–10 minutes daily.
- After week 2, burp every 2–3 days, then once weekly.
- If your buds feel too damp, burp longer and more frequently.
Read more about how and why to burp cannabis properly in this dedicated guide.
4. Monitor relative humidity (RH)
.jpg)
The ideal RH range for curing is 58–62%. This keeps buds from becoming too dry or too moist. If RH spikes above 65%, remove your buds from their containers and dry them for a few hours. On the other hand, if RH drops below 55%, consider using a humidity pack to restore the balance.
Check out our full article on drying cannabis for a complete walkthrough on RH and its importance.
By maintaining the right environment and being consistent, you'll discover that curing marijuana doesn't need to be complicated. It’s all about having the right tools, a solid process, and staying consistent.
Common curing mistakes to avoid
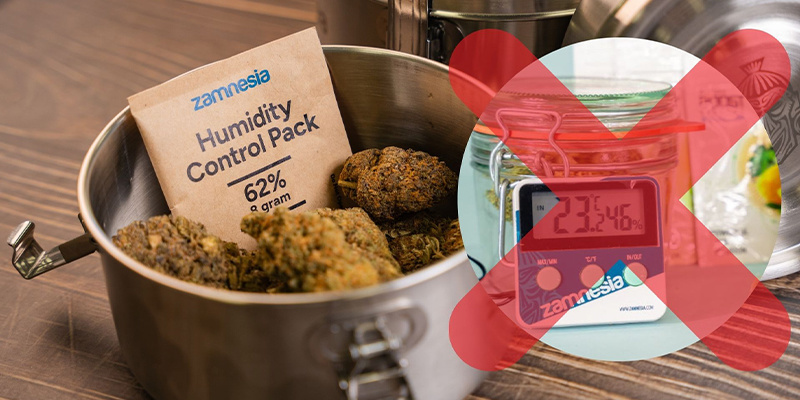
Even with the best intentions, it's easy to make mistakes when curing cannabis, especially if you're rushing the process or not fully monitoring conditions. To help you avoid ruining your hard-earned harvest, here are the most common curing mistakes and how to fix or prevent them.
Sealing wet buds too soon
One of the most serious curing mistakes is sealing buds that are still wet. Even though they might feel dry to the touch, your cannabis flowers may still contain a lot of trapped internal moisture. Enclosed in a jar or bag, this creates the perfect environment for mould. Unfortunately, there’s no way to get rid of mould on curing buds.
Pro tip: Always ensure your buds snap rather than bend at the stem before jarring. When in doubt, dry your buds for an extra day before curing them.
Skipping the burping process
Skipping daily burping in the early curing stage can cause moisture and stale air to build up in your jars, promoting microbial growth. It's one of the key reasons beginners find their buds smelling “off” or tasting grassy. If you're using traditional jars rather than Grove Bags, burping cannabis is non-negotiable.
Ignoring relative humidity levels
Curing without a hygrometer is like cooking without a thermometer. Many growers ruin their cured cannabis by failing to monitor RH levels. Be sure to keep the RH in your jars/bags in check, and remember: above 65% will cause mould, and curing stops at below 55% humidity.
Using plastic bags for curing
While plastic bags might seem like a great, cheap alternative to jars, they're terrible for curing. They allow oxygen exchange but trap moisture inconsistently, making them prone to mould growth and producing weed with flat flavours. Plus, the static caused by the plastic can damage trichomes, ruining the potency of your stash.
For the best results, stick to glass jars, Grove Bags, or a dedicated curing machine or cannabis curing chamber if you want a more controlled setup.
How long should you cure cannabis?
Once you've set your buds in jars or curing bags and begun the daily burping routine, the next question naturally arises: how long does it take to cure weed? The answer depends on your goals, but generally, patience pays off.
Minimum curing time
At the very least, you should cure cannabis for 2 weeks. However, the flavours and potency will continue developing past this time, and longer curing will yield better results.
Ideal curing duration: 4–8 weeks
For premium-grade cured cannabis, most experienced growers recommend a curing period of four to eight weeks. This allows chlorophyll to fully break down, terpenes to stabilise, and moisture to distribute evenly throughout your buds. Some connoisseurs even cure their stash for up to six months.
Signs that your cure is complete
Not sure if your buds are fully cured? Look out for these indicators:
- Smooth, flavourful smoke with no harshness.
- Strong, rich, and complex aroma. No grassy or “green” smell.
- Firm but springy buds that aren't brittle or too moist.
- Stable RH between 58-62% without fluctuations inside your curing containers.
- Sticky trichomes that remain intact when handled gently.
Once your buds hit these benchmarks, it's time to transition from curing to long-term storage, an important distinction we'll cover shortly.
Can you cure cannabis too long?
While patience is essential, curing cannabis indefinitely isn't always beneficial.
Plateau vs. degradation
After about 6–8 weeks, most of the biochemical processes that enhance your buds' flavour, aroma, and smoothness will have plateaued. At this point, your cannabis has reached its peak cured state.
Curing beyond this window won't necessarily improve quality. In fact, if environmental conditions aren't controlled, extended curing could lead to:
- Degradation of THC into CBN.
- Loss of terpenes due to oxidation or evaporation.
- Brittle, over-dry buds (if humidity falls below optimal levels).
To prevent this, it's best to shift your harvest after eight weeks.
Curing vs. storing: Know the difference
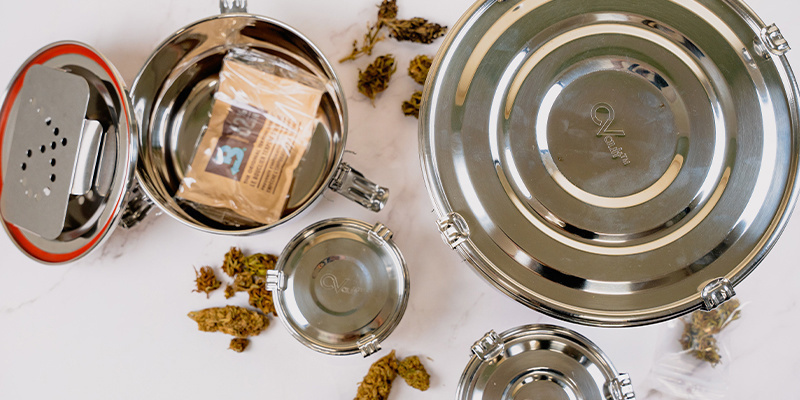
Curing is an active process requiring regular RH checks and air exchange. Storage, on the other hand, is all about maximising the shelf life of your weed. To store your buds properly, seal them in a dark, airtight container at a stable 58–62% RH, ideally with the help of a humidity pack.
If you're storing more than just dried flower (like edibles, oils, or concentrates, for example), be sure to read our dedicated guide on how to store cannabis edibles properly.
What about water curing?
Some growers experiment with water curing cannabis, a method that submerges buds in distilled water to flush out impurities. While it accelerates chlorophyll breakdown and reduces curing time, water curing can also strip weed of terpenes and diminish its aroma.
Find out if water curing is right for you here.
The cure is complete!
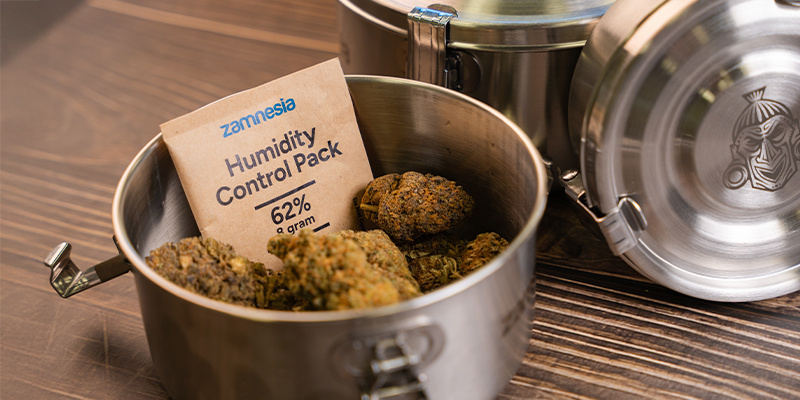
Mastering how to cure cannabis is what separates mids from dispensary-grade flower. Luckily, with the right combination of timing, technique, and tools, even beginners can produce smooth, aromatic, and long-lasting weed. Keep this guide handy and, with a little practice and consistency, you'll turn every harvest into top-shelf bud in no time!


 United States


