
How To Build Your Own Nutrient Film Technique (NFT) Hydroponics System
There's no denying the appeal of using hydroponics to cultivate high-quality cannabis. Using the nutrient film technique (NFT), it's never been easier to harness the power of hydro. In this article, we take a look at everything you need to know about this method, including how to create your very own NFT setup!
There are many ways to cultivate cannabis. From simple one-plant indoor setups to sprawling outdoor projects, there's no single way to achieve a high-quality weed crop. However, one method that continues to grow in popularity is the nutrient film technique, or NFT for short. But this isn't some crypto cannabis endeavour; no, this is a hydroponic system that lets you make the most of your grow. Allow us to explain.
What is nutrient film technique (NFT) hydroponics?
-hydroponics.jpg)
The NFT process is a little different from your typical hydroponic setup. Instead of administering nutrients using a fine mist (aeroponics), or flooding and draining the substrate (ebb and flow), the NFT constantly submerges the roots of the cannabis plant in a stream of nutrient solution. First utilised by Dr Allen Cooper in the 1960s, this growing technique is especially suited to growing weed, and is ideal for practically all levels of expertise. So if you've ever thought about branching out and trying hydroponics, this could be a viable option. But how does it work?
How does NFT hydroponics work?
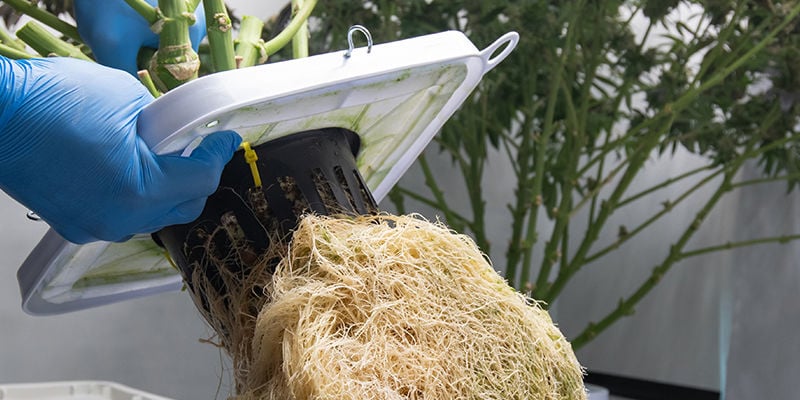
Although water is required for this process to work—hence the “hydro” in hydroponics—providing oxygen to the roots is just as essential.
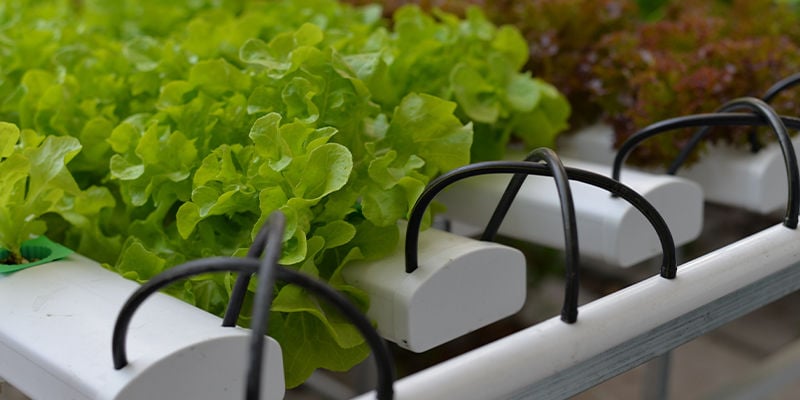
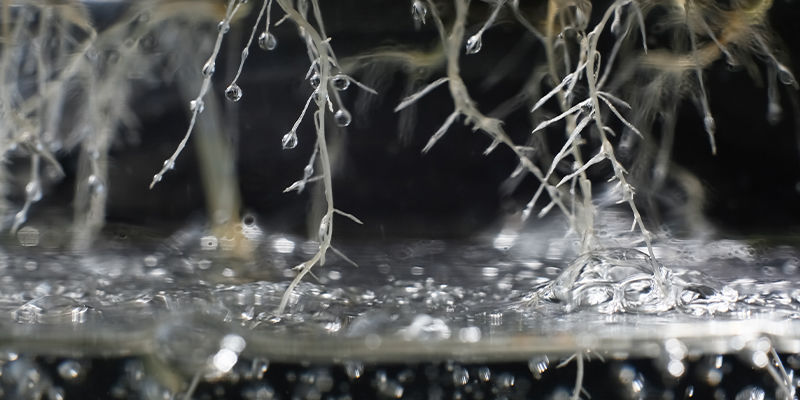
NFT works by using a pump to provide a constant shallow flow of nutrient solution over the roots. This solution is passed through a plant tray (or channel) that's positioned at a slight incline. Cannabis plants in net pots are slotted into the channel, resulting in the roots being constantly covered in a thin film or coating of solution, giving them all the nutrients they need. At the same time, the roots never become soaked, and the upper portions of the root system remain completely dry, exposing them to the necessary oxygen. The solution circulates over the plant roots and then returns to the reservoir below, ready to be pumped through again.
Of course, it takes a finely tuned amount of nutrients to get the best out of your plants, as too much can result in issues such as root burn and other ailments. Fortunately, we'll cover exactly how to create your own NFT setup at home shortly.
Benefits of growing cannabis with NFT hydroponics
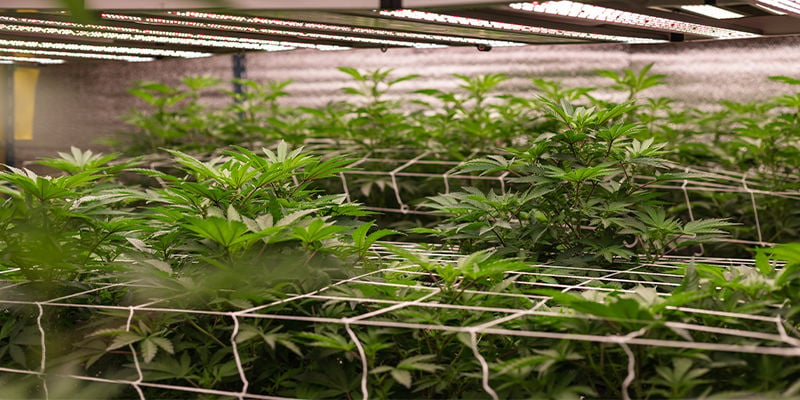
So, why use an NFT hydroponic setup? Well, there are many benefits of this technique compared to other methods. Here's what you can expect from a successful NFT system.
Larger yields
Weed plants grown using the NFT are typically arranged in a manner that maximises space and resources, potentially resulting in larger yields per square metre. After all, plants receive a continuous flow of nutrient solution and therefore don’t require hand watering. In addition to saving water, this allows plants to be positioned in a way that utilises all of the available space while still giving plants sufficient room to carry out essential processes and grow.
Additionally, as cannabis roots have a constant supply of oxygen, this promotes healthy vegetative growth and makes plants much more receptive to nutrients. The nutrients are distributed in water-soluble ionic forms, meaning they diffuse directly into the roots.
Compared to growing in confined pots in soil, the roots of plants in NFT setups have plenty of space to stretch out and freely develop. All of these factors combine to promote healthy plant growth, resulting in sizeable yields come harvest time.
Versatile
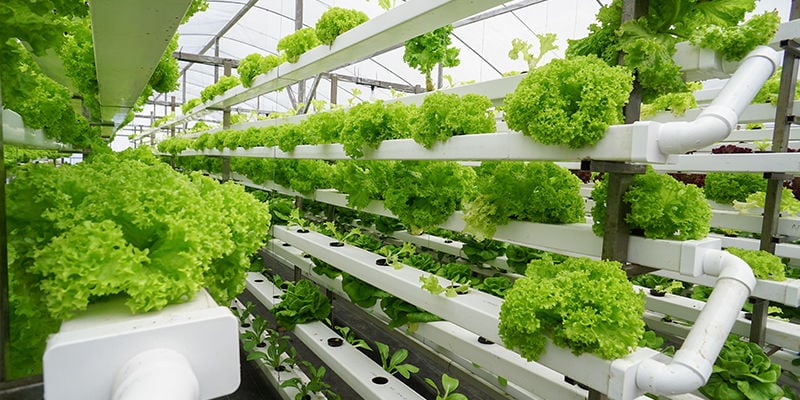
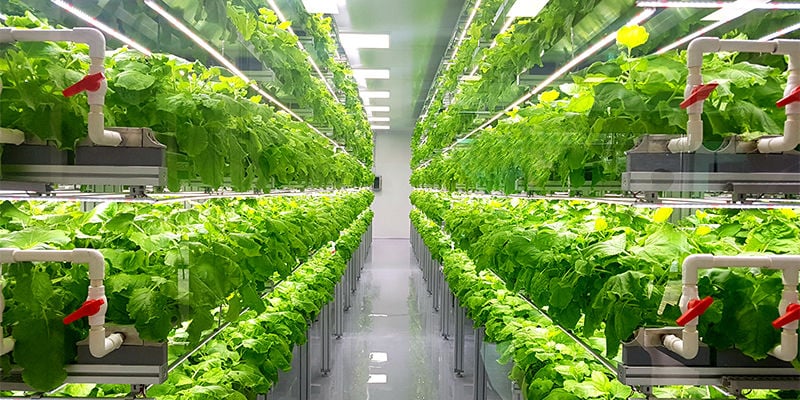
Nutrient film technique systems are incredibly versatile and well-suited to various settings and environments, both indoors and outdoors. As mentioned, plants in NFT systems are arranged in a manner that utilises space as effectively as possible. Not only reserved for cannabis, growers can slot in a variety of other plants, as long as they thrive in a similar pH range. Many NFT growers choose to add plants such as lettuce, spinach, and even fruits like strawberries to sit alongside their prized cannabis cultivars. The options are vast.
Easy to maintain
Thanks to the simple, hands-off design of NFT systems, the required maintenance is minimal once in place. With so many other hydroponic setups requiring complex cleaning with parts that need to be changed, this is not the case with NFT. As it relies on just a few components, it's effortless to separate and clean them in between growing projects.
The gravity-friendly angle of the channel also means that debris accumulates much slower than with other techniques. The entire NFT system doesn't contain bends or crevices, so cleaning is easy, regardless of prior experience.
Makes plant observation easy
With some growing setups, plants are hidden away, meaning the health of the roots can be tricky to check. However, with an NFT system, this isn't an issue. Growers can easily remove plants from their position and check their undersides to see if there are signs of any root ailments. This constant visual access to the roots allows you to take swift action should any problem arise. Typically, NFT systems attract fewer pests and diseases compared to some other methods.
How to build an NFT hydroponic system for cannabis
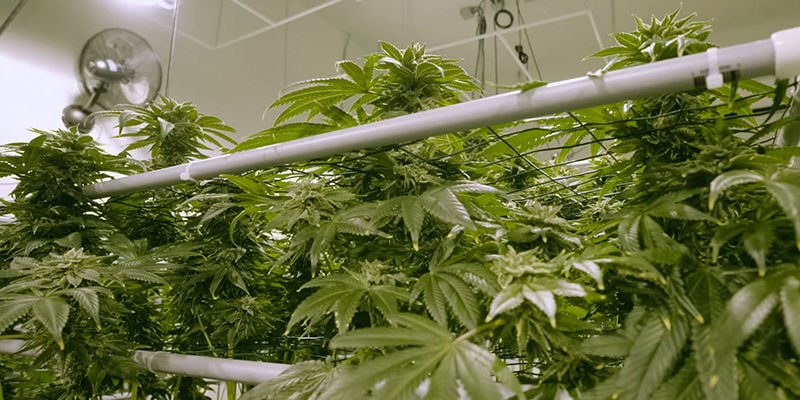
So, now you know precisely what an NFT system entails and the benefits it provides—but how do you go about creating one for yourself? In this section, we'll give you a breakdown of the equipment you'll need, and some concise steps to follow. In no time at all, you'll have your NFT system up and running.
Equipment
- 110cm square gutter pipe
- Drill with a hole saw
- Christmas tree drill bit
- Cable ties
- Pump
- 10cm net pots
- 10-gallon (~38l) plastic tote
- Air stone
- Heat gun
- Pliers
- Stanley knife
- Wood/PVC pipe/scaffolding
A quick note before we get into the directions—depending on how many plants you're looking to grow, the length of the square gutter pipe can be tailored. For example, the 10cm net pots will need 20cm spacing. So, on a piece of 110cm square gutter pipe, you'll have space for three plants to flourish. If you want to grow more, you can always look to get a larger section of pipe. And, of course, you can use a shorter one if you plant to cultivate fewer plants.
Directions
Now that you've got your equipment ready, it's time to begin assembly. Patience goes a long way with a project like this, so take your time when following our instructions, and you can't go wrong. Let's get into it!
1. Construct the frame
A good NFT system starts with a reliable and sturdy frame, and this is where we'll begin.
Whether you use PVC pipe, wood, or scaffolding to achieve this is entirely up to you, but this frame will serve to hold your growing channel. Regarding height, this is ultimately down to how many plants you intend to grow, and perhaps the environment in which you're growing. That said, we recommend creating a frame with a length of 130cm, as this will be big enough to house the 110cm section of square gutter pipe we'll use later on.
Of course, these measurements can be tailored further if you're considering using a larger channel to house more plants.
As the NFT system requires a slant to work correctly, you'll need to add several centimetres at one end. This will allow the channel to sit at an angle once in position. As a rule of thumb, aim for an incline of around 3%, allowing for a gentle flow that will prevent any pooling in the channel. Once you're happy with your frame, fix your channel into position using cable ties.
2. Prepare the channel
Once your frame has been constructed and the channel is in position, you'll need to prepare it for your net pots. First, use your heat gun on the top end of your channel until it’s malleable. Then, close that end shut by angling it upward. This will create a sealed lip that will prevent any water from leaking out of the top.
Next, you need to create the holes for the net pots. Use a tape measure alongside the 110cm guttering and make a mark at 25cm, 55cm, and 85cm. Once the net pots are in position, these markings will give your plants the designated 20cm spacing. Once satisfied with your measurements, take your drill and use the hole saw bit to drill into the marked sections with a diameter of 10cm—perfect for the net pots to slip into.
3. Create the reservoir
Now you'll have to create the reservoir for your system. You'll need roughly 5.7 litres (1.5 gallons) per plant, which equals around 17 litres (4.5 gallons) for the entire setup. Here's where you'll need the 38-litre (10-gallon) plastic tote. Depending on the overall height of your frame, you may need to elevate your tote off the ground so it will reach the low end of the channel.
Once you've found a suitable position, choose a side of the tote and use a Stanley knife to cut a rectangular hole large enough for the end of your channel to slot into. Ensure there are no excess gaps or space for light to penetrate through. The rectangular hole should be cut closer to the lip of the tote, keeping it well above the water line. Once satisfied, insert the end of the channel into the hole, and you're nearly there.
The final part of this step is creating an additional hole through which you’ll feed your pump’s hose. This can easily be achieved by using your drill and a suitably sized bit. Drill this additional hole close to the lip of the tote and then thread the hose through. Once in place, drill another hole next to this one, leaving enough space for the air stone hose to be fed through.
4. Establish the flow
Things are really beginning to take shape now, and your NFT system is nearly there! Next, we need to establish flow. Use your drill to create a new hole in the growing channel. This hole will need to be 5cm between the upper end of the channel and the first net pot. Once drilled, insert the end of your pump hose into the channel.
Now it's time to place your air stone and pump in the reservoir tote and connect them to their pipes. Fill the reservoir with 17 litres (4.5 gallons) of nutrient solution and power up your system. If all has been connected correctly, you should see the water entering the top of the channel and then trickling down to the lower end. This process will repeat for as long as the pump is powered. Finally, place a lid over your tote. This will prevent any light from creating algal growth.
5. Watch your cannabis plants thrive
You've done it; you've created your NFT system! Now it's just a case of watching your plants flourish. Germinate your seeds as usual; once they've reached a stable seedling stage, move them into net pots and give them some extra support by plugging any gaps with clay pebbles. With very little maintenance required from this point on, power up your grow lights (if cultivated indoors) and keep a keen eye on the pH level to ensure the best growing environment for your plants.
Tips for starting a nutrient film hydroponics system
Setting up your NFT system might seem daunting initially, but we're sure you felt the same way when setting up your first home-growing project. The point is; allow yourself time to get accustomed to this “new” method of cannabis cultivation. However, there are some tips that are sure to steer you in the right direction if you find things a little tricky.
Keep nutrient solution temperature consistent
Keep your nutrient solution around the 18–20°C mark. This is the optimal temperature for your plants’ root system and will allow them to flourish. If you're unsure how to manage this, you can always place a thermometer inside the tote and check it routinely.
Ensure no light reaches the roots
As previously discussed, you'll want to keep things contained and controlled with your NFT system. So consider using light-proof covers to avoid the development of algae.
Make sure your net pots are snug
Following on from the last tip, you might find that your net pots are a little loose when positioned in the channel—likely a result of the hole being too big. However, by attaching some neoprene collars, you can create a snug fit. This will block out light further and create a much more stable environment for your plants.
Which hydroponic system is best for cannabis?
There's no denying that we all want the best for our weed plants. Keeping them healthy and thriving is vital for achieving sizeable harvests of high-quality buds. While the nutrient film technique is a viable method of hydroponic cannabis cultivation, is it the best option? Ultimately, there's no definitive answer to this question. Many factors are involved in each hydroponic system, as they all have different requirements, not to mention different degrees of expense and maintenance.
The nutrient film technique requires a little know-how and may be off-putting to complete novices, but growers with a bit of experience should not feel intimidated by the process. However, as is the beauty with cannabis cultivation, plenty of options exist to satisfy all levels of experience.
-
 4 min
14 August 2023
How To Diagnose & Treat Cannabis Nutrient Lockout
Did you know that a common cause of nutrient deficiencies in cannabis is nutrient lockout? Keep reading to learn more about nutrient lockout, why it occurs, and how to best treat it to ensure a...
-
 4 min
25 July 2023
What You Need To Know About Hexahydrocannabinol (HHC)
A new cannabinoid called HHC is making significant waves across the cannabis industry, especially in North America, where HHC vape cartridges and flower are flooding dispensary shelves and marketed...
-
 5 min
18 March 2021
Should You Grow Cannabis Using Soil, Coco Or Hydroponics?
Should you grow your weed in soil, coco coir or hydroponics? Below, we take a look at the different growing media you can use to cultivate cannabis, along with their pros and cons.
-
 2 min
16 December 2018
How To Make A Hydroponic System From A Soda Bottle
Want to give hydroponics a try, but don't have the resources for a big setup? No problem! DIY soda bottle hydro systems utilise everyday items to create a great environment for cannabis to grow....


 United States


