










.svg)
.svg)
.svg)
.svg)
.svg)
.svg)



 Mushroom Dosage Calculator


 Contact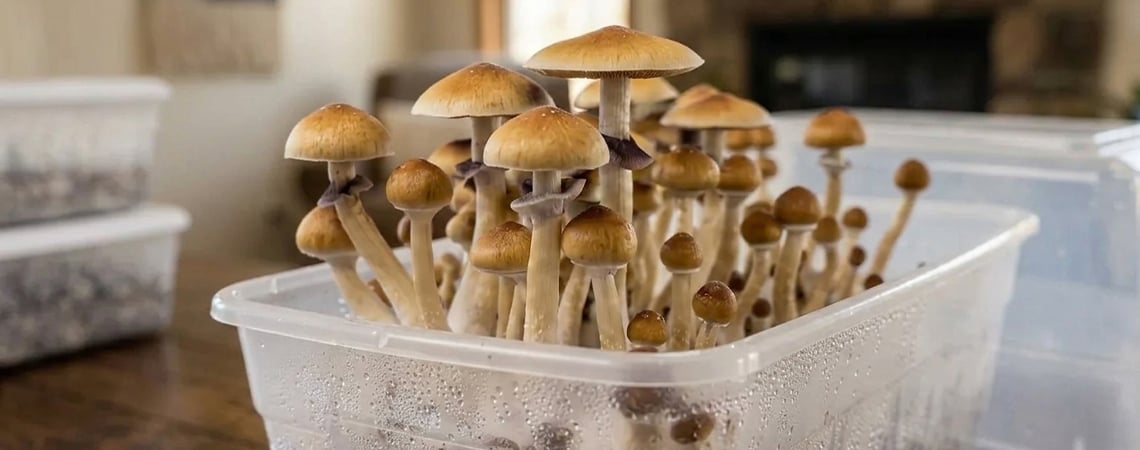
 6 min
6 min
Shoebox Tek: Complete Guide to a Shoebox Mushroom Grow
Short on space? This walkthrough shows how a shoebox mushroom grow goes from spawning to first pins, with practical tips for moisture, airflow, and avoiding common mistakes.
Shoebox Tek is one of the easiest ways to get your first home grow off the ground: minimal kit, low cost, and a forgiving setup that fits on a shelf. Because each tub is small, you can learn fast, dial things in without risking a big batch, and scale up by running a few boxes side by side.
In this guide, we’ll break down Shoebox Tek (also known as Shoebox Technique) from the ground up, including what it is, why it works, and how to build a simple shoebox monotub for reliable results. You’ll also get a clear, beginner-friendly walkthrough of prep, spawning, and getting Shoebox Tek fruiting conditions right, plus the main pros, cons, and common mistakes to avoid when you’re getting started with shoebox mushroom growing.
What is Shoebox Tek?
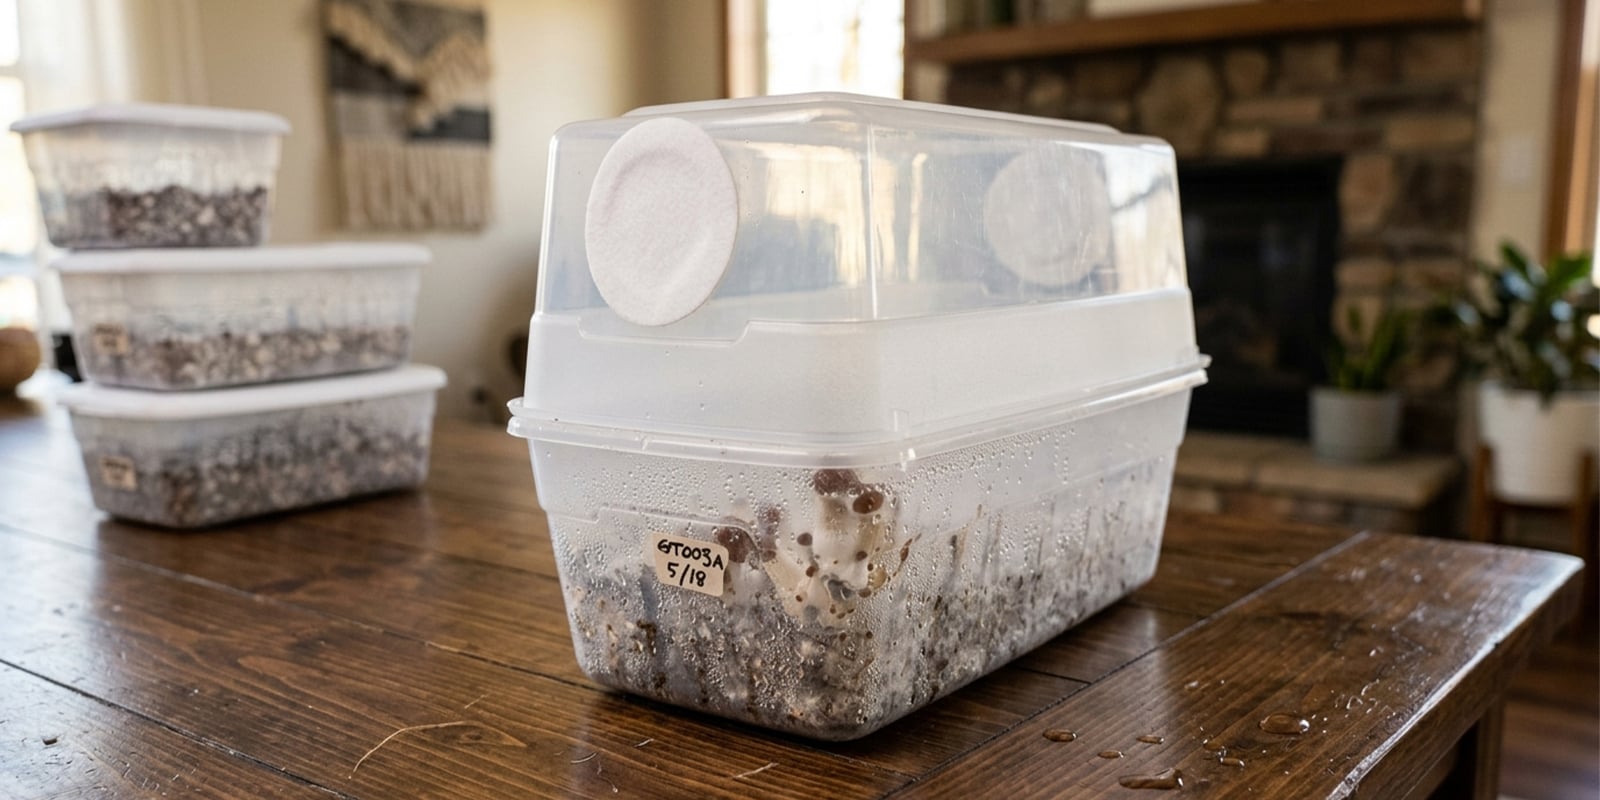
Shoebox Tek is a small-tub method of mushroom cultivation where you fruit a compact “mini monotub” in a simple plastic box, typically around the size of a shoebox. Instead of relying on complex hardware, it uses the container’s lid and small air gaps to retain humidity while still allowing sufficient fresh-air exchange for healthy growth.
It’s commonly called a shoebox monotub because it follows the same core idea as a monotub, creating a stable microclimate above a colonised substrate, but in a scaled-down format that’s easy to handle and cheap to replace. For a bigger-picture look at the classic approach, see our monotub mushroom cultivation guide.
Compared with larger monotub setups, shoeboxes are quicker to set up, easier to dial in, and less punishing if something goes wrong (you’re not risking a huge batch). Shoebox Tek is best suited for beginners, hobby growers with limited space, and anyone who prefers running multiple small tubs rather than one large project.
Benefits and downsides of Shoebox Tek
One of the biggest draws of Shoebox Tek is how little you need to get started. A couple of small plastic tubs, a clean workspace, and basic supplies go a long way, making it a low-cost option compared with larger builds that often involve bigger containers, liners, filters, or drilled holes.
The compact size also keeps things discreet. A shoebox monotub can sit in a cupboard, on a shelf, or in a tucked-away corner without taking over your living space, and running a few small tubs lets you learn by doing without putting all your eggs in one basket. For first-timers, the straightforward workflow of shoebox mushroom growing is a real confidence booster.
That said, smaller tubs have limits. Yields are typically lower than you’d get from a large monotub, and surface area is capped no matter how dialled-in your process is. They also demand closer attention to moisture and airflow; Shoebox Tek fruiting can stall if the substrate dries out, but excess condensation and stale air can invite problems just as quickly.
How to set up Shoebox Tek
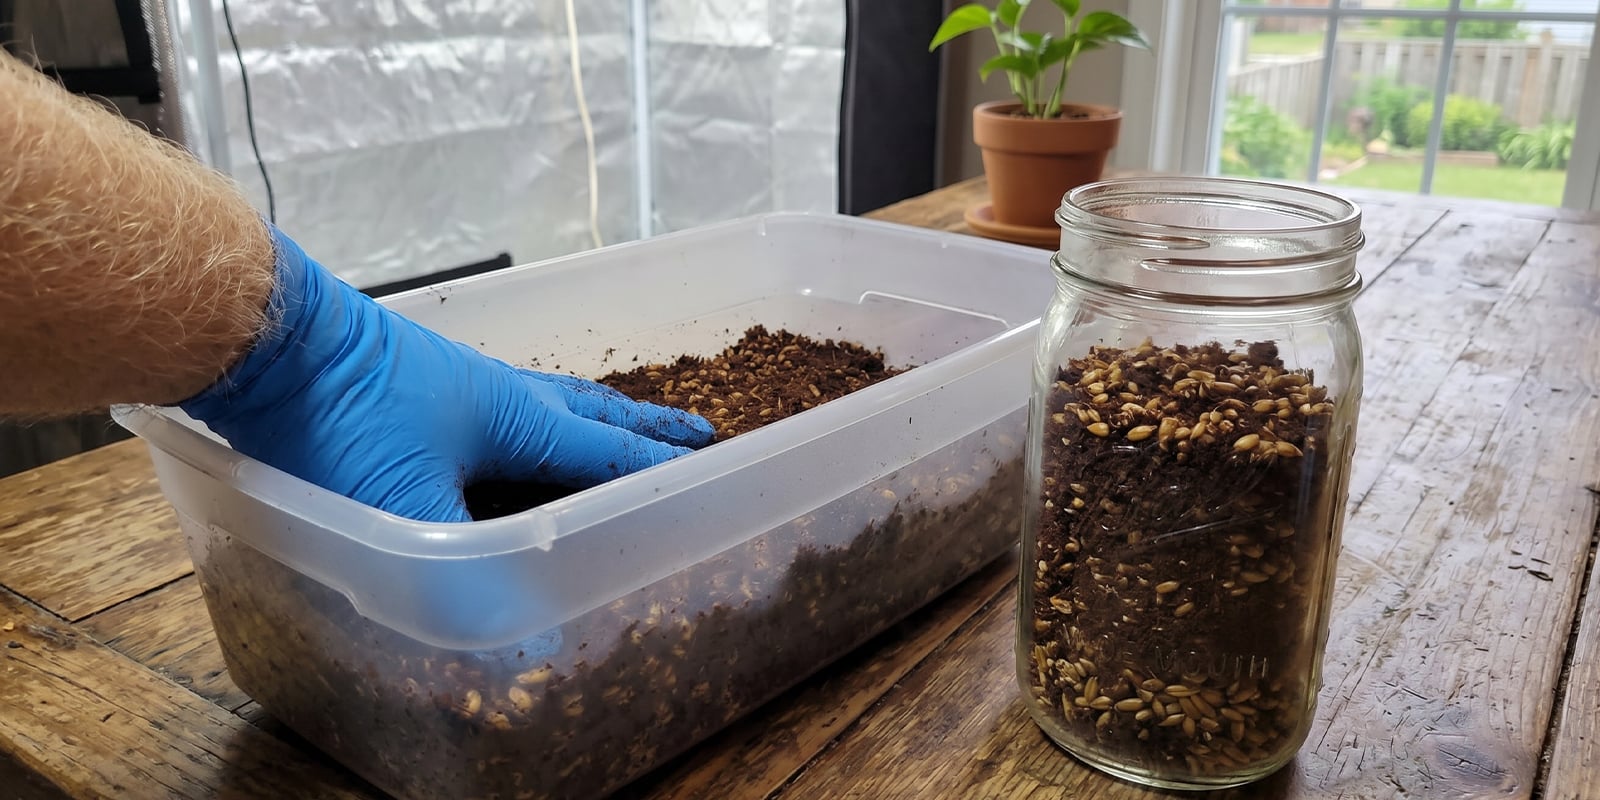
Setting up Shoebox Tek is refreshingly simple: you’re essentially building a clean, compact grow chamber and giving your mycelium a well-prepared substrate to run through. Below, we’ll cover the basic materials you’ll need and then walk through the process step by step, from choosing the right tub to getting everything mixed, levelled, and ready for colonisation.
Choosing the right substrate for Shoebox Tek
Substrate choice matters because a shoebox tub has less buffer for mistakes. Many growers stick with simple, proven options like coco coir (often with vermiculite) or other bulk mixes designed to hold moisture while staying airy. If you want a deeper breakdown of options and when to use them, our magic mushroom substrates guide is a solid reference.
Whatever you choose, hydration is the make-or-break detail. Aim for an evenly damp substrate rather than soggy; excess water pools, reduces oxygen, and can slow colonisation. Clean handling is just as important: pasteurise or properly prepare your bulk substrate, and avoid introducing unsterile tools or dirty hands, as contamination can spread quickly in a small container.
Equipment
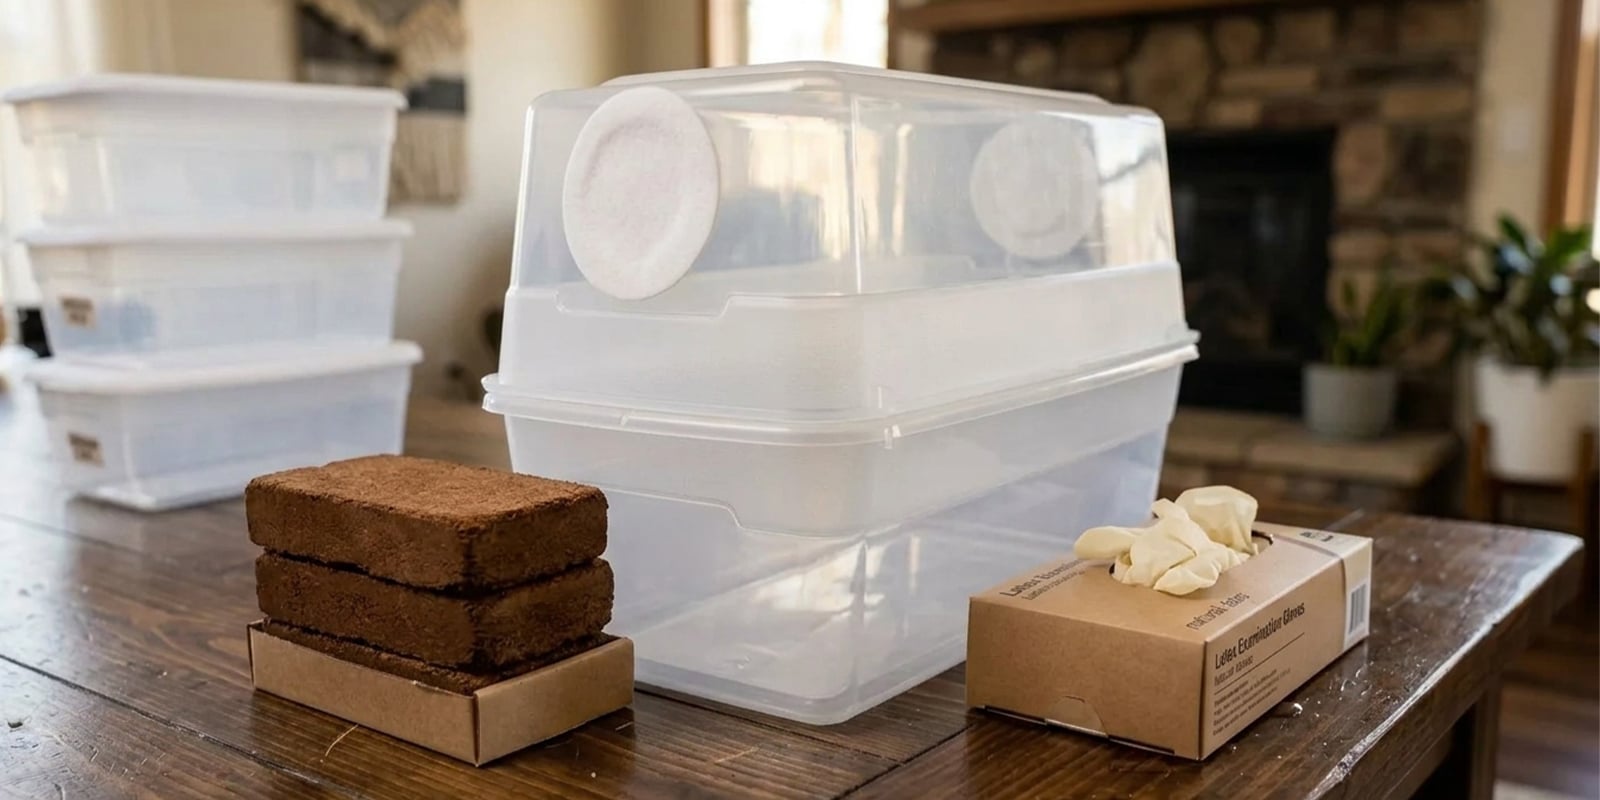
You don’t need a lab setup to run Shoebox Tek, just a few dependable basics.
- Plastic shoebox container (approx. 5–7 L): Clear tubs make it easier to monitor surface moisture and growth without constantly opening the lid.
- Colonised grain spawn: Fully colonised spawn is your clean starting point; weak or partially colonised jars/bags raise the risk of contamination.
- Bulk substrate: A properly prepared bulk mix provides moisture retention and structure for the mycelium to spread and form fruits.
- Spray bottle for misting: Useful for fine-tuning humidity, especially if the surface starts to look dry during fruiting.
- Optional lid modifications: Many growers run shoeboxes unmodified, but small tweaks (like slightly offsetting the lid) can help balance airflow and humidity.
Instructions
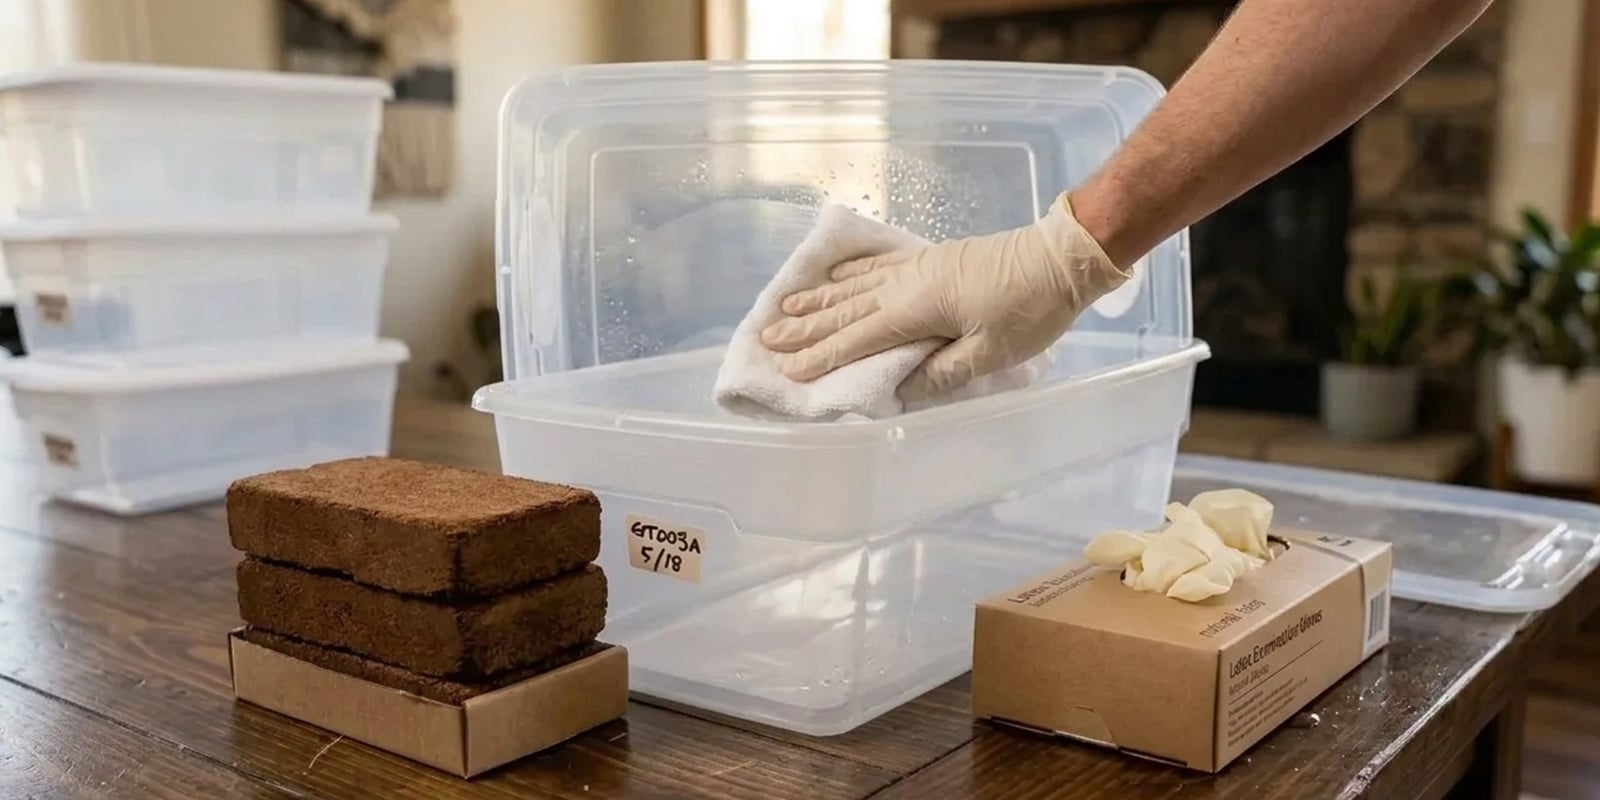
- Prepare the shoebox monotub container: Clean the tub and lid thoroughly, then let them dry. Wipe down your workspace and wash your hands (or wear gloves) before you start, because a small tub can fill up quickly if contaminants get in early.
- Mix grain spawn with bulk substrate: Break up the colonised grain so it’s loose and evenly distributed, then combine it with your prepared bulk substrate. Mix gently, but thoroughly, so the mycelium has lots of contact points to spread, which helps colonisation move at a steady pace.
- Level and compress the substrate: Tip the mix into the tub and level it out, aiming for an even depth across the surface. Lightly compress it so there are no big air pockets, but don’t pack it down hard. Good structure supports airflow through the substrate and more consistent surface conditions later on.
- Close and incubate: Put the lid on and leave the tub alone while it colonises. Many growers keep the lid fully closed during this phase, checking only occasionally; opening too often lowers humidity and increases the risk of introducing spores, dust, or bacteria.
- Maintain proper temperature and humidity: Keep the tub somewhere stable and out of direct sunlight, avoiding big temperature swings and draughts. During Shoebox Tek fruiting, your aim is a gently humid microclimate with enough fresh-air exchange to prevent a stale, overly wet surface. Mist lightly when needed, and adjust airflow gradually rather than making drastic changes.
How long does colonisation take?
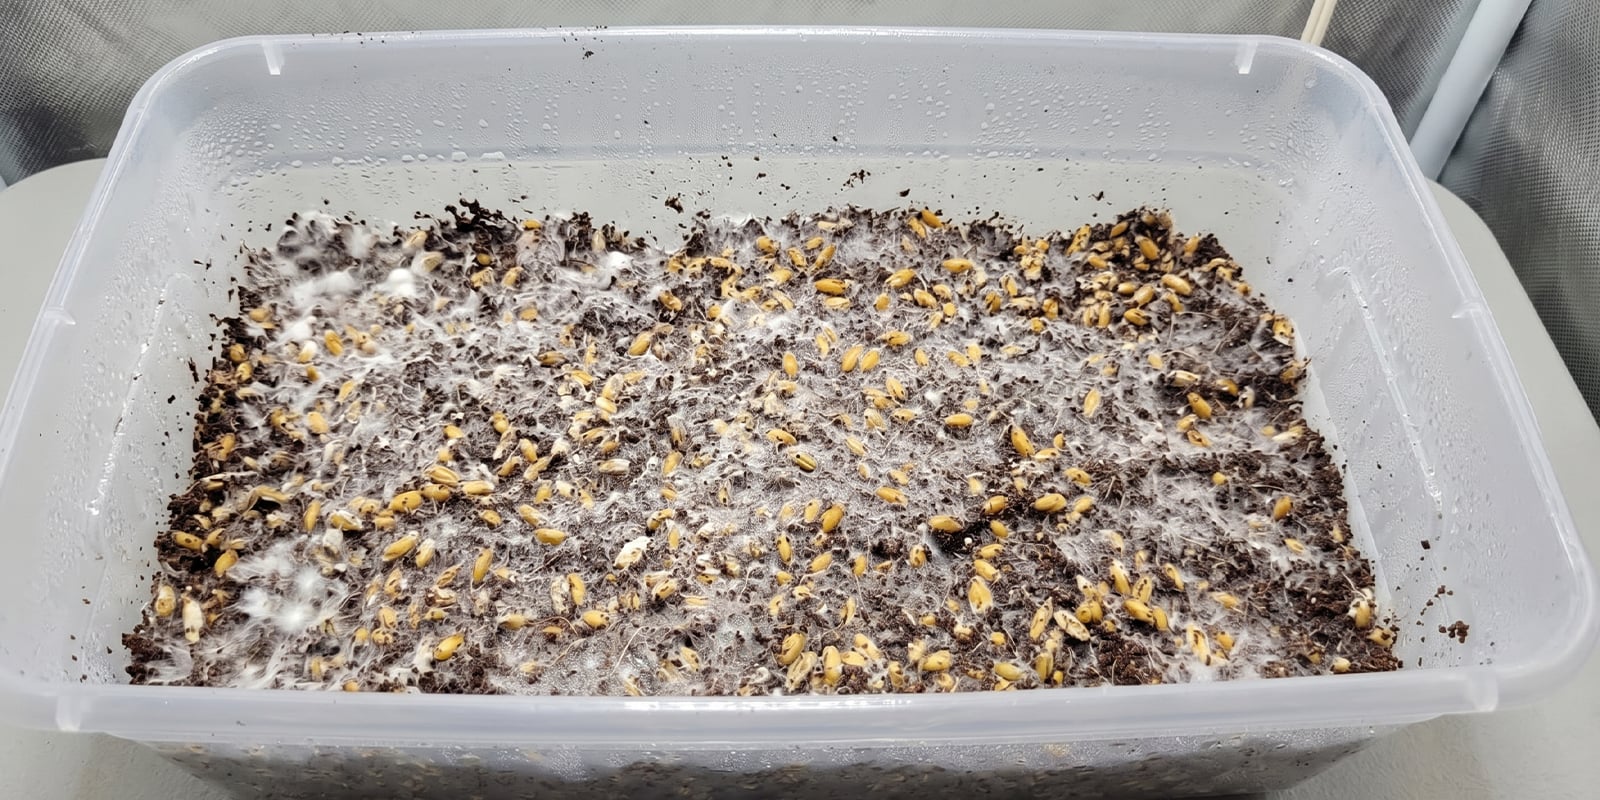
Colonisation time varies with genetics, spawn health, substrate depth, and temperature, but most shoebox grows are ready in roughly 7–14 days. In cooler rooms, it can take a bit longer, while a steady, warm environment usually speeds things up.
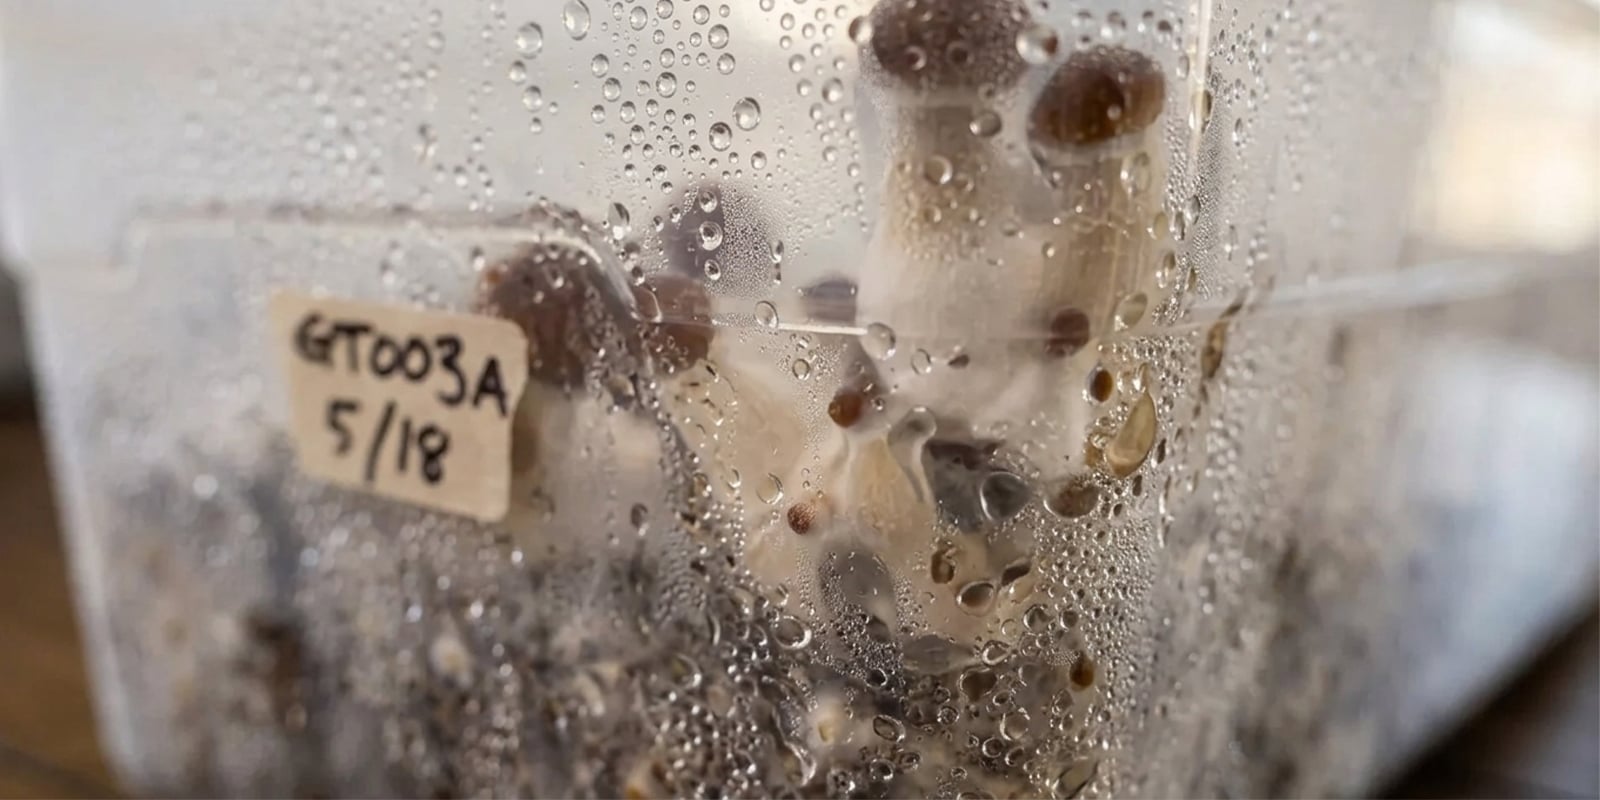
Healthy growth is typically obvious: you’ll see bright white, even mycelium spreading out from the grains and knitting the surface together. It should look vigorous and consistent rather than patchy, and you’ll often notice fine, bead-like moisture on the tub walls, signs that the microclimate is doing its job.
Keep an eye out for anything that looks off. Green, black, or bright yellow patches, sour or “rotting” smells, and slimy areas are classic signs of contamination. Wispy grey growth that seems to race ahead can also be a warning sign. When in doubt, isolate the tub and avoid opening it in your main grow area to prevent spores from spreading.
Shoebox Tek fruiting conditions explained
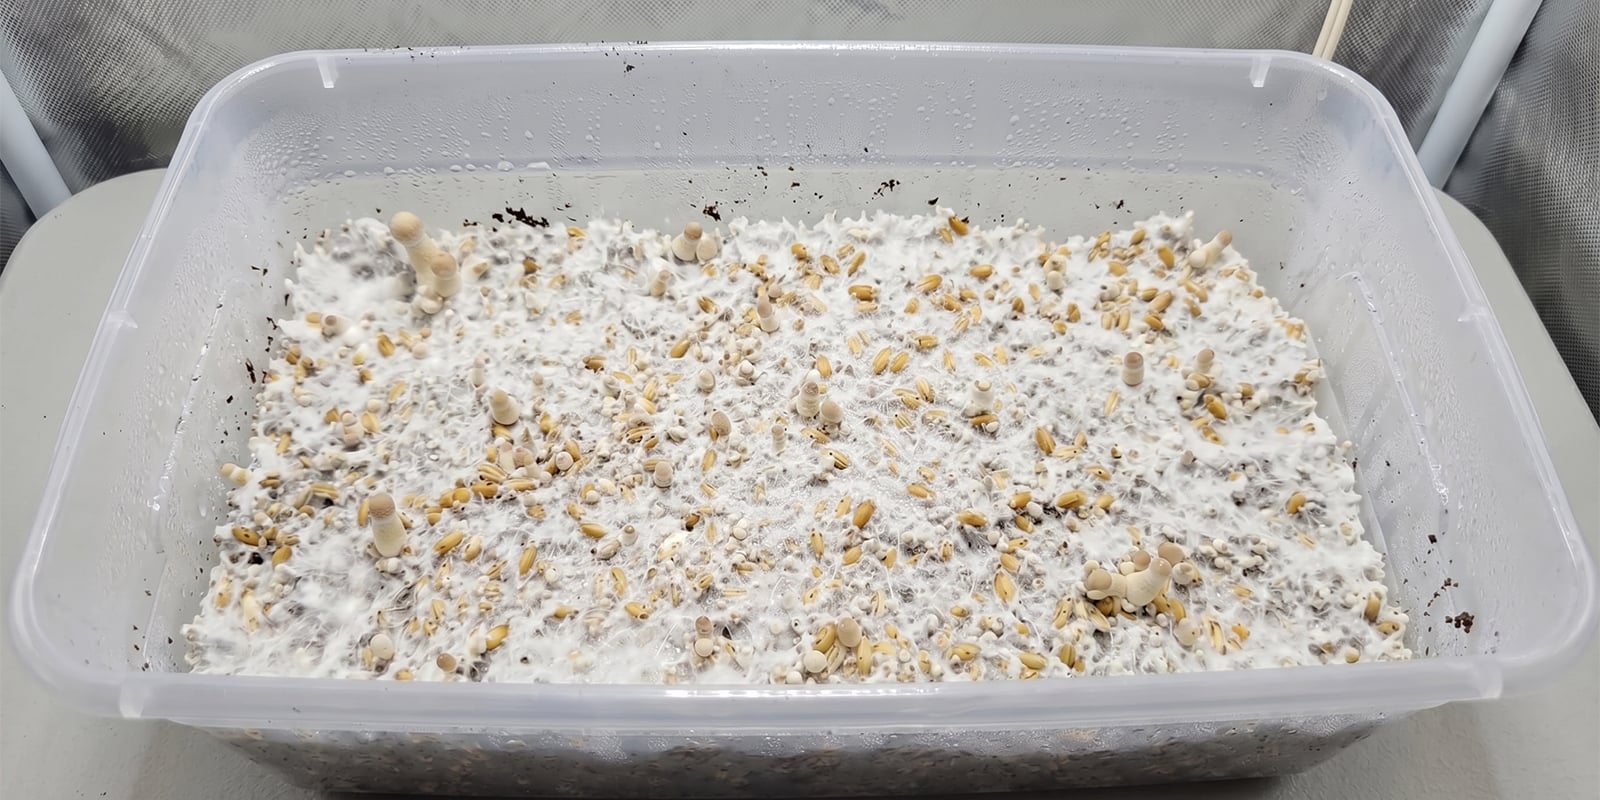
Fruiting conditions usually occur once the substrate is mostly or entirely colonised, with a fairly solid white network across the surface. At that point, the goal is to shift the tub from “incubate” to “breathe”, without drying everything out.
Fresh air exchange is the big lever. In a shoebox, this is often as simple as cracking the lid or flipping it to create a small gap; too little air can lead to long, skinny fruits and a stale smell, while too much can stall things by stripping moisture. Light doesn’t need to be intense; ambient daylight or a gentle 12/12 cycle is enough to help mushrooms orient and develop normally.
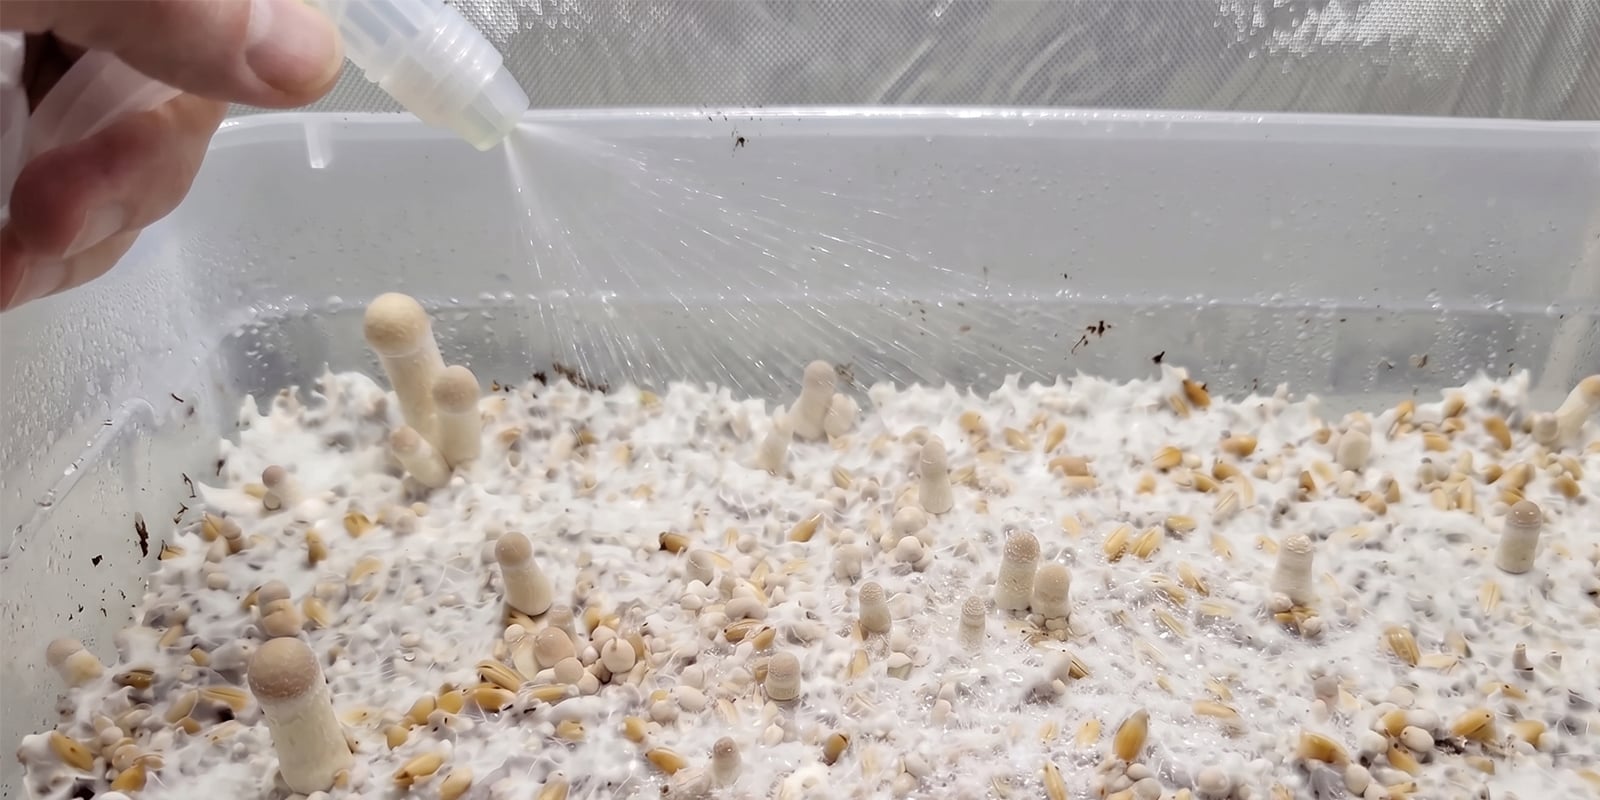
Surface moisture is the other half of the equation. A healthy surface looks slightly glistening with fine beads, not soaked; mist lightly when it starts to matte over, and avoid spraying directly onto developing pins. During Shoebox Tek fruiting, clean habits still matter: minimise unnecessary lid lifting, keep your area tidy, and remove any suspect tubs promptly to prevent contamination from spreading.
How to increase yields in a shoebox mushroom grow
- Use strong genetics: Vigorous, consistent genetics tend to colonise evenly, pin reliably, and deliver fuller flushes with fewer surprises.
- Optimise spawn ratio: A 1:1 to 1:2 spawn-to-substrate ratio usually means faster colonisation and more energy available for larger flushes.
- Maintain proper substrate depth: Keep the total depth around 8 cm to hold moisture without turning the tub into a swamp.
- Dial in surface moisture: Aim for fine, glistening droplets on the surface; pooling invites bacteria, while dryness reduces pin density.
- Balance fresh air exchange: Gentle airflow prevents CO₂ build-up, but keep humidity high enough to avoid cracked caps and stalled pins.
- Control temperature: Stable conditions matter, slightly warmer for colonisation, then a touch cooler once fruiting begins.
- Add a thin casing layer: A 1 cm-thick top layer helps moisture retention and can improve pinsets across the surface.
- Rehydrate between flushes: A careful soak after the first harvest replaces lost water and supports continued production.
- Harvest at the right time: Pick when veils begin to tear to reduce spore drop and encourage strong subsequent flushes.
Common mistakes in a shoebox mushroom grow
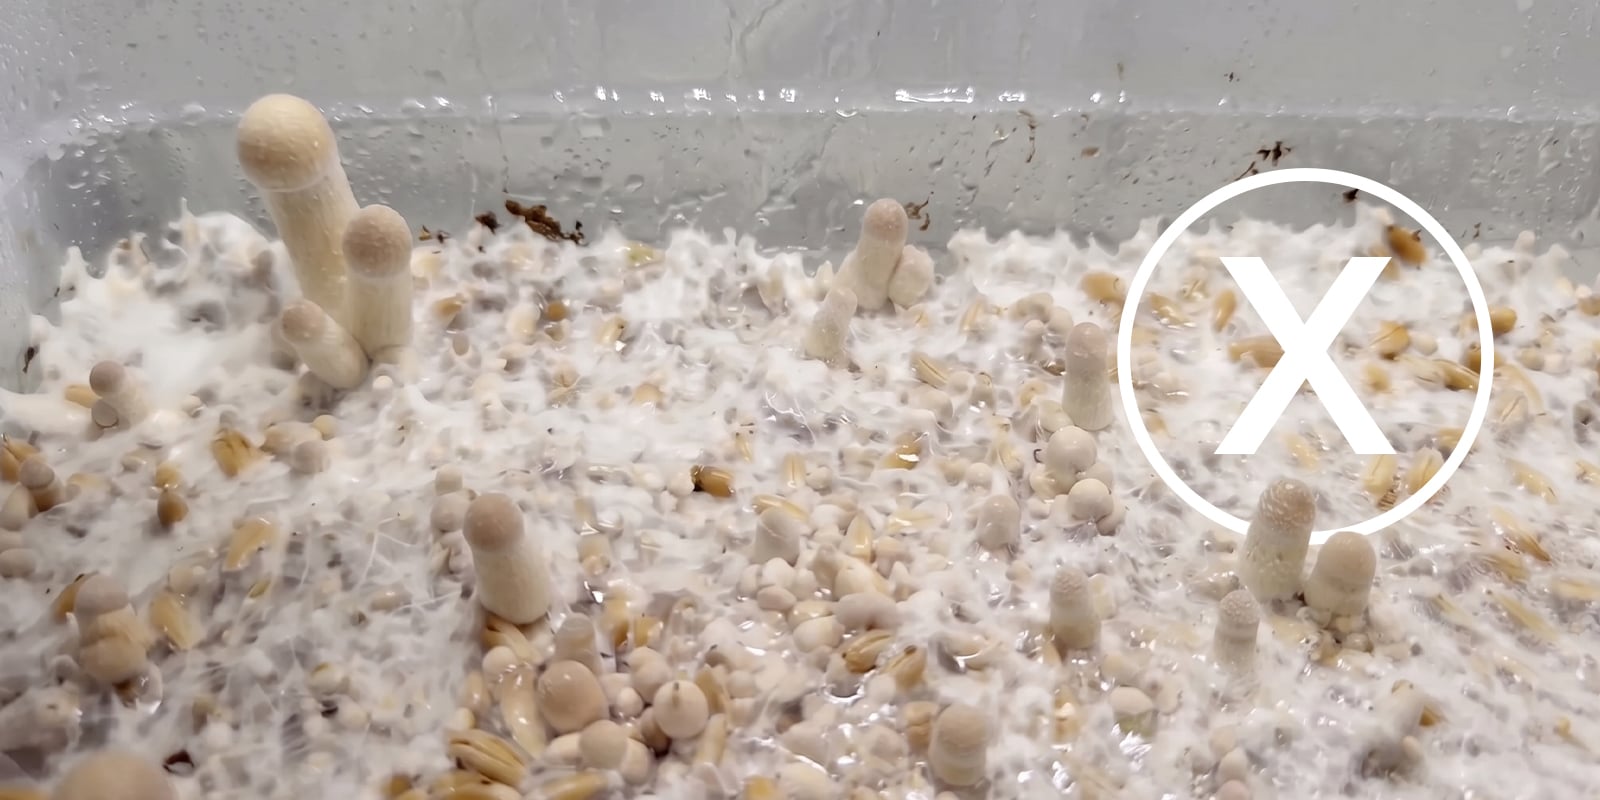
- Over-misting or under-misting: Heavy spraying can leave puddles that invite bacteria, while a dry surface stops pin formation. Aim for fine beads of moisture and adjust in small increments rather than soaking the tub.
- Poor fresh air exchange: Stale air often shows up as long, spindly fruits and slow development. Crack the lid for gentle airflow, but avoid over-ventilating and stripping humidity.
- Contamination risks: Dirty hands, frequent lid lifting, or questionable spawn can derail a grow fast. Keep your workspace clean and isolate any tub with odd colours or smells; our mushroom growing starter guide covers core hygiene basics.
- Using incorrect substrate ratios: Too little spawn can mean sluggish colonisation, but a very “hot” mix may dry out sooner. Stick to sensible spawn-to-substrate ratios for steady colonisation and reliable flushes.
- Harvest timing errors: Waiting too long can lead to heavy spore drop and softer mushrooms. Harvest as the veils start to tear to keep the tub productive for the next flush.
How to avoid contamination in Shoebox Tek
Contamination control starts before you even open the tub. Clean and declutter your workspace, wipe surfaces, and keep hands, tools, and lids as sterile as practical to reduce airborne hitchhikers.
Spawn choice matters just as much. Use only fully colonised, fresh-smelling grain with no wet spots or discoloured kernels, and avoid “questionable” jars even if most of them look fine.
Once the tub is running, check for early warning signs like odd colours, slime, or sour odours, and isolate anything suspicious straight away. For a deeper breakdown of what to look for, see our contaminated mushroom culture guide.
Is Shoebox Tek right for you?
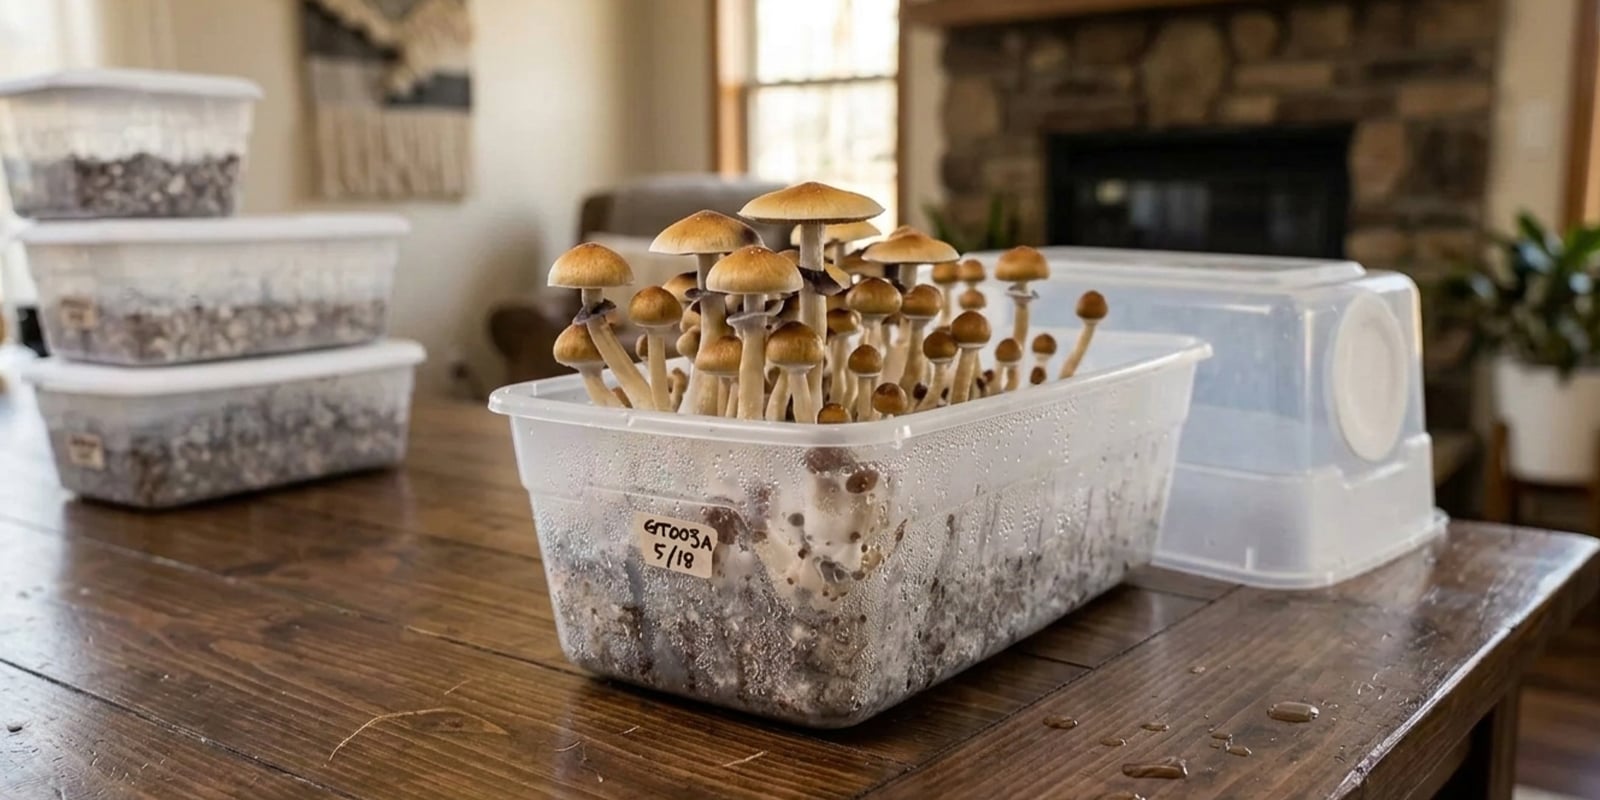
This method shines because it’s simple, low-cost, and easy to run in parallel, perfect for learning the basics without committing to a huge setup. It’s a great fit for beginners stepping up from PF Tek, small-space growers who need something discreet, and hobbyists who want to test genetics without risking a whole room.
Modular tubs also suit anyone who likes to stagger harvests and minimise risk; one problem box doesn’t have to wipe out the lot. When you’re consistently filling multiple shoeboxes and chasing bigger harvests, it may be time to scale up to larger monotubs for efficiency.
Whatever route you choose, keep it informed and responsible: clean technique, patience, and realistic expectations go a long way. Zamnesia is here as a cultivation knowledge hub you can rely on as your skills level up.
-
 5 min
5 August 2025
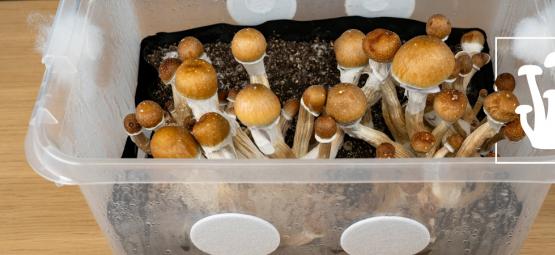
How to build a monotub for mushroom cultivation
There are many ways to grow magic mushrooms, and for the biggest yields, you can't really do better than a monotub! Quick, easy, and very productive, find out how to make one here.
5 min
5 August 2025
How to build a monotub for mushroom cultivation
There are many ways to grow magic mushrooms, and for the biggest yields, you can't really do better than a monotub! Quick, easy, and very productive, find out how to make one here.
-
 5 min
14 April 2025
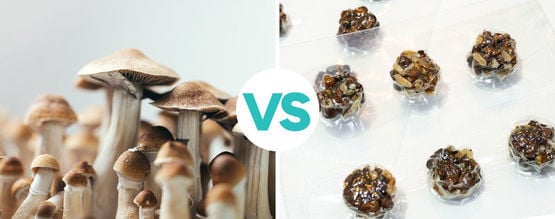
What's the difference between magic truffles and magic...
Magic truffles and magic mushrooms both come from psilocybin-containing species of fungus. However, there are important differences between the two regarding potency, growth, and effects—and these...
5 min
14 April 2025
What's the difference between magic truffles and magic...
Magic truffles and magic mushrooms both come from psilocybin-containing species of fungus. However, there are important differences between the two regarding potency, growth, and effects—and these...
-
 4 min
13 January 2025
How many types of magic mushrooms exist?
There are hundreds, if not thousands, of magic mushroom species, spanning multiple genera. Now, we can't name them all here—they may not all have even been discovered—but we can explore some of the...
4 min
13 January 2025
How many types of magic mushrooms exist?
There are hundreds, if not thousands, of magic mushroom species, spanning multiple genera. Now, we can't name them all here—they may not all have even been discovered—but we can explore some of the...
-
 8 min
4 April 2023
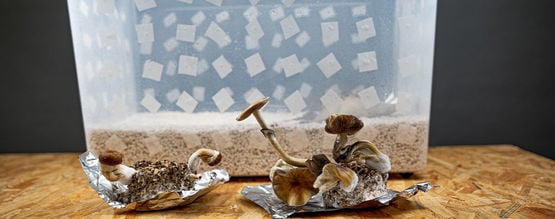
PF Tek: Easily Grow Magic Mushrooms At Home
PF tek is perhaps the easiest and most effective way to cultivate magic mushrooms at home. Learn what it is, and how to do it, here!
8 min
4 April 2023
PF Tek: Easily Grow Magic Mushrooms At Home
PF tek is perhaps the easiest and most effective way to cultivate magic mushrooms at home. Learn what it is, and how to do it, here!