How To Cure Your Cannabis
Those who grow their own weed know all about the work required to properly cultivate cannabis. It takes quite some time and effort from beginning to end, but if you do it right, you’ll be rewarded handsomely. One of the most important steps in this process is curing. If you want top-shelf nugs to enjoy when all is said and done, curing is an absolute necessity.
Now, if you don’t know what curing is, or are simply looking for some advice on how to go about doing it, you’ve come to the right place. Not only will you have a good grasp on the process by the end of this article, but you’ll also pick up other valuable information on cultivation.
Why do we cure cannabis?
Curing isn’t just something growers do for the sake of it; it has real and measurable effects. After going through the drying and trimming processes, buds are cured to maximise flavour, potency, and overall quality. Below are some of the top reasons to cure your weed:
- The smoke is much smoother, as chlorophyll breaks down and terpenes take centre stage
- Remaining moisture is drawn out from within the buds, helping to eliminate the threat of mould
- A solid cure will help to minimise degradation of flavour and potency
- Flavours become more pronounced
How to successfully cure your buds
Now, let’s get to the topic you came here for. Here’s how to cure your buds like a pro. We won’t go into the step-by-step process, but instead will offer some key tips on how to go about it the right way.
Stashing them correctly
Before anything else, make sure your buds are dried and trimmed. The curing process will not be successful if your buds are not adequately dry, and indeed they can fall victim to mould much easier.
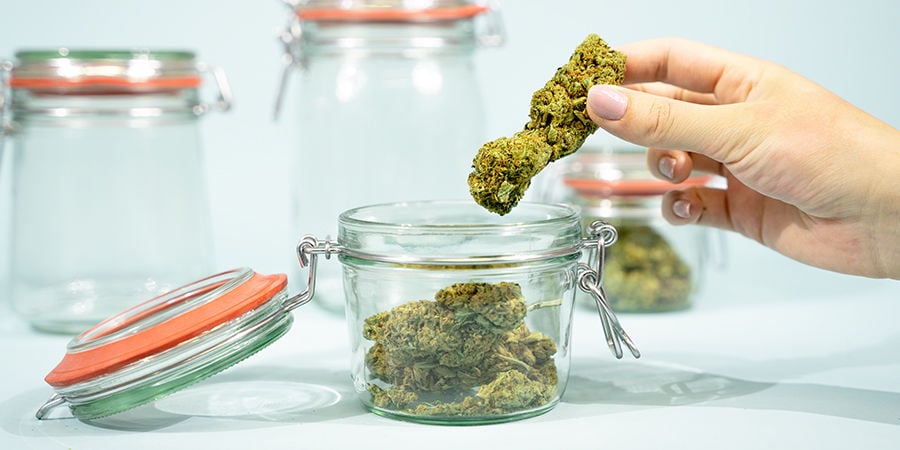
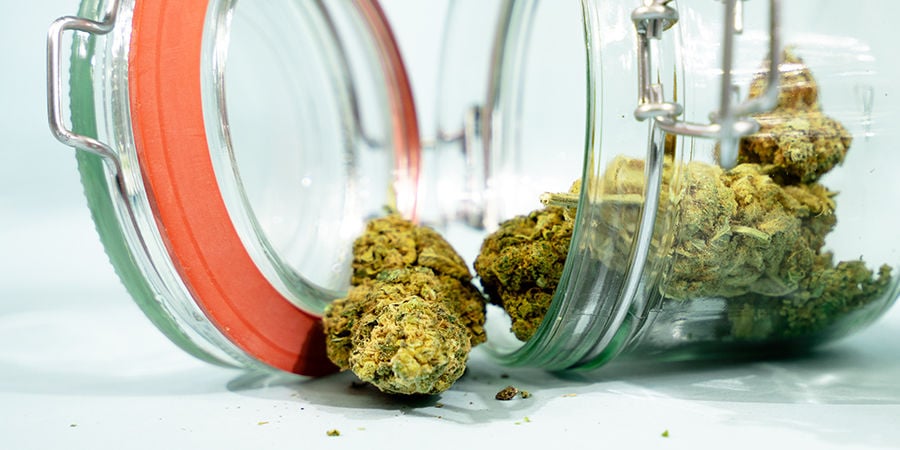
Next up is the container. Many growers use glass Mason jars to cure their buds, as they are airtight and sturdy, and you can see everything that goes on inside the jar. When adding your buds, fill the jars to about 75% capacity, leaving room for a little air. Give it a little shake to see if some buds are clumped up together. If so, it means they still need a bit of drying, so give it a little more time.
Now, you’ll need to store these jars in a cool, dark, and dry place. At this stage, the buds no longer need that much attention; however, you’ll still need to ensure sufficient fresh air exchange during the first few weeks of curing. A process known as “burping” is used to achieve this; every day during the first 2 weeks, open your curing jars for several minutes to allow fresh air to in, and stale air out. After these first couple weeks, you no longer need to open your jars daily.
The entire curing process takes around 4 weeks to finish, but many growers leave their buds to cure for 6 weeks or more, so you will need to exercise a little patience.
Regulate optimal humidity
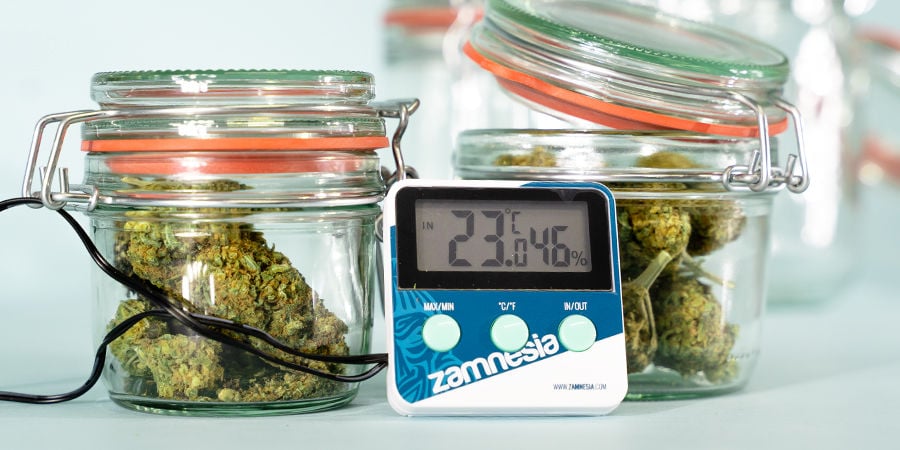
Humidity plays a major role in the success of the curing process. You certainly don’t want it too moist, as this spurs mould growth. On the flip side, a very dry environment can result in crumbly buds that are harsh to smoke.
So, what is the optimal humidity? The sweet spot, if you will? Though the optimal relative humidity during the drying phase is as low as 45–55%, the ideal range increases just a bit during curing, to 58–62%, to ensure the perfect level of moisture.
After the 30-day mark, your buds are ready to be consumed. Unless something goes horribly wrong during the process, the flowers should be mould-free yet slightly moist to the touch, and not dry. The smoke should be relatively smooth and flavourful, and the high should be sufficiently potent. But how do you achieve this perfect balance of humidity? We have some helpful products below to make the process easier.
Some products designed to help with curing
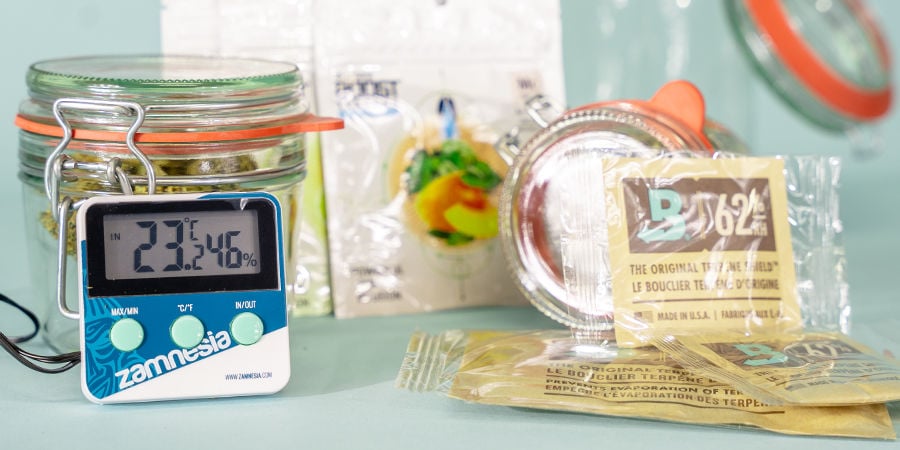
The curing process is not labour-intensive, but it can be hard to gauge how your buds are progressing without the right tools. If you’re serious about achieving good results, here are some products to ensure the ideal curing conditions.
Humidity packs
Humidity packs undoubtedly make the curing process easier and less stressful. As the humidity in your storage jars is likely to fluctuate a bit, humidity packs will ensure levels remain at just the right range to guarantee the best results. Simply insert one humidity pack into each jar, and rest easy knowing your buds aren’t too moist or too dry. Some humidity packs will, however, require replacing after a certain period, so check the product information to know when to switch the old one out for a new one. Most humidity packs are either food-safe or non-toxic, so you have nothing to worry about when it comes time to smoke your buds.
Hygrometer
Although it doesn’t change the humidity of your jars, a hygrometer can accurately tell you how moist the environment is. Hygrometers measure humidity, and have a range of domestic and commercial uses, including curing your precious buds.
For a hygrometer to give a precise reading, it needs to be in the jar for at least two hours. As mentioned in a previous section, the range you’re after is 58–62% relative humidity.
There are many great hygrometers out there, but two products worth checking out are the Boveda Butler Smart Sensor and our very own Zamnesia Hygrometer.
Terpene humidity packs
Terpenes are responsible for cannabis’ distinct aroma and flavour. Furthermore, they work alongside cannabinoids like THC and CBD to alter the effects of a given strain. That’s why strains with the same THC content, for example, may exhibit different effects once smoked.
This is where terpene humidity packs come in. Think of it as a taste enhancer for your beloved herb; one that also helps to ensure proper humidity levels. The best part: you can choose the terpene profile. So if your stash is seeming a little flavourless from the get-go, or you simply want to spice things up a bit, consider terpene humidity packs.
Go on and properly cure your buds
As you can see, curing cannabis isn’t a difficult process. Yes, it will take up a chunk of your time, and if patience isn’t your strongest suit, the wait can be a bit frustrating. But ultimately it's absolutely worth it, both for the overall quality of the smoke and the lack of mould/fungi. From here, it's important to make sure you know how to store cannabis for the long term, so your expertly cured buds remain potent and flavourful for as long as possible.


 United States


