
How To Decarb Your Cannabis: 3 Methods
Decarboxylation (Dee-car-BOX-ee-lay-shun) is the process of activating cannabis by applying sufficient heat. It causes the cannabinoids in weed to change from their inactive storage form to their active form. Without this process, your oils, extracts, or edibles won't make you feel high.
It may come as a surprise that fresh cannabis plants contain little to no THC. In fact, if you were to eat a handful of raw cannabis flowers, you wouldn’t feel high. This is because the plant produces cannabinoids in an inactive form called cannabinoid acids. So, instead of THC or CBD, the trichomes produce THC-acid (THCA) and CBD-acid (CBDA).
According to scientific studies, cannabinoid acids have some medicinal potential of their own. But to become their active form, including THC and CBD, they must go through a process called decarboxylation.
What exactly is decarboxylation?
Decarboxylation, also lovingly known as decarbing, is the process of activating cannabis by exposing it to heat, such as when flowers are vaporized or smoked. THCA becomes the psychotropic cannabinoid THC; CBDA becomes the non-intoxicating cannabinoid CBD. Other cannabinoids in the plant undergo a similar transformation.
What's actually happening under the hood? The cannabinoid acids in raw weed have an extra molecule of CO₂ attached. This is also known to chemists as a carboxyl group (hence the term de-carboxyl-ation). Applying enough heat causes this extra CO₂ molecule to be released, leaving behind the active cannabinoids we know and love (along with some excess CO₂ gas).
How to decarboxylate cannabis buds in your oven
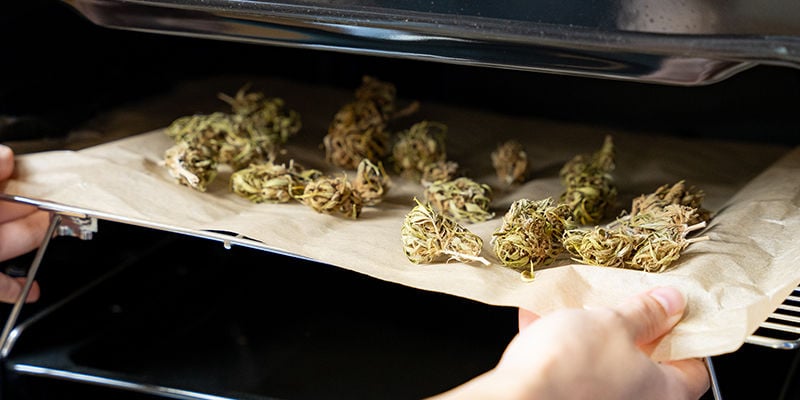
So, we know that decarbing weed requires two key elements: heat and time. The hotter the temperature, the less time required. For example, to convert THCA into THC, you’ll need to expose your cannabis to temperatures of around 105–116°C for 30–45 minutes.
Some publications suggest temperatures as high as 120°C, but this is usually considered the maximum. It’s important not to decarb your weed much longer than this (or at higher temperatures) in order to preserve the aromatic terpenes that give cannabis its flavour. Both cannabinoids and terpenes will quickly start to degrade or evaporate at temperatures above 150°C, so temperatures around 110°C will optimise the balance between aroma and potency.
These temperatures can be reached using various methods, and largely depend on what approach you favour or what equipment you have access to. Below we’ll introduce the most popular method—the oven—followed by two other tried and tested methods for decarbing weed that are easy to perform at home.
Option 1: On a baking sheet
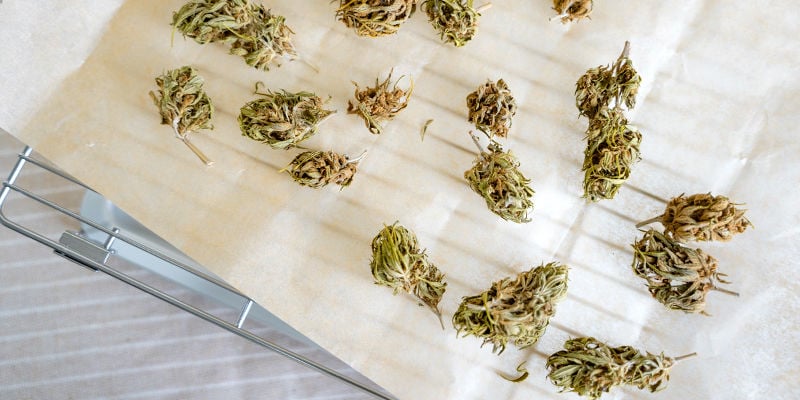
Most people have an oven installed in their kitchen, as well as a baking tray to hand, making this method one of the most practical. By the end of it, your stash will be fully psychoactive and ready to cook with or make extracts.
Note: This method works with conventional ovens only. Don't use a microwave oven!
Ingredients
- Cannabis flower (at least 3.5g of your strain of choice)
Equipment
- Baking sheet
- Scissors (optional)
- Grinder or food processor
Instructions
-
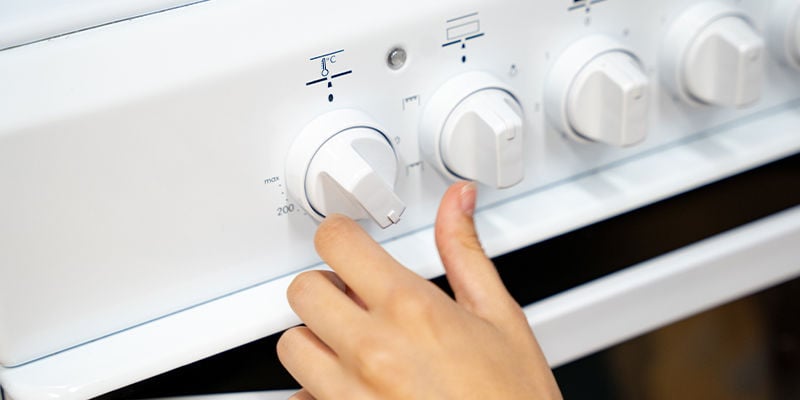
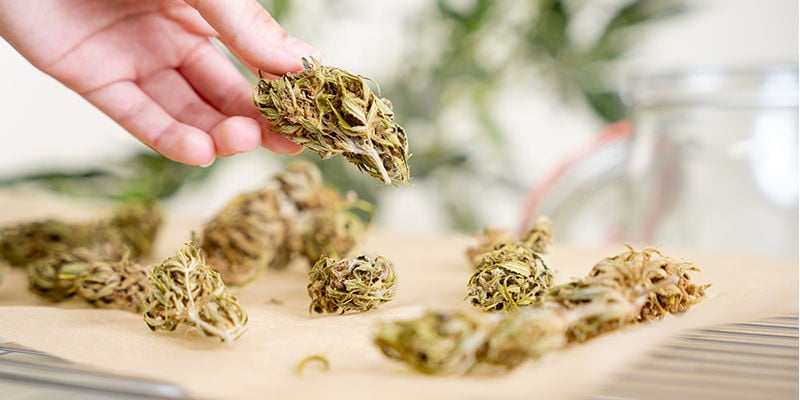
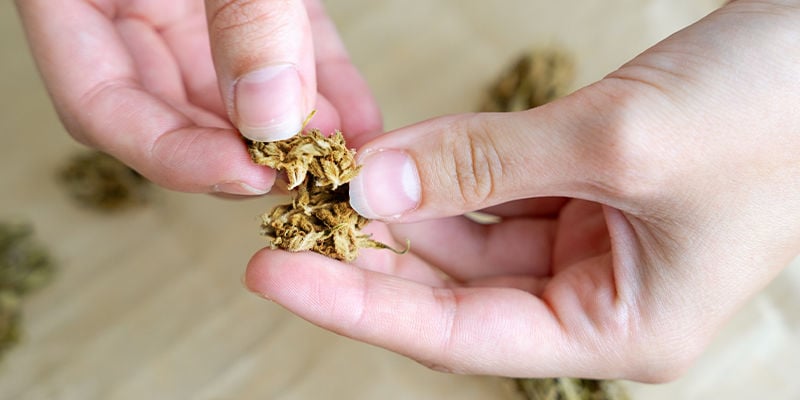
To begin, preheat your oven to around 110°C (the exact figure will depend on your oven). While waiting for the oven to warm up, take your plant matter and break it up into smaller pieces with your hands, or use scissors to form small chunks.
-
Next, place a sheet of baking paper on a baking tray and spread your weed out evenly over it. Place it into the oven for 30–45 minutes.
-
Remove your weed from the oven. It should appear golden brown in colour and should be crumbly to the touch. Once cooled, use a grinder or food processor to turn your THC-rich weed into a coarse grain ready for cooking or extraction.
Option 2: In a Mason jar
The baking sheet method is one of the simplest and easiest, but it can stink up your kitchen for days. Introducing just a couple extra pieces of equipment could save you some cleaning and preserve your relationship with your roommate!
Ingredients
- Cannabis flower (at least 3.5g of your strain of choice)
Equipment
- Everything from Option 1, plus a Mason jar
Instructions
-
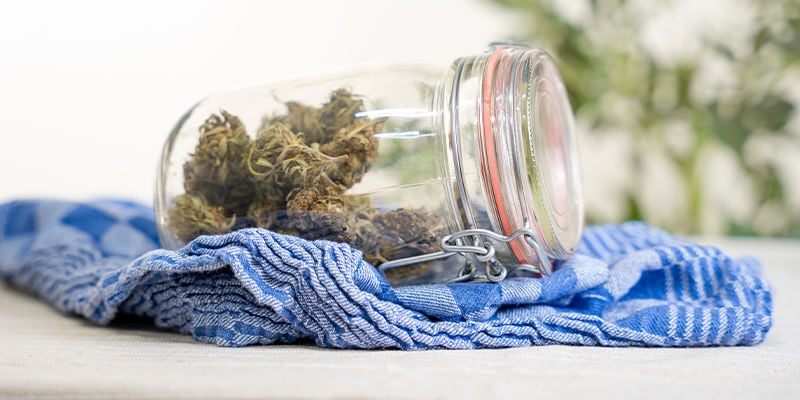
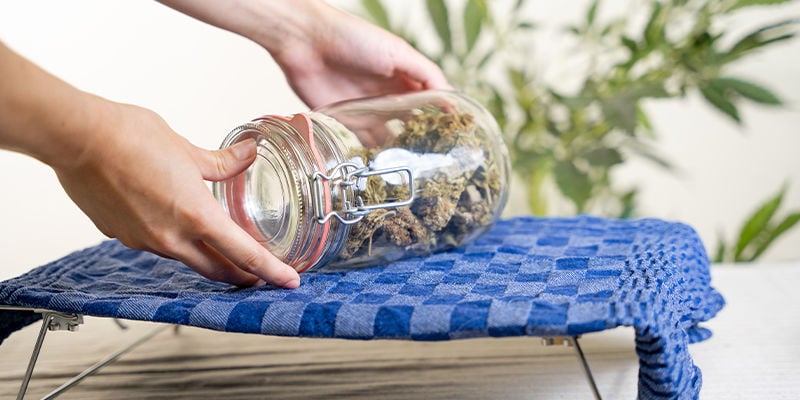
Preheat your oven to 110ºC. While you wait for the oven to reach temperature, prepare your oven-safe glass jar and place your strain of choice inside. Close the lid. Tip: you can use the same jar later to prepare your cannabutter or canna-oil. Less washing up for you!
-
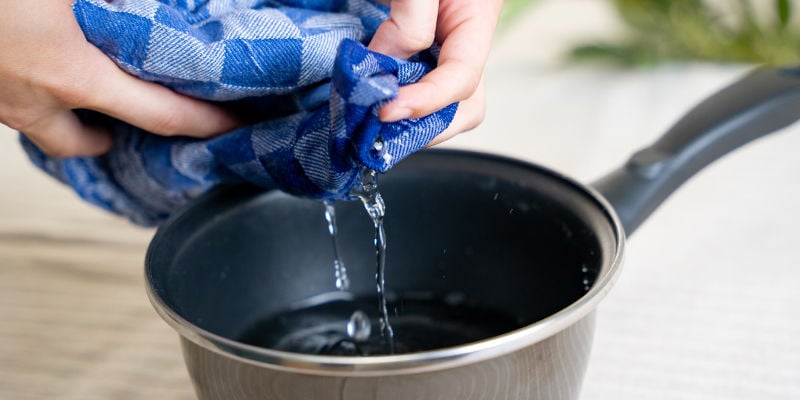
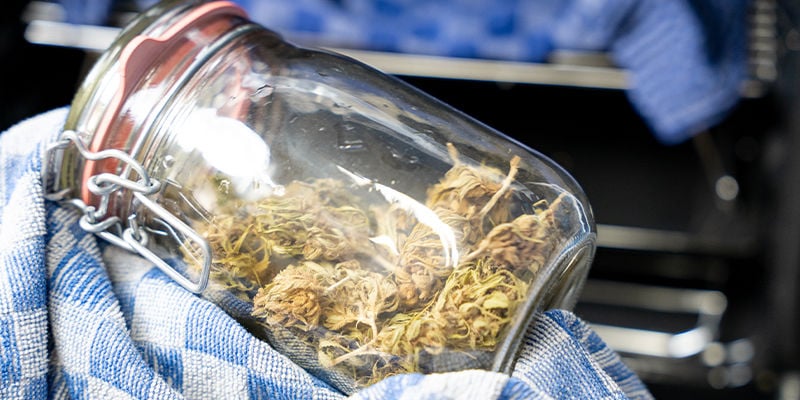
Wet a kitchen towel (this will prevent the glass jar from overheating). Once the oven is ready, place your kitchen towel on a baking tray, and lay the jar horizontally on the towel.
-
Cook for 1 hour, turning and shaking the jar every 15 minutes. Do not forget to wear oven gloves!
-
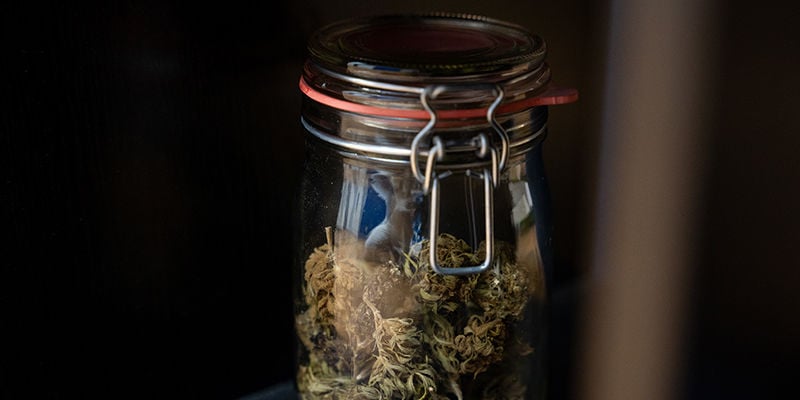
Let the jar cool, and store it in a dark, dry place. Grind into a coarse grain before using to make edibles or extracts.
Note: Decarboxylation produces CO₂, which is a gas. When you close the Mason jar, the pressure from the CO₂ could explode the glass. To help avoid this, periodically unscrew the lid to release some of the CO₂.
Other ways to decarboxylate your weed
Despite being the most common method, the oven isn’t your only option when it comes to successfully decarbing your stash. Consider the following two methods, depending on what you have available.
Decarb using a cooking pot (sous vide)
The sous vide method involves vacuum-sealing your cannabis in plastic bags and placing them within a cooking pot filled with water. It’s known to evenly and thoroughly decarb cannabis and protect it from becoming burnt in the process. It also doesn't smell! For this method, you will need a vacuum-sealing machine, a weed grinder, and a cooking pot.
For added precision, you can invest in a sous vide immersion circulator, which is a device that heats water and circulates it around the pot to maintain precise and even temperatures. It looks a bit like an immersion blender. This may be beneficial if you plan on frequently decarbing larger amounts of cannabis.
Ingredients
- Cannabis flower (at least 3.5g of your strain of choice)
- Water for boiling
Equipment
- Pot
- Grinder
- Vacuum-sealing machine
- Heat-safe plastic bag
- Sous vide immersion circulator (optional)
Instructions
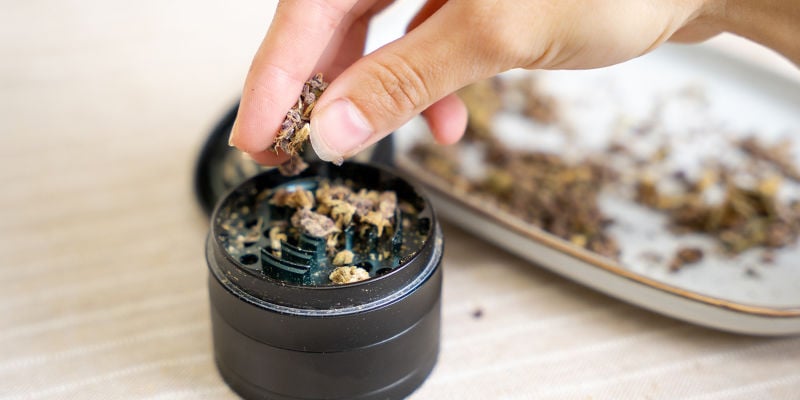
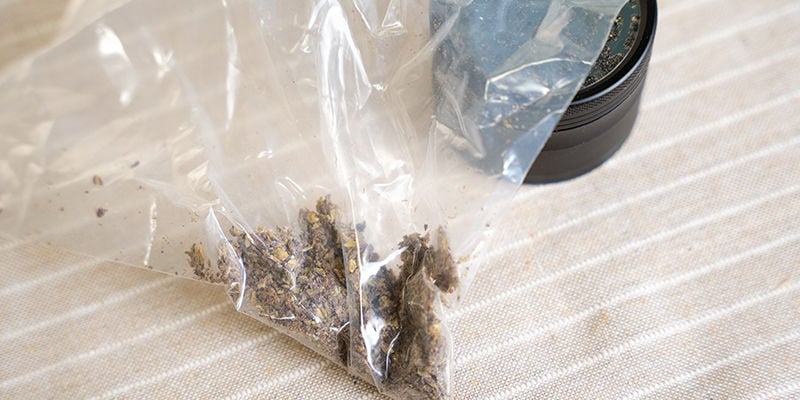
- To begin the process, grind your weed up to a coarse grain, but not a fine powder.
- Next, seal your ground flowers in a heat-safe plastic bag using your vacuum sealer.
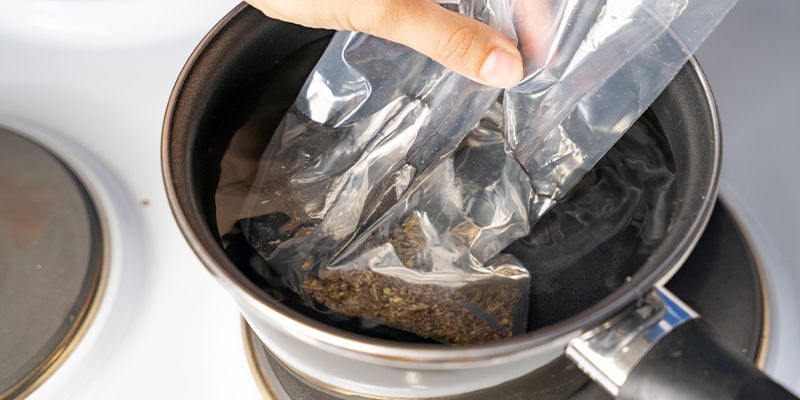
- Fill the pot with water. If you are not using a sous vide immersion circulator, simply bring the water to a low, even boil. If you are using an immersion circulator, place it within the pot and set the temperature to 95°C.
- Once the water has reached the desired temperature, add the sealed bag of weed into the pot for 1 hour. Note that the bag will start to fill up with gas and float, meaning you'll have to find a way to weigh it down. It's often recommended to find a sturdy binder clip, attach it to the bag, and then slide a spoon through the mouth of the clip to keep everything submerged.
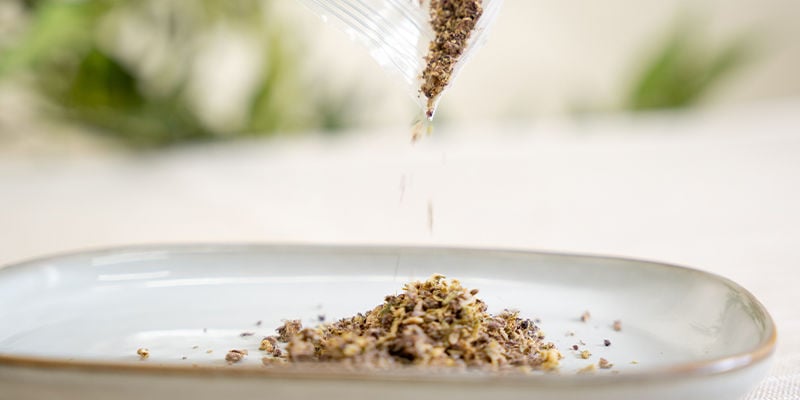
- From here, all you must do is carefully remove your bag from the pot, then remove your buds from the bag!
Decarb using an herb cooker
If you have a bit of a budget, consider investing in an herb cooker, such as the POT by NOIDS. An herb cooker is a handy device that performs decarboxylation, infusion, and extraction all in one. It takes most of the difficulty out of decarbing your weed (managing temp, timing, etc.). However, herb cookers can come at a significant cost.
Ingredients
- Cannabis flower (at least 3.5g)
Equipment
- Herb cooker
- Scissors or grinder
Instructions
Note: These instructions are for the POT by NOIDS. If you are using a different herb cooker, the instructions may vary.
- Unscrew the top of the herb cooker and remove the glass beaker.
- Break up your buds into smaller chunks and add them to the beaker.
- Cover the beaker with the flat lid, and place it in the machine.
- Choose the correct decarb function (this can vary depending on whether you are decarbing a strain that is higher in CBD or THC).
- The herb cooker will calculate the time automatically according to the volume of plant material, the moisture level, and the temperature of the room.
- When it's done, remove the beaker from the machine, being careful not to touch the glass directly (it can be hot!)
- Congrats! Your cannabis is decarbed with little to no effort on your part. You can now move on to infusion or extraction, using the same herb cooker.
Why does cannabis need to be decarbed?
Without decarbing, THCA would never become THC, CBDA would never become CBD, and we'd miss out on any psychoactive or therapeutic effects from our favourite cannabinoids.
To put it another way, if you don't decarb your weed, you won't get high.
As we'll see, decarbing doesn't just mean “smoking”. There are numerous methods for decarbing weed, and many scenarios in which it may be necessary.
When do you need to decarb cannabis?
During smoking or vaping, decarboxylation happens automatically because you are applying lots of heat. However, if you are looking to make edibles or extracts such as oils and tinctures, you'll need to decarb your cannabis first.
It’s true that some cannabinoid acids have unique and powerful benefits, and the practice of juicing raw cannabis is on the rise. However, decarbed cannabinoids such as THC and CBD are much more well-researched and have more applications. Plus, if you are planning on using cannabis to experience a high, your bud must be decarbed in order to release enough THC.
Why you need to decarb your cannabis to make edibles
You may be thinking: "Decarbing requires heat and cooking involves heat, so why do I need to decarb before cooking with weed?".
Decarbing requires exposing cannabis to precise temperatures for specific amounts of time. The recipes for most dishes won't match these requirements, so it's important to decarb before cooking.
What's more, cooking or baking edibles (like brownies) is generally done with a base ingredient such as cannabutter, cannabis coconut oil, or cannabis honey. To make these, weed is decarbed first, and then the active cannabinoids are slowly infused into the base. The leftover plant material is then strained out and discarded. This ensures maximum potency and allows for greater precision and control (as well as a more pleasant consistency).
Will cannabis decarb naturally?
Cannabis will decarb naturally over time. When cannabis is exposed to heat, light, and oxygen over long periods, a slow and partial decarboxylation can occur, which can slightly increase the potency over weeks or months. However, this natural decarboxylation process is typically incomplete and can result in inconsistent potency. It's preferable to decarb your weed in a heat-controlled environment, using one of the above methods.
Decarbing cannabis: FAQ
Go forth and decarb those buds
Now that you know the lingo (and science) behind decarboxylation, it's time to put that knowledge to the test. Grab a handful of your favourite strain, preheat your oven, and get ready to activate those cannabinoids! Then, use them to make your favourite edible, tincture, or topical.
-
 4 min
29 July 2022
Understanding Raw Vs Decarbed Cannabis
Cannabinoids are the most well-known compounds produced by the cannabis plant, but did you know they can be split up into two major categories: acidic vs decarbed? Find out what you need to know...
-
 5 min
6 April 2021
How To Make Cannabis Tincture: Step-By-Step Guide
Cannabis tinctures typically fall to the wayside in a world of BHO and supercritical CO₂ extraction. However, this ancient method of extraction remains the easiest way to make your own potent...
-
 2 min
11 August 2019
How To Sous Vide Decarboxylate Your Cannabis
Sous vide is good for more than making a perfectly cooked steak; it's becoming an increasingly popular way to decarb weed. New immersion circulators are now affordable enough for home use, so you...
-
 3 min
15 June 2019
Top 5 Cannabis Cookie Recipes
Are you interested in making cannabis-infused cookies, but don't know where to start? Well, look no further than this list of the top 5 cannabis cookies. Whether you're a peanut butter lover or a...


 United States


