How to germinate cannabis seeds
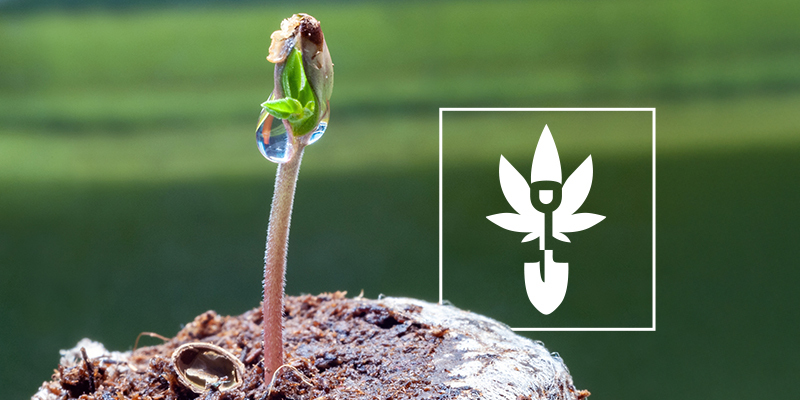
Cannabis seed germination needn't be a stressful affair. Consult this guide to familiarise yourself with the different germination methods available, so you can see which one is best for you. Plus, learn how to get old cannabis seeds to sprout and grow into healthy specimens.
There are thousands of cannabis strains available to cultivate, and many different ways to raise them. As you progress through your journey as a grower, you’ll come across all manner of systems, principles, and techniques. These varying approaches apply to all stages of the growing cycle, including germination.
Germination might sound simple enough. All you have to do is place a seed into some soil and wait for it to pop, right? While ultimately true, there’s much more to this key process when you look below the surface. By the end of this article, you’ll be equipped with a long list of different germination techniques to add to your toolbox. So, let’s dive right in.
The importance of the germination process for cannabis
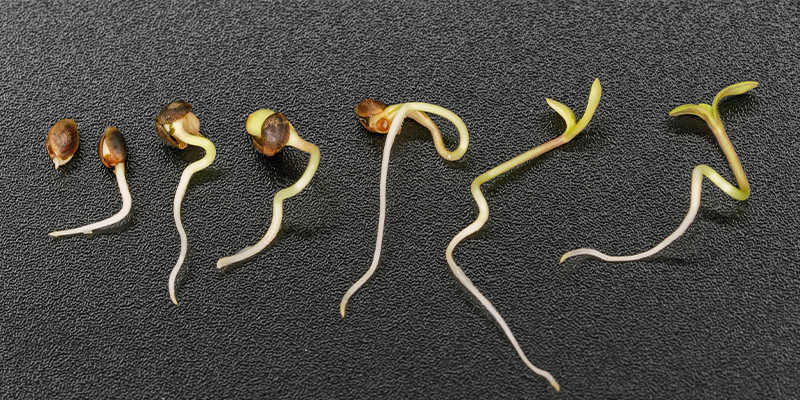
Without germination, the whole growing cycle would fail to begin. This critical phenomenon kickstarts the entire process that makes harvesting a stash of sticky flowers possible. The key stages that unfold during germination include:
- Water uptake: Seeds uptake water when exposed to moisture.
- Metabolic activation: As water works its way into the seed, it wakes up enzymes and activates critical cellular components. The enzymes start to break down stored nutrients.
- Imbibition: As the seed continues to absorb water, it swells enough to rupture its outer coating.
- Radicle emergence: Eventually, the newly formed embryonic root emerges from the ruptured seed. This structure eventually becomes the taproot.
- Hypocotyl, cotyledon, and epicotyl emergence: The hypocotyl (embryonic stem below the cotyledon), cotyledon (embryonic leaf), and epicotyl (embryonic stem above the cotyledon) emerge from the ruptured seed coat.
As you can see with each of these stages, germination is clearly one of the most important steps of the entire cannabis growing cycle. Seeds require certain environmental conditions to germinate properly, such as warmth and consistent moisture. If growers fail to maintain these conditions, germination can take longer than necessary, or fail altogether.
How long does it take to germinate cannabis seeds?
Under ideal conditions, it takes cannabis seeds only 24 hours to germinate. And below, we’ll show you how to germinate cannabis seeds as quickly as this.
But in short, adequate moisture and warmth, paired with fresh seeds containing healthy, virile genetics, make for efficient germination. Meanwhile, fluctuating environmental conditions and poor genetics can lengthen the time it takes for a seed to germinate. In some cases, the process can take as long as five days.
Ideal conditions for germinating cannabis seeds
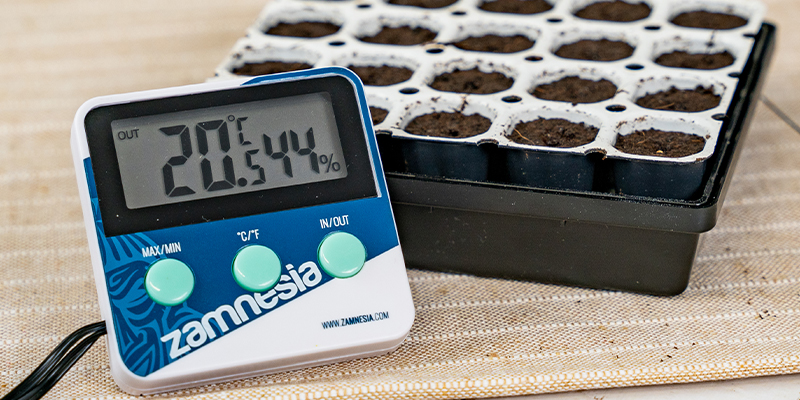
Considering the above, let’s take a look at the ideal conditions for the germination of cannabis seeds, so you can get them to sprout as quickly and healthily as possible.
There are two major environmental factors that determine how well a seed will germinate: temperature and humidity.
- The ideal temperature should be around 22–25ºC.
- The ideal humidity should be high, hovering around 70–90%.
While these are by far the most influential factors, other ways you can support the germination process include:
- Keep the substrate very moist, but not soaking wet.
- Minimise seed handling once exposed to moisture.
- If germinating in an inert medium, the ideal pH is between 5.8 and 6.2.
The best ways to germinate cannabis seeds
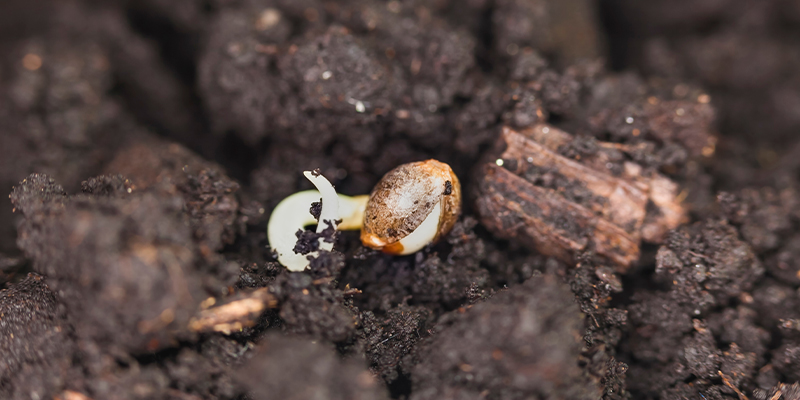
There are many ways to germinate cannabis seeds, and depending on your setup, one or more will appeal to you. Here we go through some of the most common and effective.
Please note: We recommend germinating cannabis seeds directly in soil for best results.
1. Germinating cannabis seeds with a germination kit
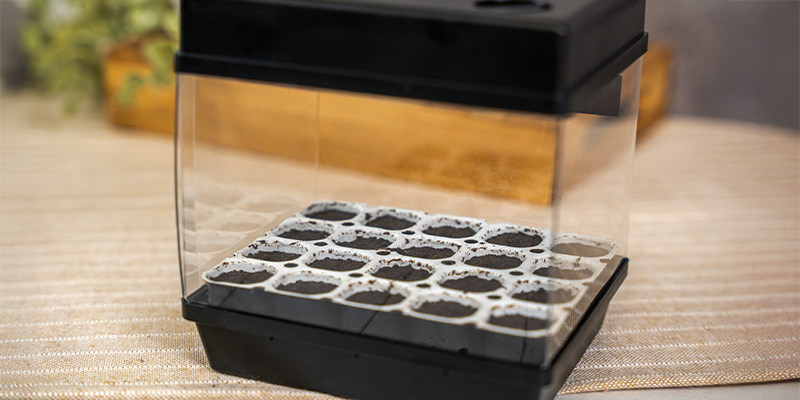
Germination kits are a popular way to start seeds, and a fantastic option for beginner cultivators. However, even experienced growers use them to slash germination time and get each grow started as seamlessly as possible.
We also have a dedicated blog for germinating with a starter kit, so check it out if you need more information.
Equipment
- Germination kit
- ½ cup lukewarm water
- Propagator
Instructions
- Pour lukewarm water into a cultivation tray.
- Place the plugs included in your kit into the tray and allow them to wick up the water to become saturated.
- Place a single seed into each plug.
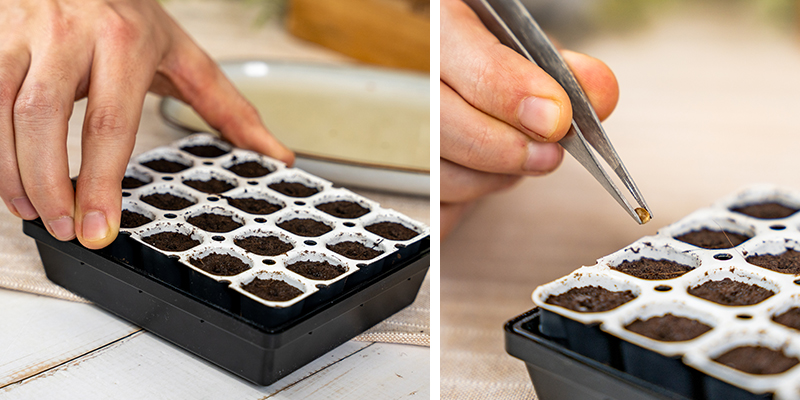
- Place the plugs into a propagator to maintain the appropriate humidity, and wait for the shoots to emerge.
2. Germinating cannabis seeds in soil
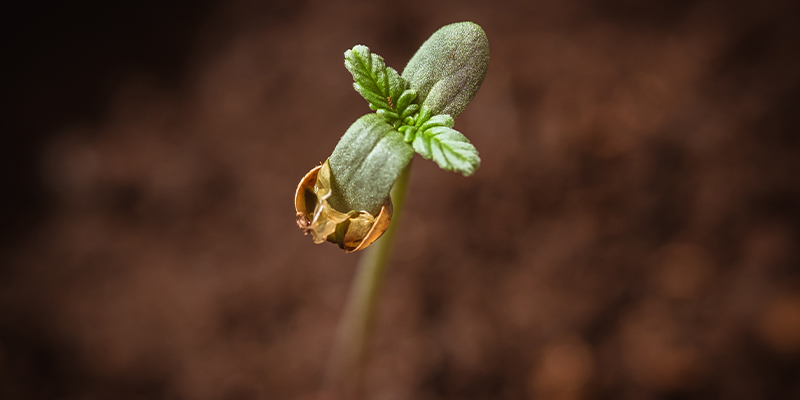
There are many different methods when it comes to starting cannabis seeds in soil. Some growers prefer to sow into module trays and transplant their seedlings later down the line, whereas others prefer to sow directly into the plant’s final pot. The latter method works best for beginners and small-scale growing operations.
Equipment
- Plant pot of the desired size
- High-quality soil mix
- Mycorrhizal fungi
- Misting bottle
Instructions
- Fill your pot close to the rim with soil, leaving around 5 cm of empty space between the surface of the soil and the rim.
- Water your soil thoroughly up to the saturation point.
- Make a small hole in the middle of the surface of the soil, around 2 cm deep.
- Place your seed into the hole, followed by a pinch of mycorrhizal fungi powder to boost seedling vitality.
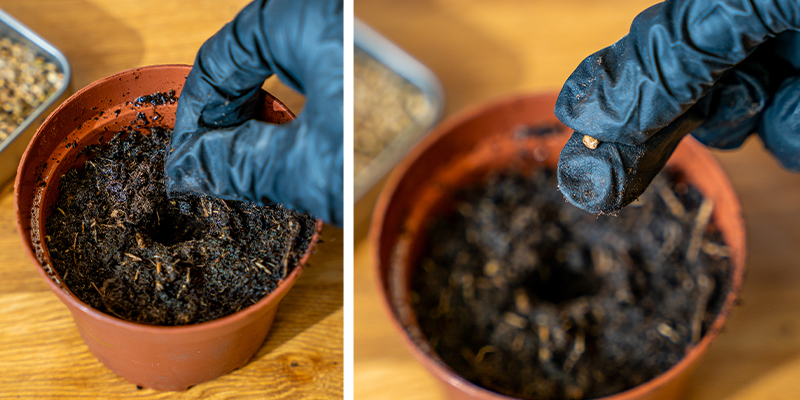
- Lightly cover the hole with loose soil and mist well.
- Continually mist over the next few days to keep your seed hydrated and the soil moist.
3. Germinating cannabis seeds in peat pellets
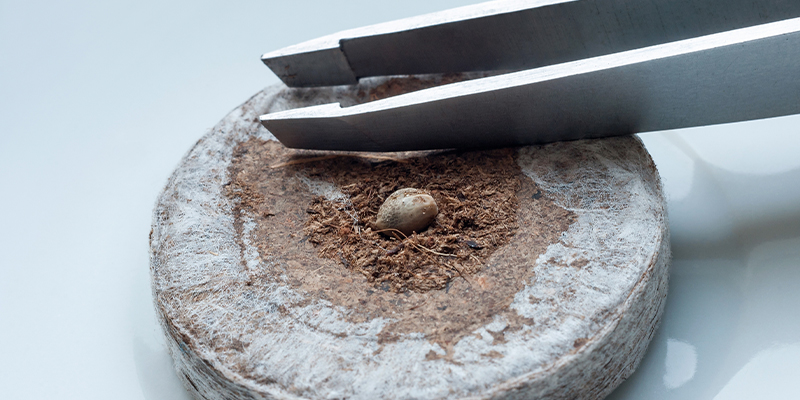
Peat pellets, otherwise known as Jiffy Pellets, are a great way to start seeds. They hold water well and transplant easily into the soil. Like Rockwool, they’ve fallen out of favour with some growers due to environmental concerns.
Equipment
- Peat pellets
- Bowl
- Water
- Humidity dome, propagator, or tray with cellophane
Instructions
- Drop each dehydrated pellet into a bowl of water to allow them to expand and become saturated.
- Make a small hole in each expanded pellet.
- Place a seed in each pellet.
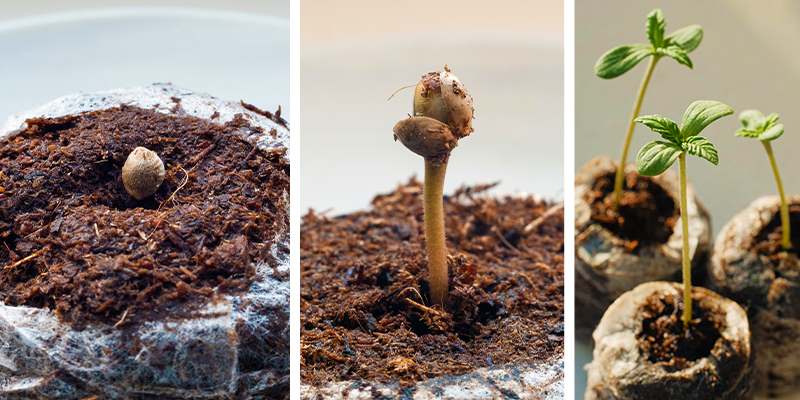
- Mist each expanded pellet generously with water.
- Place under a humidity dome, inside of a propagator, or in a deep tray covered with cellophane.
4. Germinating cannabis seeds on paper towels
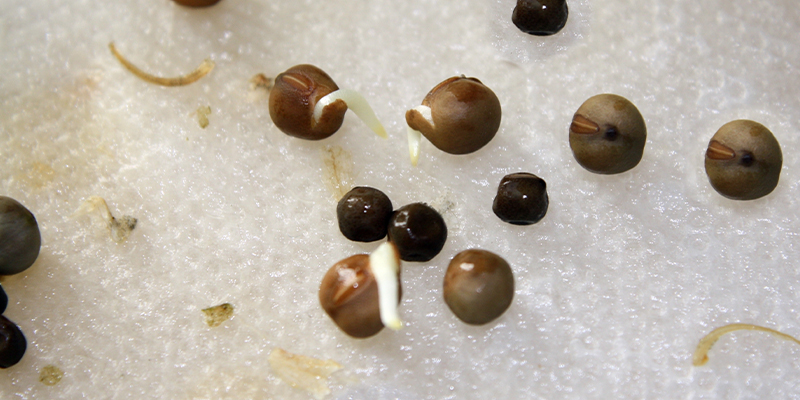
A classic method is to germinate seeds wrapped in a wet paper towel. However, this method is not so reliable, so here we'll explain a slightly modified version. Unless you're going to transplant into an inert medium, we'd probably suggest a different method to this, even if it can occasionally be useful.
Equipment
- One sheet of paper towel
- Water
- Two plates or saucers
Instructions
- Wet one paper towels and place them on one plate.
- Place a cannabis seed on top of both paper towel sheets.
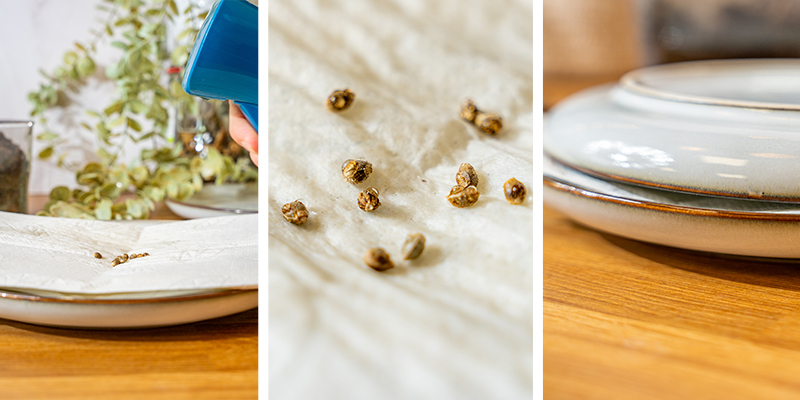
- Now, cover with the other plate, then move the whole thing to a safe location.
Important note: Don't put the seeds in between two wet paper towels. There is a high probability that you suffocate the seeds and this will result in the seeds starting to rot. Only use one wet paper towel and put the seeds on the wet towel, not in between two wet towels!
Germinating cannabis seeds: FAQ
Below, find answers to some of the most commonly asked questions about germinating cannabis seeds.
Q: Do you need to soak cannabis seeds to germinate?
A: Cannabis seeds must be exposed to moisture in order to germinate. This can happen either within or without a substrate. For instance, you can germinate directly in moist soil, or you can do so in a wet paper towel beneath a plate, and then transplant after germination.
Q: Can you put cannabis seeds straight into soil?
A: Absolutely, putting cannabis seeds directly into soil is a safe and effective germination method. It’s particularly suited to beginners.
Q: Do cannabis seeds germinate better in light or dark?
A: Seeds don’t require light to germinate, so no light is needed. However, they will require light as soon as the first leaves emerge.
Q: Do cannabis seeds need nutrients?
A: No, cannabis seeds contain all the nutrients they require for germination and the first days of life.
Q: Which way up should the seeds be?
A: Though there is some debate over this, many growers agree that cannabis seeds can be planted with any side facing up.
Seedshop
Click here to browse countless varieties of regular, feminized, and autoflowering cannabis seeds from the best banks in the world.
How to germinate old cannabis seeds
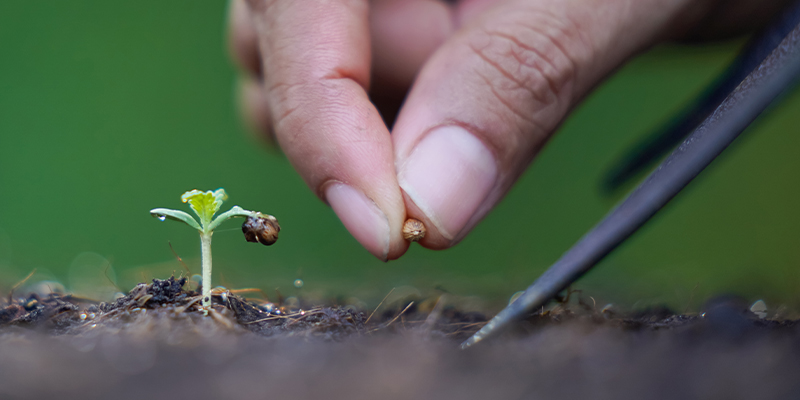
Older cannabis seeds have a harder time when it comes to germinating. However, you can still revive old seeds using a couple of effective techniques. They’ll take longer to emerge, but you might end up saving a precious phenotype by putting in the effort.
Equipment
- 120-grit sandpaper
- Matchbox or small block of wood
- Drinking glass or cup
- Soil and pot
- Trichoderma and mycorrhizal fungi powders
- Mist bottle
Instructions
- Scarification: To give your seeds a head start, you’ll need to carefully damage their coating, without harming the delicate components within. Wrap a small sheet of 120-grit sandpaper around a matchbox or small block of wood. Very carefully sand the entire surface of the seed. You don’t want to start peeling off entire segments of the coating; the aim here is only to cause very small scratches to help the internal components emerge more easily.
- Saturation: Next, fill up a drinking glass or cup with water (ideally non-chlorinated). Let the seeds soak for 24 hours to absorb as much water as possible.
- Sowing: You’ll want to sow your old seeds directly into their final pots to avoid any transplant stress on already-aged genetics. Drop each seed into the centre of a moist growing medium at a depth of 2 cm.
- Inoculation: Before covering the seed, inoculate it with beneficial microbes. Add a pinch of Trichoderma powder to speed up germination and defend against fungal pathogens. Next, add a pinch of mycorrhizal fungi powder to assist optimal root system development.
- Consistent moisture: Cover your seeds lightly and mist. Ensure the soil remains moist but not waterlogged until shoots emerge.
This simple strategy will give even the oldest seeds the best shot at developing into mature and productive plants. If this fails, your seeds are likely too far gone.
When to transplant cannabis seedlings
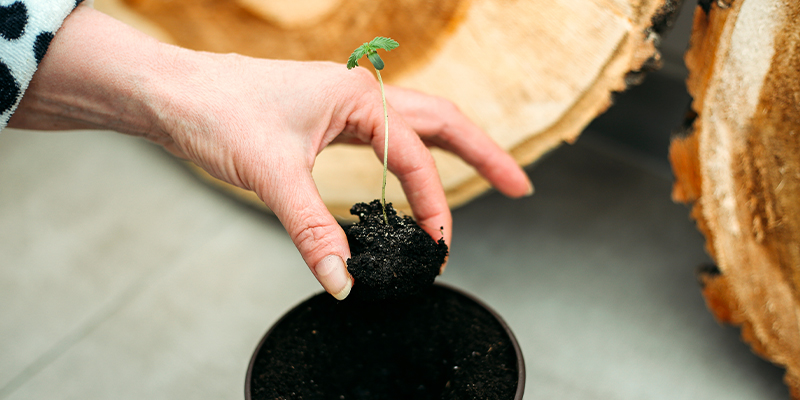
If you’ve chosen to sow seeds outside of their final growing medium, you’ll need to transplant them at the right time. For seeds germinated in water, paper towels, or a coffee filter, carefully transfer them using tweezers when their radicle reaches a length of around 2 cm (around 1 inch). Seeds sown in module trays, Rockwool cubes, or peat pellets should be transplanted when their first set of true leaves emerge to prevent them from becoming root-bound.


 United States


