How To Germinate Cannabis Seeds With A Smart Start Kit
Germinating cannabis seeds can seem daunting, but it needn't be! By using the Smart Start kit with a Propagator Pro, you can ensure successful germination and a healthy, abundant harvest. Read along for a step-by-step guide to the process.
Germinating cannabis seeds can be a little tricky, and it’s certainly fraught with tension for the novice grower. At no other period do you just sit and wait, with no idea when or whether anything is going to happen.
In this article, we’ll show you how to make you and your cannabis plant’s lives much easier by using the Smart Start kit in conjunction with the Propagator Pro. We’re not just trying to sell you unnecessary products here, but actually striving to help you with the first steps of your cannabis growing journey.
Why germinate cannabis seeds with a Smart Start kit?

A Smart Start kit is the simplest, and potentially most effective, way to germinate cannabis seeds at home. If you’re a beginner, it can make this threatening first stage easy, meaning you have a greater chance of growing healthy, productive plants. And if you’re a more advanced grower, you can still use these kits to make your life easier—why make it more difficult than you have to?
Smart Start kits make successful germination more likely, with less effort. However, for best results, a Smart Start kit should be used with a propagator. And the Zamnesia Propagator Pro is ideal for this purpose, coming with inbuilt LED lights, a thermometer, and perlite to help maintain humidity.
How to germinate cannabis seeds with a Smart Start kit
Using a Smart Start kit is easy. Below, we’ll give you a detailed step-by-step guide to help you through the process and increase your chances of successful germination—and ultimately a successful harvest!
Equipment
- Smart Start kit
- Propagation chamber (such as the Propagator Pro)
- Water
Directions
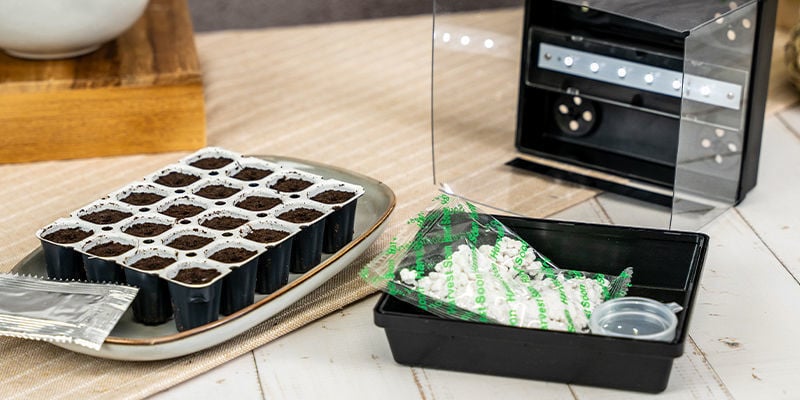
1. Prepare the Stimulator mix first. You will find this under the sticker label of the Smart Start. Pour about half a cup of water into a flat-bottomed dish—one slightly bigger than the Smart Start itself. Add the Stimulator mix and stir until dissolved.

2. Place the Smart Start in the solution and let it rest for 5 minutes. The water will absorb through the holes in the bottom of the pots.

3. While you wait, set up the propagator. Once set up, add a thin layer of perlite onto the bottom of the propagator tray.

4. After 5 minutes, the pots will have soaked up all the Stimulator solution they need. Remove the Smart Start from the solution.

5. Place the Smart Start on top of the perlite in the propagator.

6. Now it is time to put seed to soil. Pop one seed into every pre-made hole in each of your pots.

NOTE: The seeds should be 1–2mm deep max; any deeper may cause suffocation. Do not cover the seeds with soil; you should still be able to see the seeds.
7. Now all you have to do is wait. It should take 1–8 days (up to 20) before you see a seedling sprout through the soil. Do not get impatient and try to sneak a look—you could do more harm than good. Just let nature take its course.

8. Throughout this time, make sure that the perlite in the propagator remains moist—without ever becoming too wet or dry.

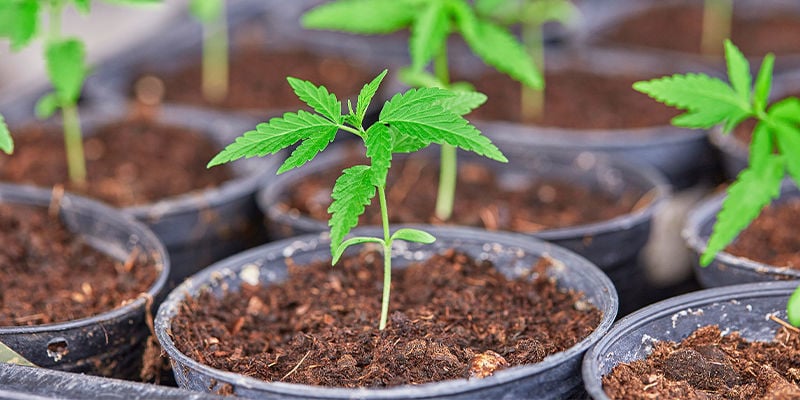
9. When your seedlings do finally emerge, a few of them may still have the seed casing over them. Unless you are very experienced, leave this. It will naturally fall off, and trying to remove it yourself could damage the plant at a very vulnerable stage of its life.

10. Keep the conditions within your propagator consistent until each of your seedlings is 2–3cm tall.

Hints and tips for germinating cannabis seeds with a Smart Start kit

The following tips will increase the chance of successful germination when using the Smart Start kit.
-
Keep it at the right temperature! This is probably the most important tip when using the Smart Start Kit. The optimal temperature for cannabis seed germination is 22–25ºC.
-
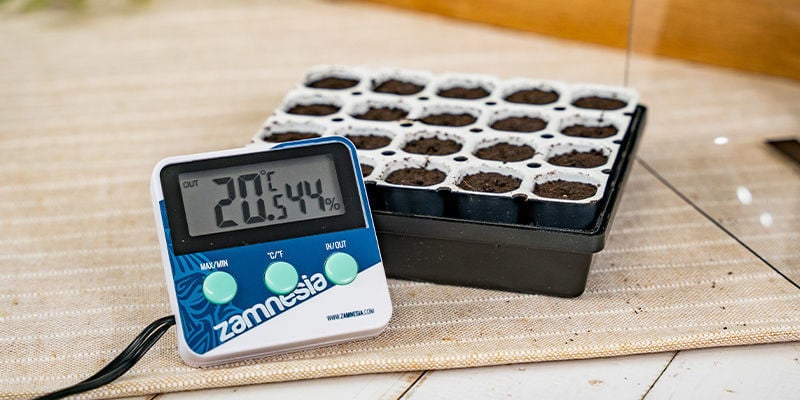
Use a hygrometer to measure humidity. Cannabis seeds need humidity to germinate, and high humidity also helps the seed casing to fall off the seedling once it sprouts. Optimal relative humidity for germination is 70–90%.
-
Be patient. Good-quality seeds in the right conditions should sprout quickly, but sometimes they can take a few weeks. If they’re taking a while, just wait. If you interfere, you’ll likely damage them.
Transplanting seedlings to their pots

Once seedlings are over 3cm tall, they’ll need to be transplanted into bigger pots. This process is delicate and requires great care in order to prevent damaging the seedlings. Damaging the roots can delay and stunt growth—it could even kill them. Here’s a very quick overview of how to transplant cannabis seedlings from the Smart Start kit.
- Carefully remove each seedling from their Smart Start pots, keeping the compost intact and taking extra care not to cause any damage to the roots or shoot.
- Place the seedling and compost directly into your growing medium.
- Water, and place beneath lights.
- If you intend to rear your plants outdoors, don’t just put them outside at this point. Instead, gradually harden them off, otherwise they’ll probably just die of shock when you leave them outside.


 United States


