
How To Overwinter Pepper Plants
Overwintering your chilli plants keeps them alive for another season, increasing yield and growth speed come next harvest. A fascinating process with great results, learn how to overwinter pepper plants here!
Overwintering plants is essentially forcing them into a state of hibernation so that they survive the winter. Many chilli growers begin from seed each season, but this is not necessary. Left outside, in cold conditions, pepper plants often die off as the chilly weather creeps in. But by overwintering our plants, we can turn them from annual to perennial, and grow to love them as the years roll by.
Why should you overwinter chilli plants?
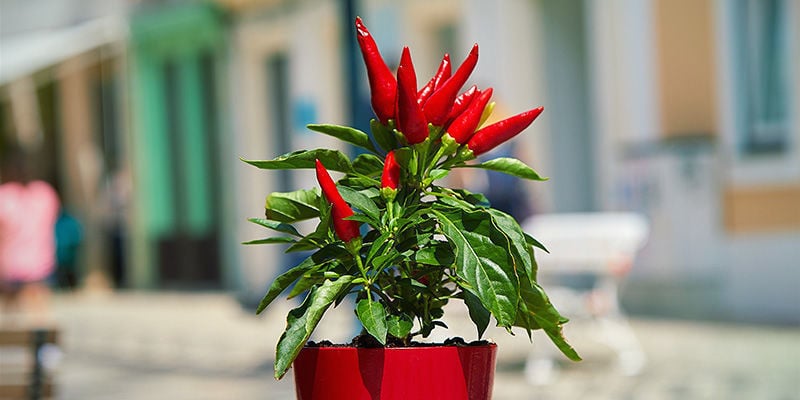
There are several reasons to overwinter chilli pepper plants. A plant that has been overwintered, come spring time, has already developed a mature root system, stem, and nodes that can begin sprouting again once exposed to the appropriate warmth and daylight hours.
This means that instead of starting from scratch each spring, we have developed plants to start off with, leading to many benefits. Bigger yields are one of the big draws, as is keeping those special plants alive. If you’ve put a lot of effort into raising your chilli plants, then overwintering means that effort lasts for multiple seasons.
On top of this, it means that there's no need to go through the fiddly process of propagation each spring. Rather, you can just return your plants to the outside world and let them blossom!
Pros
- Quicker growth: The plant has already completed the first few weeks of growing, meaning it’s got a significant head-start on a seedling. Instead of germinating and struggling though the first stages of life, it can immediately start pumping out leaves and branches.
- Larger yield: This rapid growth means it can put out potentially more fruit come harvest time.
- No need to germinate seeds: Germinating pepper seeds can be a difficult task. A successfully overwintered plant will be raring to go, and you can save yourself the heartbreak of waiting for a seed to sprout.
- Grow peppers in winter (optional): If you simply bring your plants inside, without pruning them, they can produce fruit through the winter as well. To do this, you’ll need to provide warmth and grow lights. However, if you intend to grow indoors, it's recommended to start from seed and keep some plants indoors permanently.
- Retain perfect plants: Certain chilli plants may have fantastic yields, outrageously spicy fruits, or some other sought-after trait. Overwintering means that we can keep these plants alive for years to come, rather than having to say goodbye after a single season.
Cons
- Pests: Many pests thrive outdoors. Therefore, bringing outdoor plants indoors can introduce them to an environment where they can run rampant. We will outline steps that can dramatically mitigate this risk.
- Effort: The process of overwintering is a bit of effort. But if you’re serious about growing, it’s an effort we consider well worth it.
What do you need to overwinter chilli plants?
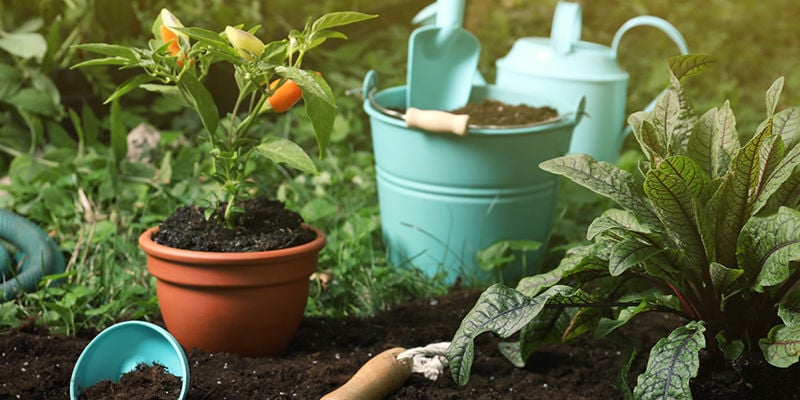
You don’t need much in the way of equipment to overwinter your chillies. What’s more, if you’ve already grown chillies from scratch, it’s likely you have more or less everything on this list already.
Supplies needed:
- Clean pot; 2–12 litres
- Fresh potting soil
- Water
- Pruning shears
- Hose with spray nozzle
- Mixing bowl
- Rubber gloves
- Neem oil (optional)
And, of course, you’ll need your chilli plants!
Method: Overwintering chilli plants
There are quite a few steps, but none are particularly complex. Besides, for anyone with a passion for growing things, learning this life-saving process could be a joy in its own right. And come next harvest, you’ll be rewarded with a bumper crop.
1. Prepare the new soil
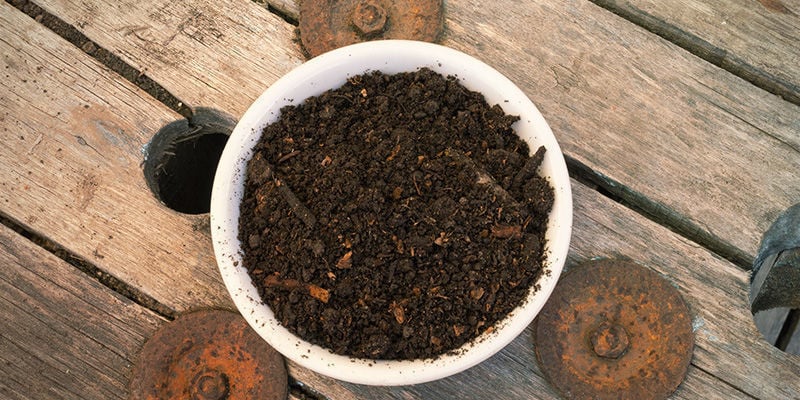
Clean out your mixing bowl with warm, soapy water, then dry. Then, add your fresh potting soil and moisten. You don’t want it to be too wet—just damp. If you squeeze it and water runs out, then you’ve added too much water. So drip-feed it and don’t be overzealous.
2. Prune your plant
This is perhaps the most brutal part of the process, and you might find it hard to believe that you’re doing your plant any good. So you’ll have to put your faith in us. You want to cut it down until it’s just a stem and a few blunt nodes. It will look sad and defiled, so you’ll have to harden your heart.
3. Remove all leaves
Now you have to remove any remaining leaves. There are two reasons to do this—to mitigate the risk of pests, and to stunt growth. Many pests live on leaves, and so you want to avoid bringing them indoors. Also, if the plant has no leaves, it will struggle to grow. When indoors, you want it to be as dormant as possible, so strip it bare.
4. Remove and clean the roots

Now you’ve got to remove it from it’s home, and clean and cut the roots. Tip the pot on its side and gently remove the plant. Go steady; you don’t want to tear it from the soil. Rather, work around it until it falls out. Then, clean the soil from the roots with your gloved hands and the hose. Soil hosts pests, so the more you remove, the safer your plant will be.
Then, depending on how much you’re downsizing the pot, you may need to trim the roots down a little.
5. Perform a neem oil dunk (optional)
Dunking the roots in a neem oil solution can add a further degree of protection. Neem oil helps to eliminate pests on the roots, which means that when it comes to adding them to new soil, they go in clean!
6. Repot into your prepared container
Your fresh pot should now have around 5cm of compacted soil in the bottom. You need a little dexterity for this next step. Hold the plant by the stem, with the base a few centimetres lower than the rim of the pot. The roots should be dangling down. Add soil, poking it into the roots, until it’s fully embedded in the new pot.
7. Water, and place in your designated location
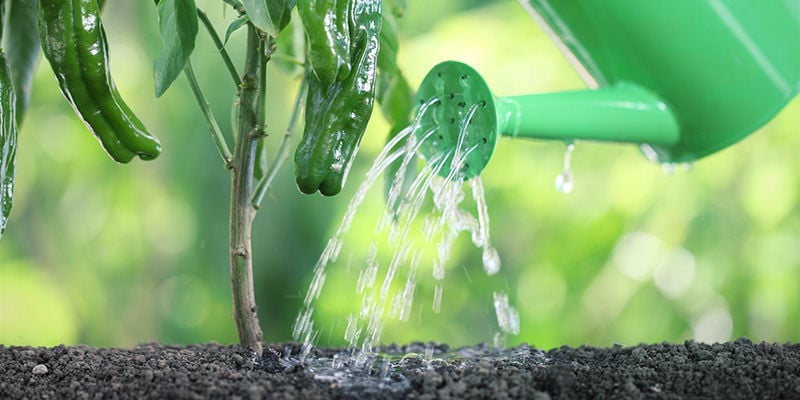
Now it’s ready to go. Water it, but only a little. Your pepper plant won’t need much in the way of water throughout the overwintering process, as it won’t be growing. So just moisten it.
Place it somewhere where it will get indirect light, but not hours of full-blown daylight. Although in winter, this shouldn’t be too much of an issue. It also needs to be fairly cool, otherwise it will try harder to grow—13–18°C is perfect. Cooler than this risks the plant dying, which would be a shame!
8. Take care of the plant
Your hot pepper plants need very little in the way of care as they overwinter, as they’re essentially hibernating. Water them lightly around every two weeks, and make sure to remove any new growth they put out. If you allow them to grow new leaves, you’ll find they’re no longer dormant!
Finally, there’s no need to fertilise your plants throughout the winter. The soil will contain enough in the way of nutrients, and anything extra will either encourage them to grow again, or kill them. Neither of these are particularly desirable.
What about in-ground pepper plants?
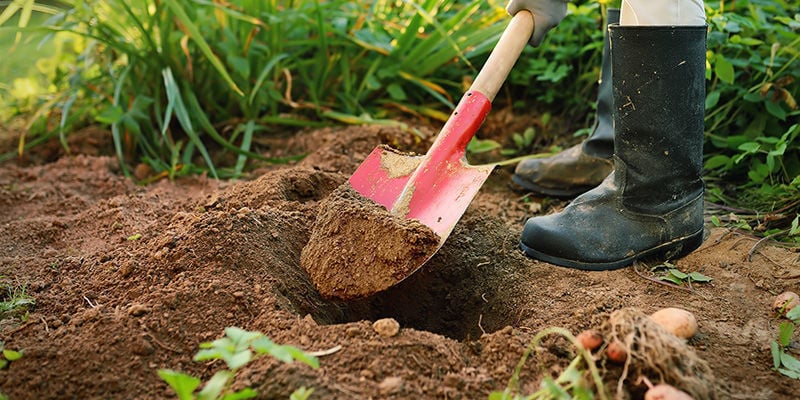
Pepper plants that you have sown directly in the ground require all the same steps as above. The only difference is when it comes to removing them from the soil. Obviously, you can’t turn the earth on its side and wiggle them out, so you’ll have to get digging. Dig in a circle around the base of the plant, and around 20–30cm deep. Slowly lever the roots out of the ground, then wash and trim as outlined above.
Top tips for overwintering chilli plants
The above steps outline the necessities of preparing your pepper plants for their winter sojourn, but there’s a lot more you can do.
Add quartz sand to the top of the soil
Adding a layer of sand or vermiculite to the top of your soil supposedly helps to deter pests that might like to make a home or lay eggs in the soil. While not necessary, this may add another layer of defence.
Check for pests regularly
On that note, giving your plants a once-over on a regular basis is a great way to prevent pest infestation. Trying to assess the root health of overwintering plants can be very difficult, as the leaves are the best indicator of what’s going on in the underground world. So cleanly practice can help you avoid nasty surprises.
Always keep the temperature cool (but not too cool)
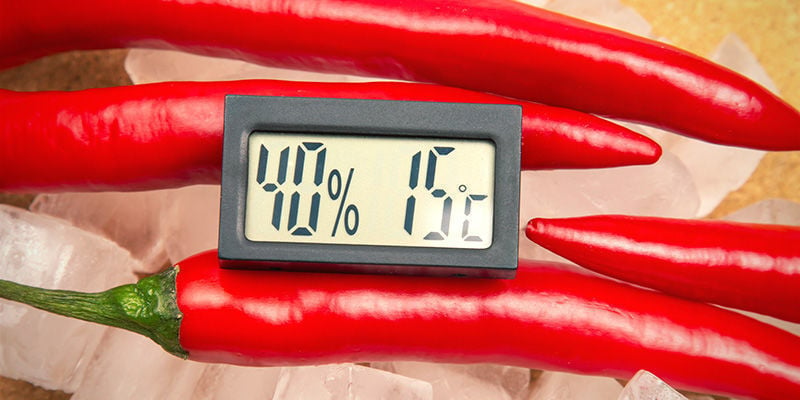
Keeping the temperature between 13 and 18°C will keep them happy and healthy, but won’t cause any sudden bursts of spring-like growth. In many houses, maintaining a perfectly stable temperature is an unrealistic goal, but aiming for it will be beneficial.
Keep them away from seedlings
If you do germinate new seeds before the spring, keeping a healthy distance between overwintering plants and your seedlings will reduce the risk of any pests on the former taking your seedlings to an early grave.
Overwintering chilli plants: Is it worth it?
As you can see, the overwintering process requires some work and a bit of a cold heart. Although, it's either that or let them die entirely.
In most cases, overwintering can be considered a worthwhile effort. Saving the need to germinate new seeds and resulting in better yields for years to come is surely a win-win. And for those who consider themselves green-fingered, the skills involved are but more techniques in the horticultural arsenal, and will serve you well with future projects. If nothing else, view it as an act of love: keeping your chillies alive for another year.
-
 4 min
16 May 2022
How To Store Chillies And Peppers (Short And Long Term)
There's no doubt about it; cultivating pepper and chilli plants is a hugely rewarding experience. But it's the harvest we really do it for. Having a supply of great-tasting and spicy chillies at...
-
 5 min
13 May 2022
How To Dry Chillies And Sweet Peppers
Whether you use them whole, as a ground spice, or to make your own spicy chilli flakes, dried sweet peppers and chillies make an excellent addition to any spice cabinet or pantry. Best of all,...
-
 3 min
5 May 2022
How To Harden Off Hot Pepper Plants
Learning to harden off your chilli seedlings means they can survive the change from indoors to outdoors. A crucial element of transplanting chilli plants, find out how to do it effectively.
-
 6 min
12 April 2022
How To Transplant Hot Pepper Plants
Growing chilli plants is highly rewarding and, if done right, can produce bountiful harvests of tasty hot peppers. Transplanting is a crucial skill when it comes to chilli cultivation, and we're...
-
 8 min
18 March 2022
How To Grow Hot Peppers Outdoors
There's nothing quite like having your own supply of spicy hot peppers. And while it may seem a daunting task to grow them outdoors, we're here to show that it's really not! All you need to do is...
-
 4 min
18 February 2022
Tips For Growing Hotter Chilli Pepper Plants
Surely it's down to chance just how hot your chilli peppers can be, right? Well, while various factors determine spice level, there are actually several things you can do to really get the hottest...


 United States


