 8.6 out of 10 based on 80243 reviews







.svg)
.svg)
.svg)
.svg)
.svg)


 Autoflower Seeds
 Feminized Seeds
 Zamnesia Seeds


 Help
Help United States
When and How to Transplant Cannabis Plants (Complete Guide)
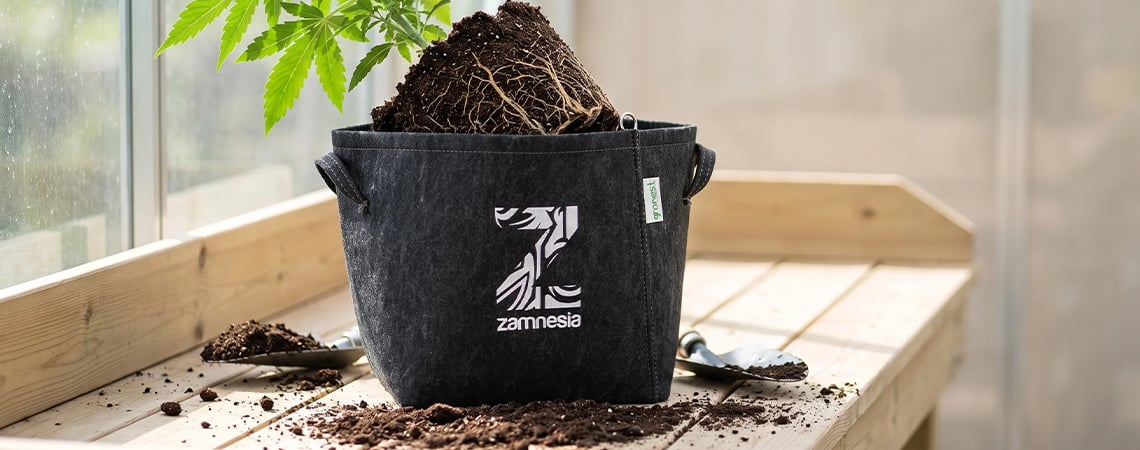
Transplant at the right moment and roots stay happy while growth keeps charging. Read the timing signals, match each stage to the right pot size, move the root ball cleanly, and handle transplant shock, for photoperiod plants from seedlings to clones.
Roots run the show. Give them room at the right moment and your plant keeps charging through veg, sizing up the canopy that will eventually carry your harvest. Leave them cramped too long and growth stalls, the plant goes rootbound, and that lost momentum quietly caps your final yield. Transplanting cannabis is how you stay ahead of that ceiling.
The good news: it is a routine, low-risk move, not a gamble. Read the timing signals your plant gives you, match each stage to the right pot size, lift the root ball cleanly into its new home, and manage any transplant shock that follows. Get the order right and the plant barely notices the change.
Growing autoflowers? Transplanting autos works differently, so follow our autoflower transplant guide instead. Everything here applies to photoperiod plants, feminized and regular alike.
Why transplant cannabis?
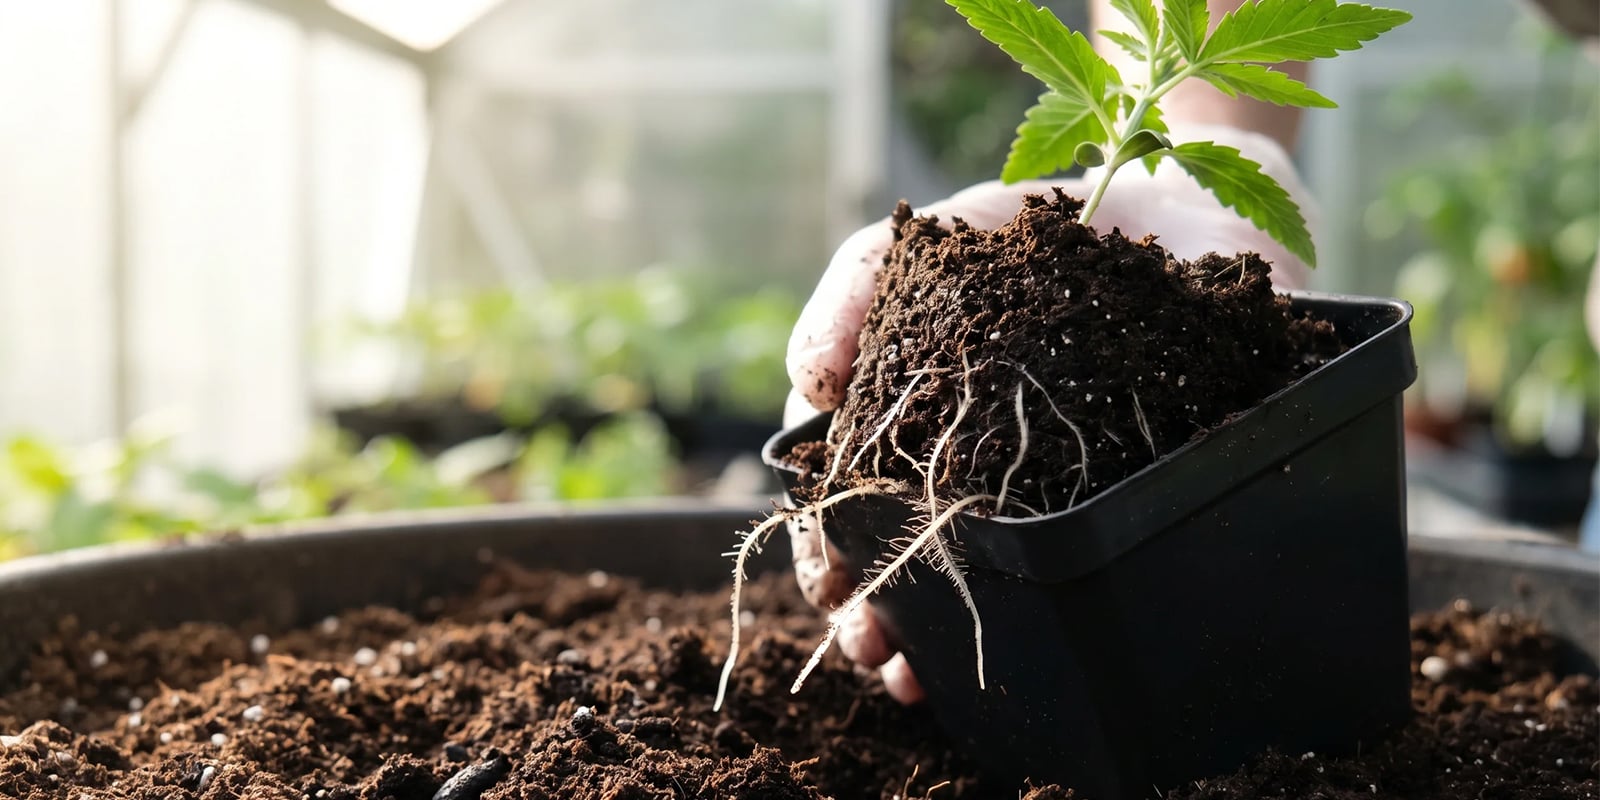
Roots need oxygen as much as they need water, and pot size is how you control that balance. In the early stages a small pot dries out faster and holds a better air-to-water ratio than a large one, where a tiny root system sits surrounded by too much wet medium that stays soggy and starves the roots of air. Matching the container to the plant keeps that ratio in the sweet spot at every stage.
Transplanting on time also stops the plant going rootbound. Once roots circle the inside of a pot with nowhere left to go, growth stalls and the plant struggles to recover even after you move it up. Staging up through a few pot sizes, rather than dropping a seedling straight into its final large container, generally drives faster vegetative growth, because the roots stay in an actively explorable, well-aerated zone the whole way through.
There is an honest other side. Some growers skip transplanting cannabis plants on purpose, for example by starting in a fabric pot, which breathes well enough to ease the rootbound risk, or simply because they prefer fewer steps over squeezing out maximum speed. That is a perfectly valid call, with its own trade-off in pace.
When to transplant cannabis: the key indicators
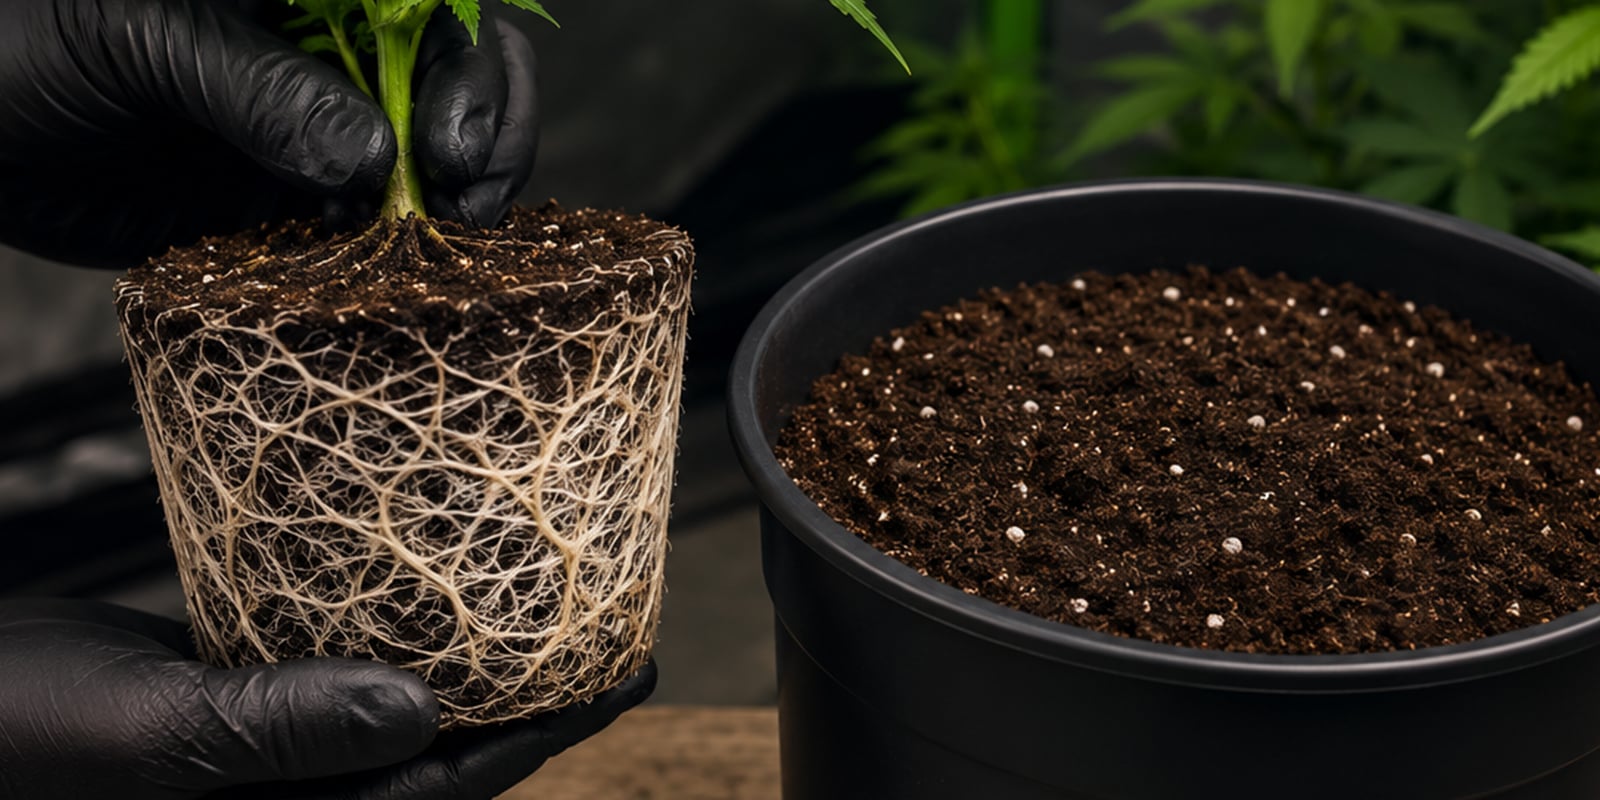
Knowing when to transplant cannabis comes down to reading the plant, not the calendar. A few clear signs tell you the roots have outgrown their current home and need more room to breathe.
- Roots poking out through the drainage holes at the bottom of the pot.
- Roots circling the base of the pot when you ease the plant out to check.
- Growth has slowed or stalled despite healthy light, temperature, and feeding.
- Soil drying out much faster than usual, so you find yourself watering far more often.
There is also a reliable leaf and node rule of thumb. Move seedlings on after they have put out their third to fifth set of true leaves, when the root system is established but not yet cramped. Plants in a solo cup are ready when the canopy spreads roughly as wide as the cup itself, which usually lands at three to four leaf pairs. If the foliage overhangs the rim, the roots below have almost certainly run out of space.
Timing within the growth cycle matters just as much. The best time to transplant cannabis is from late seedling through to early or mid veg, while the plant is growing fast and recovers quickly. Always move plants during the vegetative phase, never during flowering, when the stress can cost you yield and stall bud development. Transplant in the evening or under low light rather than full intensity, so the plant settles into its new pot before facing a bright day.
Knowing when not to act is just as important as knowing when to transplant cannabis seedlings in the first place.
- During flowering: the latest you could risk it is the week 1 to 2 stretch, and even then it is not recommended.
- When the plant already shows signs of stress, pests, or disease, as it has no spare energy to recover.
- The day before or after heavy feeding, when roots are working hard and easily shocked.
When to transplant cannabis seedlings from solo cups
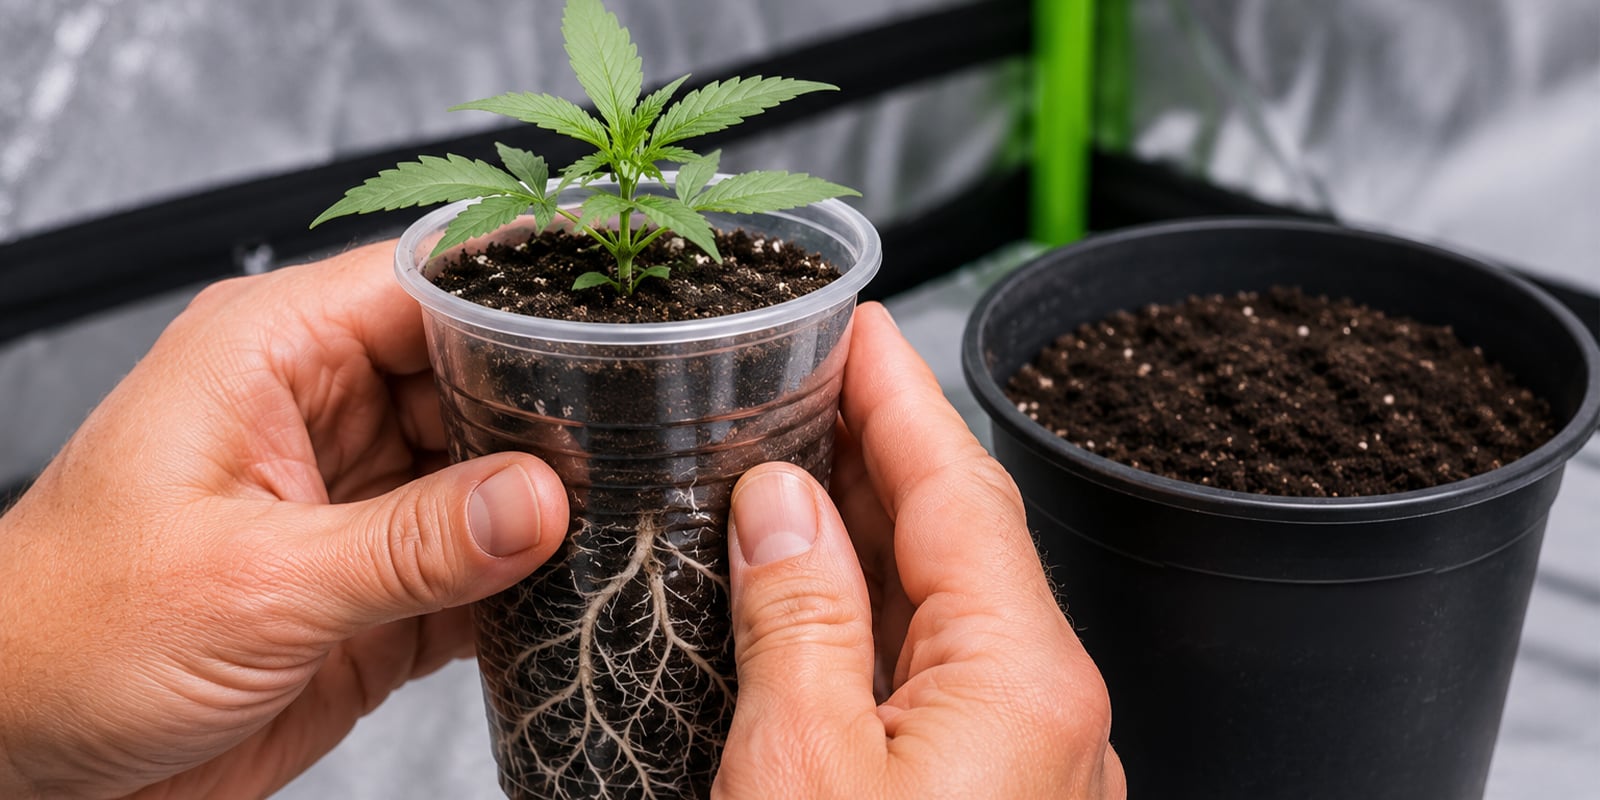
Transplanting cannabis seedlings is easiest when they start in a plastic solo cup, a favorite first home for good reason. They are cheap, you can poke drainage holes in seconds, and their small volume makes it easy to keep moisture right for a tiny root system that would sit waterlogged in a bigger pot. The clear or thin walls also let you check progress quickly, so you can judge readiness before you commit to a move.
A short checklist of why growers lean on them:
- Low cost, so a full germination batch barely dents the budget.
- Small soil volume gives precise control over watering and feeding.
- Easy to inspect roots without disturbing the plant.
To check readiness without harming the root system, gently squeeze the sides of the cup. A firm, springy feel tells you roots have knitted the soil into a solid root ball. For a closer look, use the cup flip method: spread one hand across the soil surface with the stem between two fingers, tip the cup upside down, and ease the root ball out just enough to see the white roots wrapping the edges, then slide it straight back in undisturbed.
On timing, a solo cup plant is usually ready to move about two weeks after you germinate cannabis seeds, or once it shows around three leaf pairs. That window lines up with roots filling the cup but not yet circling tightly. When you reach it, step up to a 1 qt (32 oz) pot, which gives the next stage of growth room to spread without drowning the young roots in excess substrate.
When to transplant cannabis clones
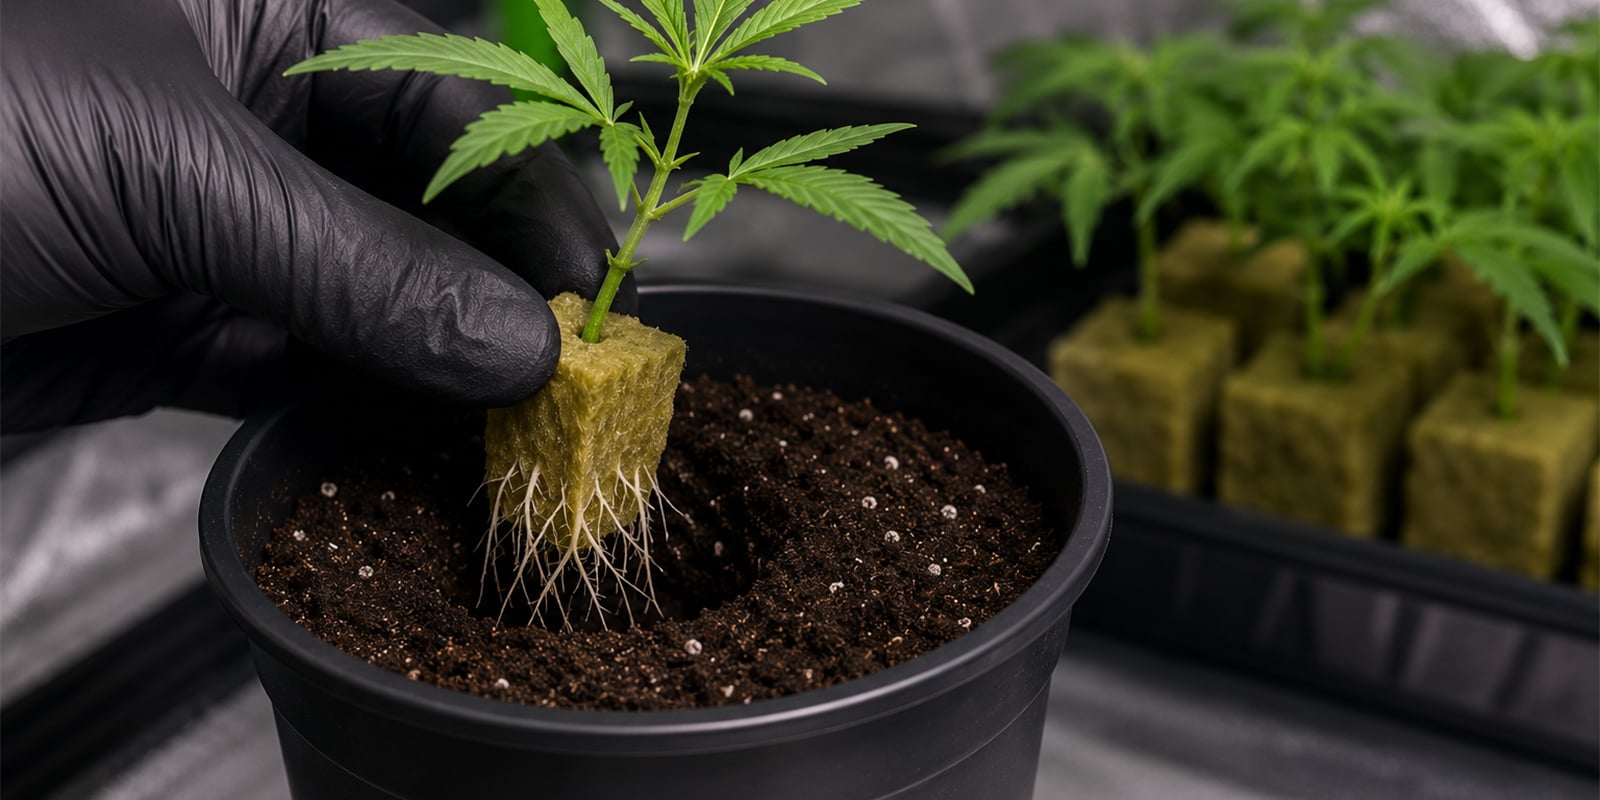
Clones are more sensitive than seedlings because they begin life with no roots at all. A clone has to grow its own root system from scratch, so that system must be properly established before you even think about a transplant. Knowing when to transplant cannabis clones comes down to one thing: visible roots.
Wait until you can see roots growing out of the rockwool cube or pushing through the base of the clone tray. This usually happens 7 to 14 days after you take cannabis clones, though the exact timing depends on the strain and your conditions. Do not rush it. If you transplant a clone that has not yet rooted, it has nothing to draw water and nutrients with, and it will not survive. There is no shortcut here, so patience is non-negotiable.
Once roots have clearly developed, resist the urge to move the clone straight into a large final pot. A freshly rooted clone has a small, delicate root system that can struggle in a big volume of damp medium. Instead, move it into a small container first, around 16 oz to 1 quart, where the roots can fill the space and take hold. From there you can step it up to its final home with confidence.
Choosing the right pot size
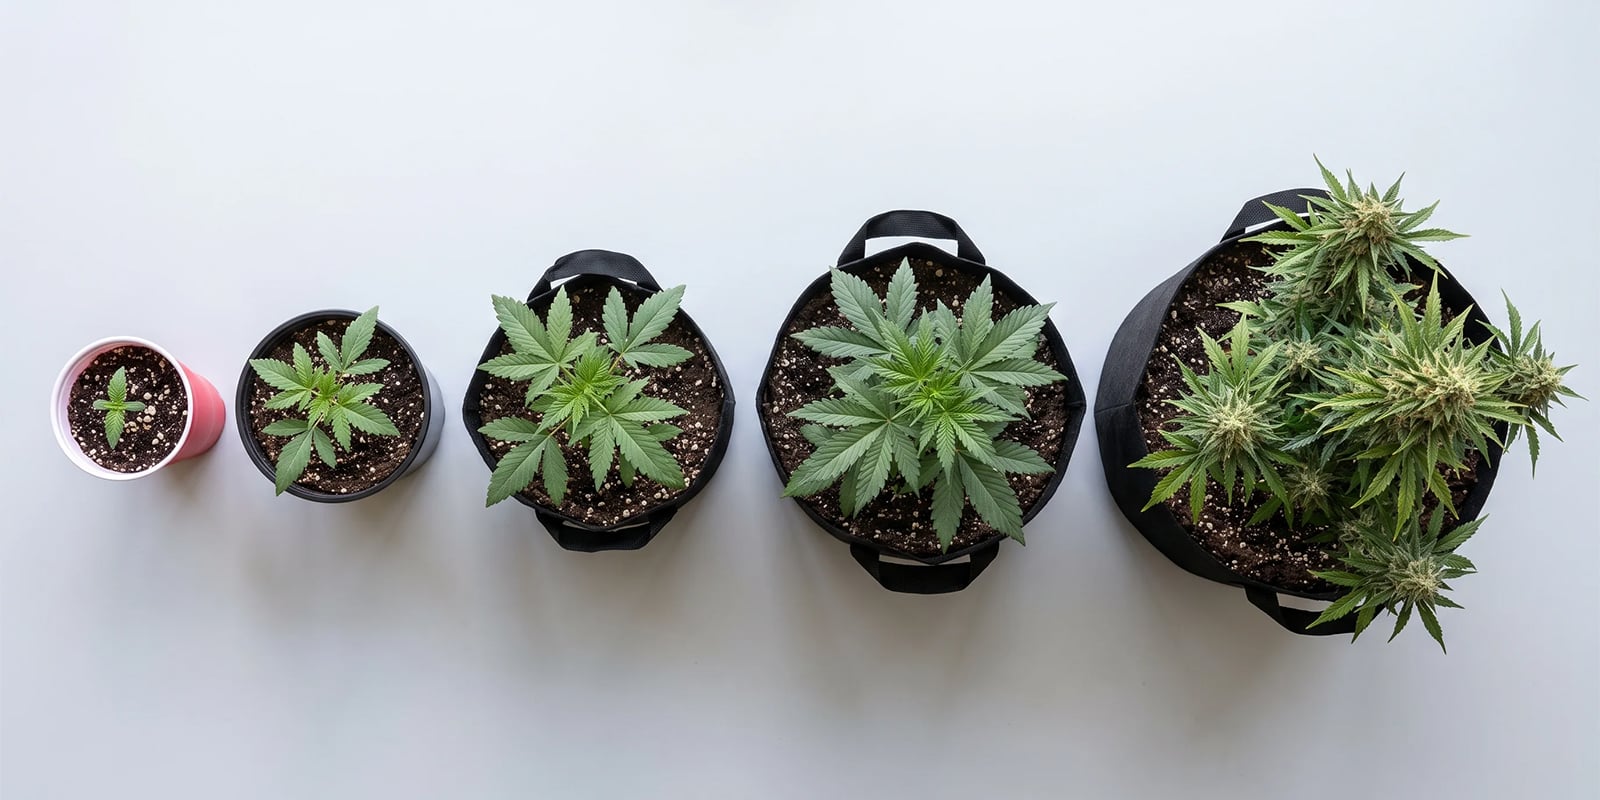
Match the pot to the plant's stage, stepping up the volume as the root system fills out. Use this ladder as your reference through the grow:
| Growth stage | Pot size |
|---|---|
| Germination / seedling | Solo cup or 16 oz pot |
| Early veg (3-5 leaf pairs) | 1 qt (32 oz) pot |
| Mid veg | 1 gallon pot |
| Late veg / pre-flower | 2-3 gallon pot |
| Final container (photoperiod) | 3-7 gallons depending on plant size |
The key rule is simple: never jump more than 2x the volume in a single transplant. Going too large too fast surrounds small roots with a mass of damp, unused substrate that they cannot drink through quickly enough. The result is waterlogged soil, stalled growth, and a sharp rise in the risk of root rot. Stepping up gradually keeps the substrate working in the plant's favor at every stage. Some growers skip staged transplanting altogether, preferring fabric pots and starting the plant in one from the outset. The breathable walls air-prune the roots and reduce overwatering, though you trade away the brisk, controlled pace that staging up gives you. Both routes work, so weigh the convenience of a single container against the tighter control of moving up one size at a time.
How to transplant cannabis: step by step
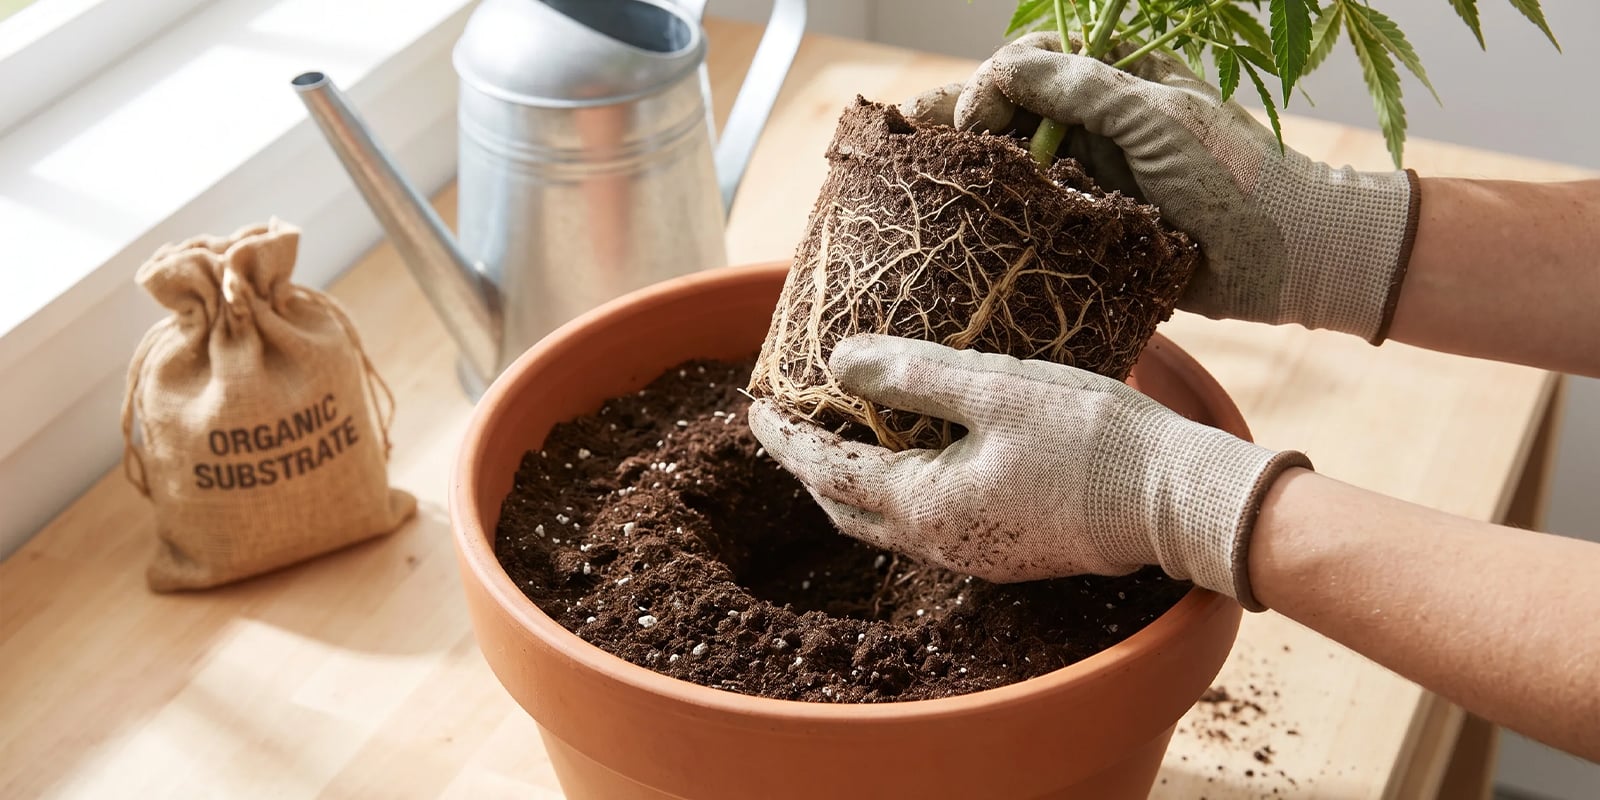
Gather everything before you start:
- A correctly sized new pot, roughly twice the volume of the current one.
- Fresh cannabis substrate or cannabis potting mix suited to your plant's stage.
- pH-adjusted, room-temperature water ready in a watering can.
- Optional mycorrhizal fungi or a rooting stimulator to support new growth.
- A pair of gloves to keep handling clean.
Then work through the move in order:
- Prepare the new pot: part-fill it with fresh, lightly moistened substrate, then scoop out a hole the exact size of the old root ball so it drops straight in.
- Water the plant in its current pot about 24 hours before you start, because moist soil binds the root ball together while dry soil crumbles apart and exposes the roots.
- Gently squeeze or tap the sides of the current pot all the way round to loosen the root ball away from the walls.
- Flip the pot over, cradle the base of the stem between two fingers, and slide the root ball out in one clean motion, never pulling from the stem.
- Lower the root ball into the pre-made hole, sitting it at the same depth it grew at before.
- Fill around the sides with substrate, firming lightly with your fingers, and do not compact it tightly or you will choke the roots of air.
- Water lightly to settle the soil and close any air pockets, without drenching it.
- Keep the plant in a stable, slightly lower-light spot for 24 to 48 hours while it settles and recovers from the move.
A few extra tips worth building in:
- Mixing a mycorrhizal inoculant into the new soil before planting can speed root establishment and strengthen long-term nutrient uptake.
- Transplant in the evening rather than under full light, as cooler conditions reduce evaporation stress while the roots adjust.
- Do not fertilize for the first 3 to 5 days, giving the roots time to settle before they take on nutrients.
Cannabis transplant shock: causes, signs, and recovery
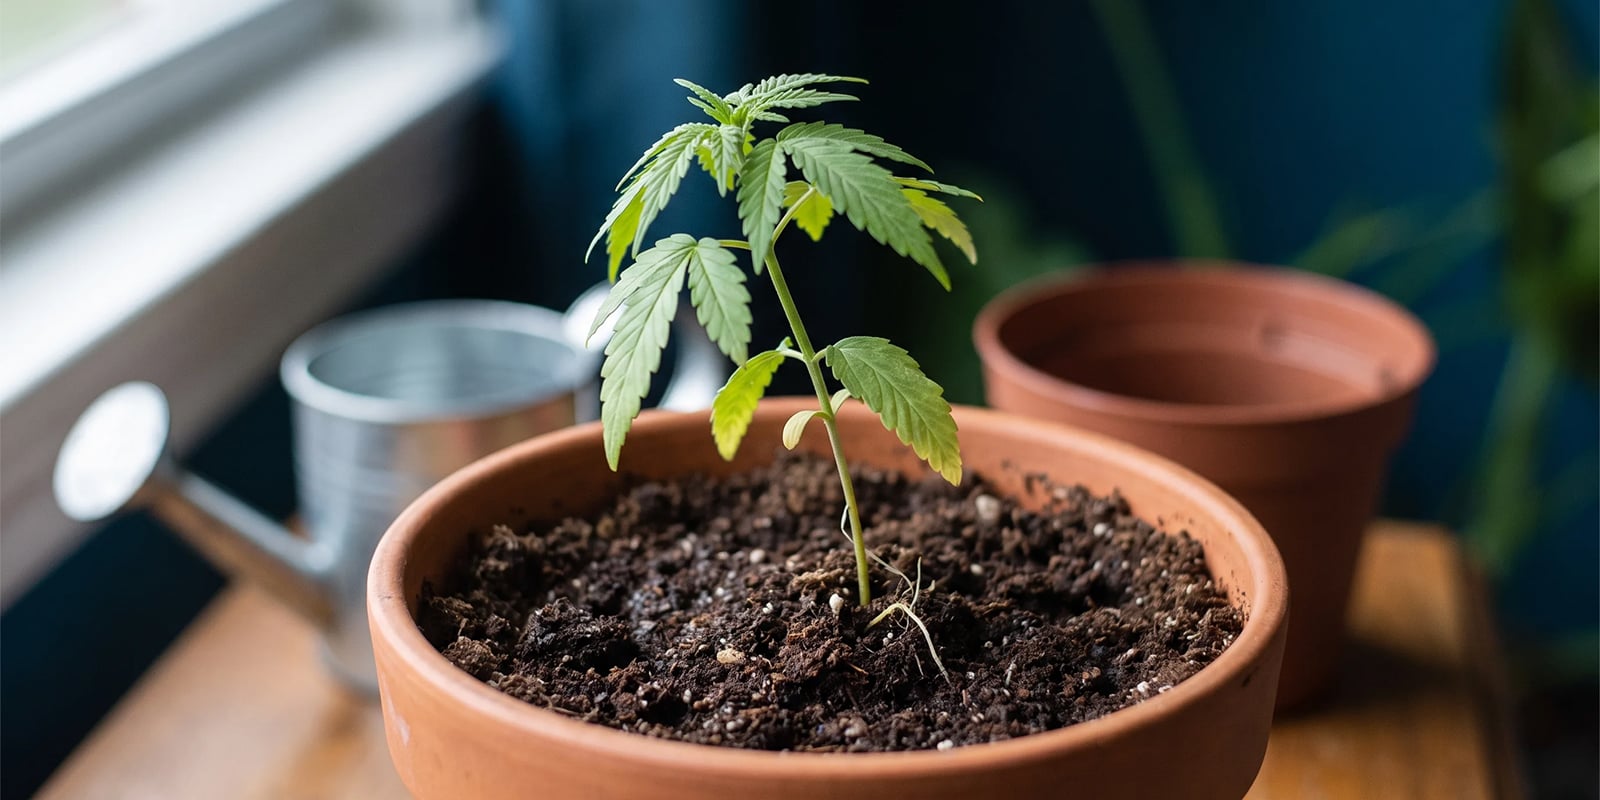
Seeing your plant droop within hours of a transplant feels alarming, but in most cases it is simply the roots reacting to being moved, not a sign that something has gone wrong. Cannabis transplant shock is a short, temporary stress response that happens when the root zone is disturbed during the move. It is completely normal, and when the transplant was carried out carefully, it usually clears on its own within 2 to 5 days. The plant is settling into its new home and re-establishing contact with the surrounding medium, and a brief pause in growth is part of that process.
The signs are easy to recognize once you know what to look for:
- Drooping or wilting leaves within hours of the move
- Slight yellowing of the lower leaves
- Slowed growth for a few days
It helps to know what these symptoms are not, so you do not over-correct:
- Not a nutrient deficiency, which develops gradually and shows different patterns of discoloration
- Not root rot, which stems from waterlogged, oxygen-starved roots rather than physical disturbance
Recovery is mostly about leaving the plant alone in a steady environment. Keep temperatures around 64 to 75 °F with moderate humidity, and hold back from intervening. Do not overwater, as soggy medium only adds stress; offer small, consistent watering instead. Hold off on heavy nutrients for 3 to 5 days while the roots find their footing. Some growers also use a light B-vitamin supplement to support the plant through this settling-in period.
Know when to step in. If wilting or yellowing continues beyond 7 days, look closer: inspect the roots for signs of rot, and check the pH at the root zone to rule out a deeper problem.
Common transplanting mistakes to avoid
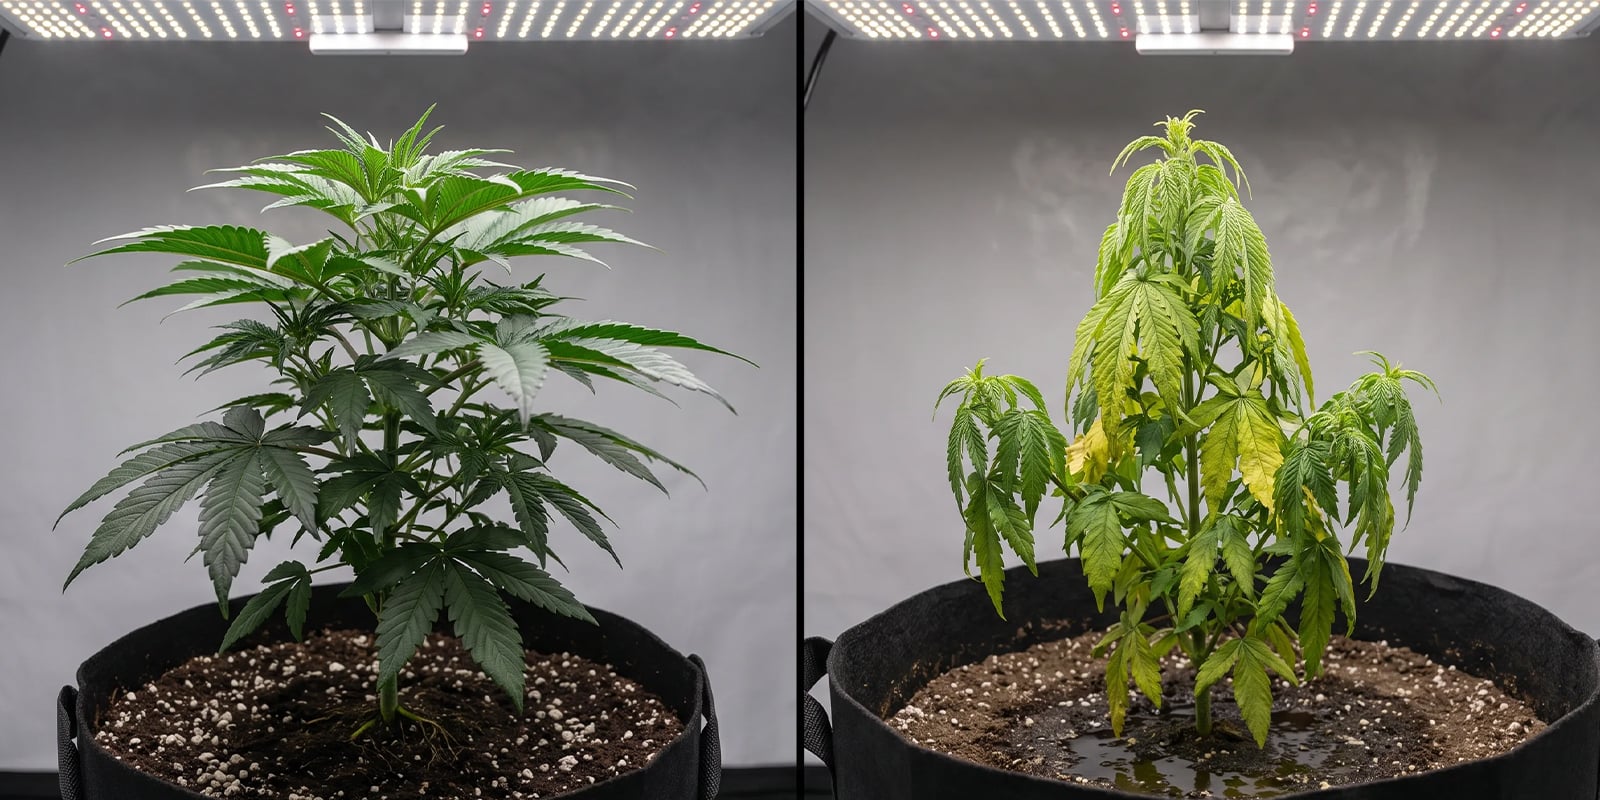
Even a well-timed transplant can go wrong if you slip up on the details. Watch out for these common pitfalls:
- Transplanting during flowering: the plant is pouring energy into buds and reacts badly to root disturbance, costing yield.
- Going too large too fast with pot size: an oversized container holds excess water around small roots, inviting overwatering and root rot.
- Transplanting with dry soil: a dry root ball crumbles as you lift it, tearing the fine roots you are trying to protect.
- Compacting the new soil too tightly: packing it down squeezes out air pockets and chokes the roots of oxygen.
- Watering heavily straight after: drenching the fresh substrate suffocates stressed roots and can trigger damping off.
- Moving a plant that is already stressed or sick: it has no spare energy to recover, so the shock often pushes it over the edge.
- Ignoring the pH of the new substrate: a mismatched pH locks out nutrients and leaves your plant hungry in fresh soil.
Get these right and your plant settles into its new home with barely a pause.
Bigger yields start with a clean transplant
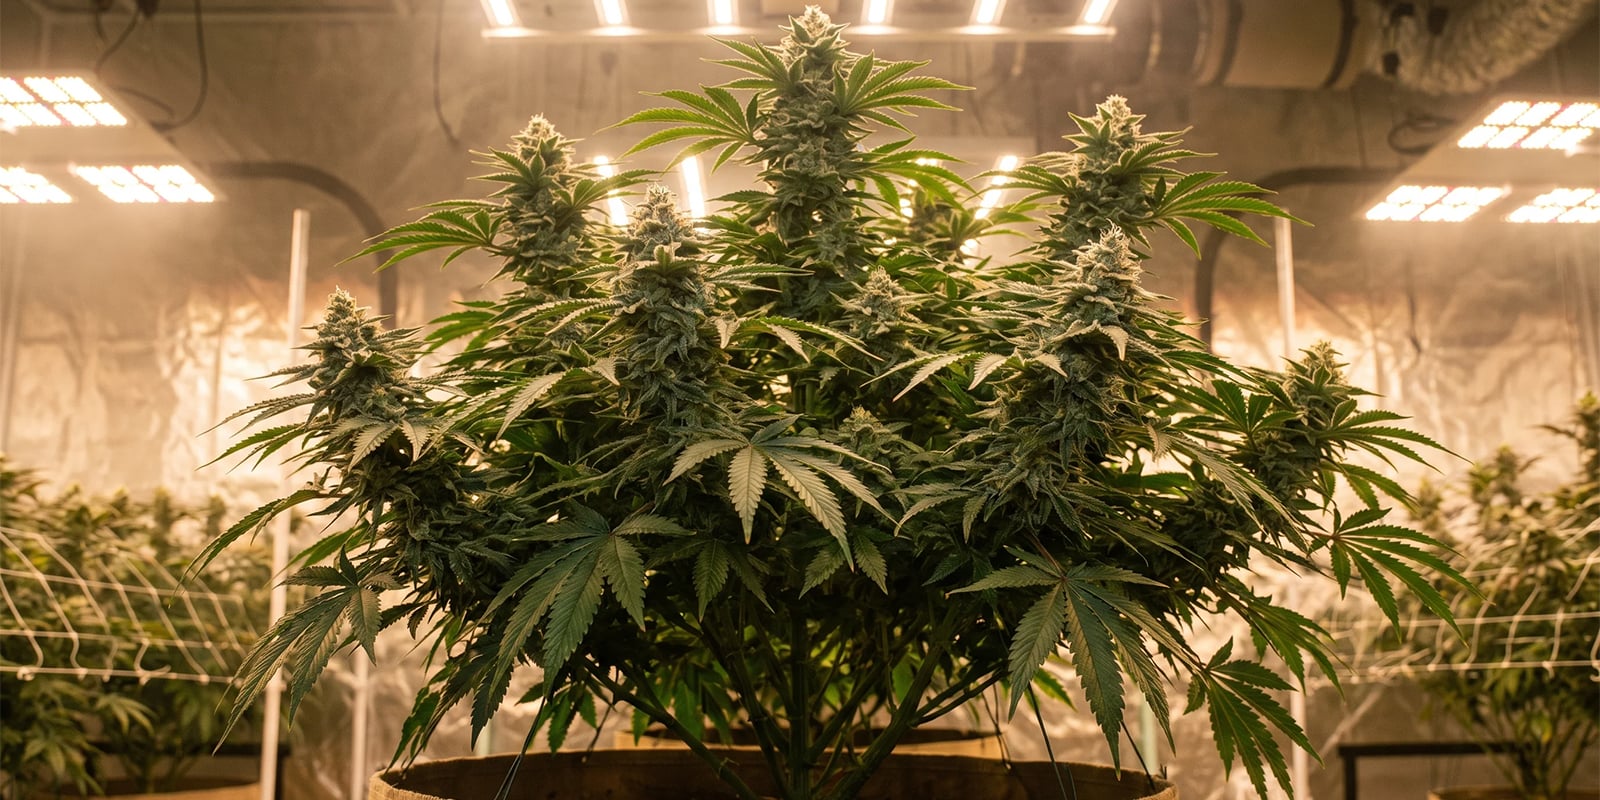
Transplanting feels intimidating before your first move, but it comes down to two things: reading the timing signals your plant gives you, and following the steps without rushing. Get those right and you protect the run of fast, uninterrupted growth that feeds into a bigger final harvest. Roots that settle quickly keep building, and that momentum carries straight through to flower.
Growing autos? Their tighter life cycle changes the approach, so work through our dedicated autoflower transplant guide before you start. For germination tips, lean on our germination guide. And when you are choosing what to plant next, picking stable, reliable genetics like quality feminized cannabis seeds gives every careful transplant the best possible payoff.
Frequently asked questions
- When should I transplant cannabis seedlings?
Transplant once the plant has three to five sets of true leaves, or when roots begin to circle the bottom of the container. Healthy roots and steady top growth are the clearest signs your seedling is ready.
- How do I know if my cannabis plant is rootbound?
Look for roots coming out of the drainage holes, soil that dries out rapidly, or growth slowing despite proper care. A rootbound plant has outgrown its container and needs more space.
- Can I transplant cannabis during flowering?
It is strongly advised against, as it can cause significant stress and reduce yields. Always transplant during the vegetative stage, when the plant recovers far more easily.
- How long does cannabis transplant shock last?
Usually 2 to 5 days. If symptoms persist beyond a week, investigate root health and check the pH of your medium and runoff.
- How much bigger should the new pot be?
No more than double the volume of the previous container. A common progression is solo cup, then 1 quart, 1 gallon, 2 to 3 gallons, and the final pot, giving roots room without drowning them in excess medium.
- Should I water after transplanting cannabis?
Water lightly to settle the soil, but avoid overwatering, since the roots need oxygen to recover and establish in the new medium. Wait until the top layer dries before watering again.
Every harvest starts at the roots
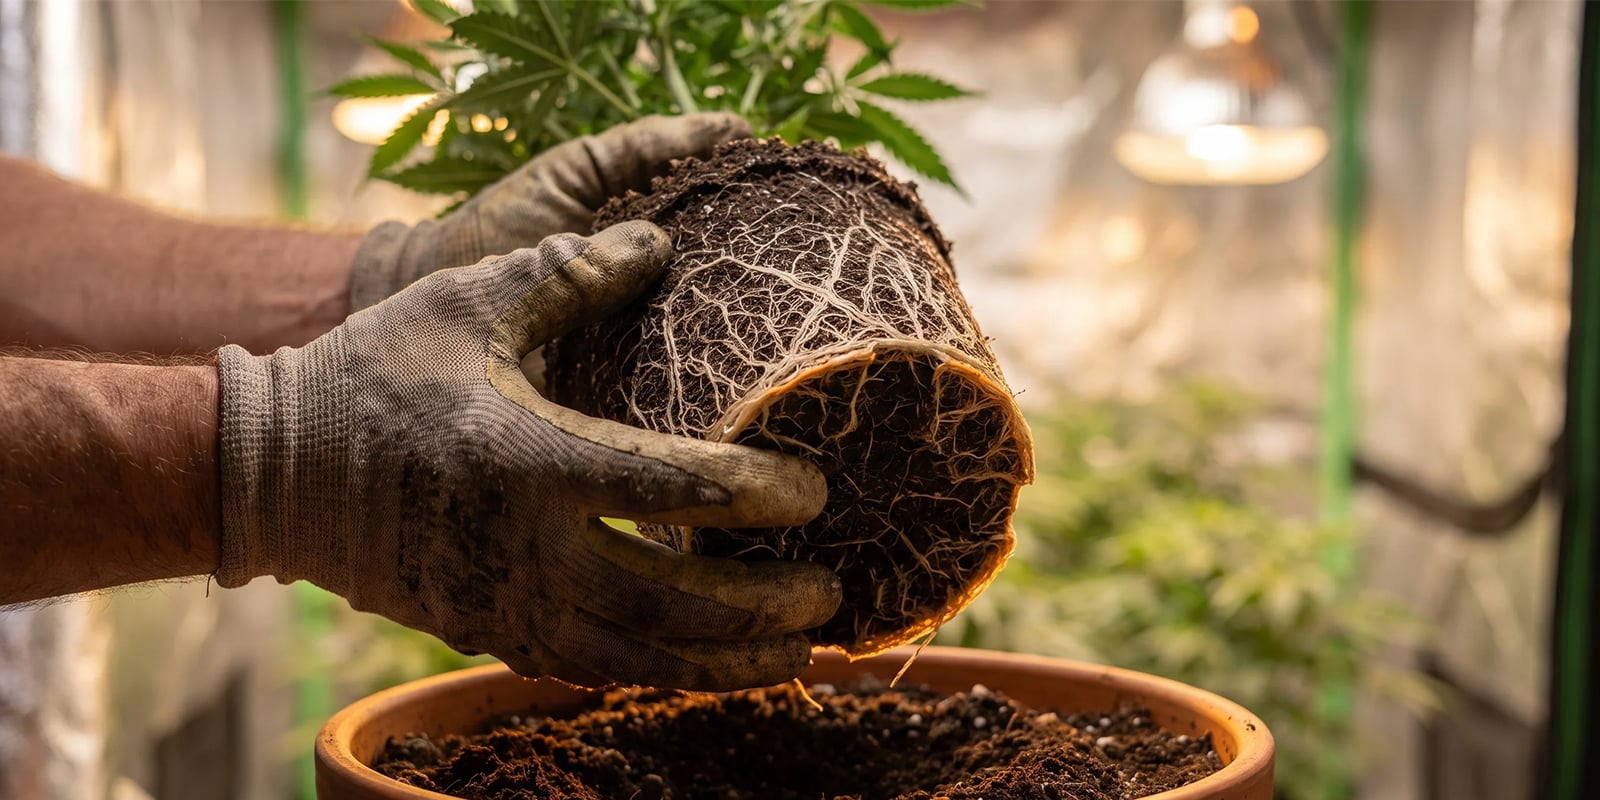
Transplanting comes down to timing and a gentle touch. Watch for the signals your plant gives you: roots at the drainage holes, soil drying out faster, growth slowing down. Move during veg, never in flower. Step up one pot size at a time, never more than double the volume, keep the root ball intact, and give the plant a quiet day or two to settle in. Do that and any transplant shock passes quickly, the roots keep building, and that steady momentum carries straight through to a bigger final harvest.