pH for cannabis: How to measure and adjust
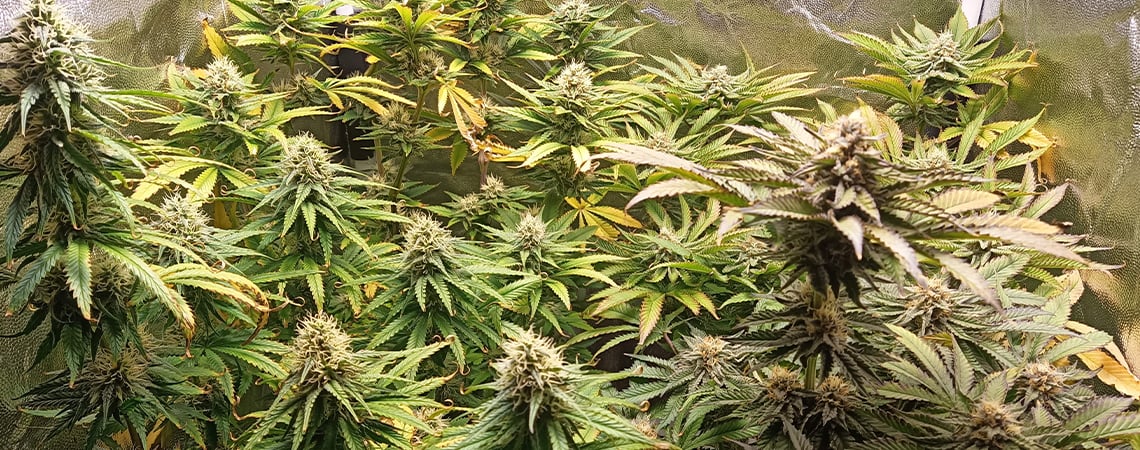
Getting pH right is key to healthy cannabis plants. This guide explains why pH matters, the best ranges for soil, coco, and hydro, and how to test and adjust with ease. Avoid nutrient lockout, boost growth, and achieve bigger yields. Read on to learn more.
Your cannabis plants might be hungry, but if the pH is off, they can’t eat. Getting pH right is one of the most important and often overlooked aspects of cannabis cultivation. Whether you’re growing in soil, coco, or a hydroponic system, the pH of your medium and water directly affects how well your plants can absorb nutrients. Get it wrong, and you risk stunted growth, strange-looking leaves, and poor results. Get it right, however, and your plants will thrive from seedling to harvest.
In this guide, we’ll explain pH and why it matters for cannabis, outline the best ranges for each medium at every growth stage, and show you how to test and adjust levels with simple, beginner-friendly advice and tools. You’ll also learn how to spot common pH problems, fix them quickly, and prevent nutrient lockout so your plants stay healthy for the long term.
Key points:
- Understand pH and nutrient uptake: Learn how pH controls nutrient availability in soil, coco, and hydroponics, and why it’s the foundation of healthy cannabis growth.
- Know the ideal ranges: Use our quick-reference cannabis pH chart to hit the sweet spot at every growing stage across different mediums.
- Test and adjust with ease: Discover simple ways to check pH using drops, strips, or digital meters, and see how to make safe, gradual adjustments with pH up/down products or natural methods.
- Prevent and fix pH problems: Spot early warning signs, stop nutrient lockout before it harms your plants, and keep pH stable throughout your grow for maximum yields.
What is pH and why does it matter for cannabis?

pH measures how acidic or alkaline a substance is on a scale from 0 to 14. Pure water has a neutral pH of 7, while values below 7 are acidic (like lemon juice) and those above 7 are alkaline (like baking soda).
When it comes to cannabis cultivation, the pH of your water and growing medium has a direct impact on how well your plants can absorb essential nutrients.
Even if you’re feeding your plants the best nutrients, the wrong pH can block uptake: a problem growers call nutrient lockout. This happens because different nutrients are only available to plants within specific pH ranges. For example, if your cannabis soil pH is too high, important elements like iron, manganese, and sometimes phosphorus may become inaccessible, leaving your plants looking weak and malnourished.
That’s why pH works hand in hand with EC (electrical conductivity) and PPM (parts per million), which together indicate the strength of your nutrient solution. You can learn more about balancing pH with EC and PPM in our guide here.
Common signs your cannabis plants are suffering from incorrect pH levels
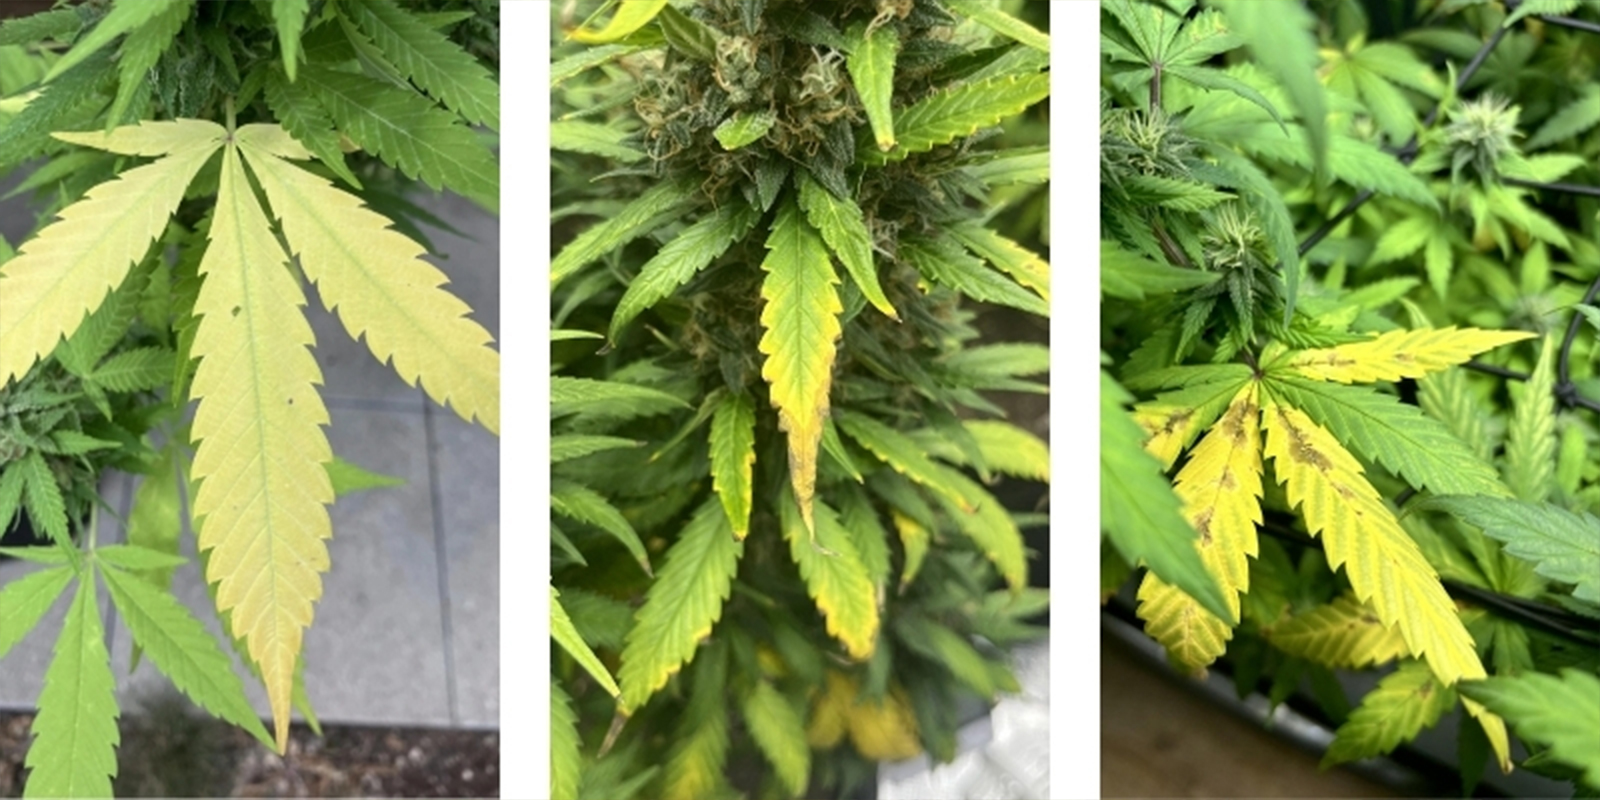
Your plants will show clear signs if pH drifts too far out of range. Watch for:
- Yellowing leaves despite regular feeding
- Brown or burnt-looking leaf tips
- Slow or stunted growth, even in otherwise good conditions
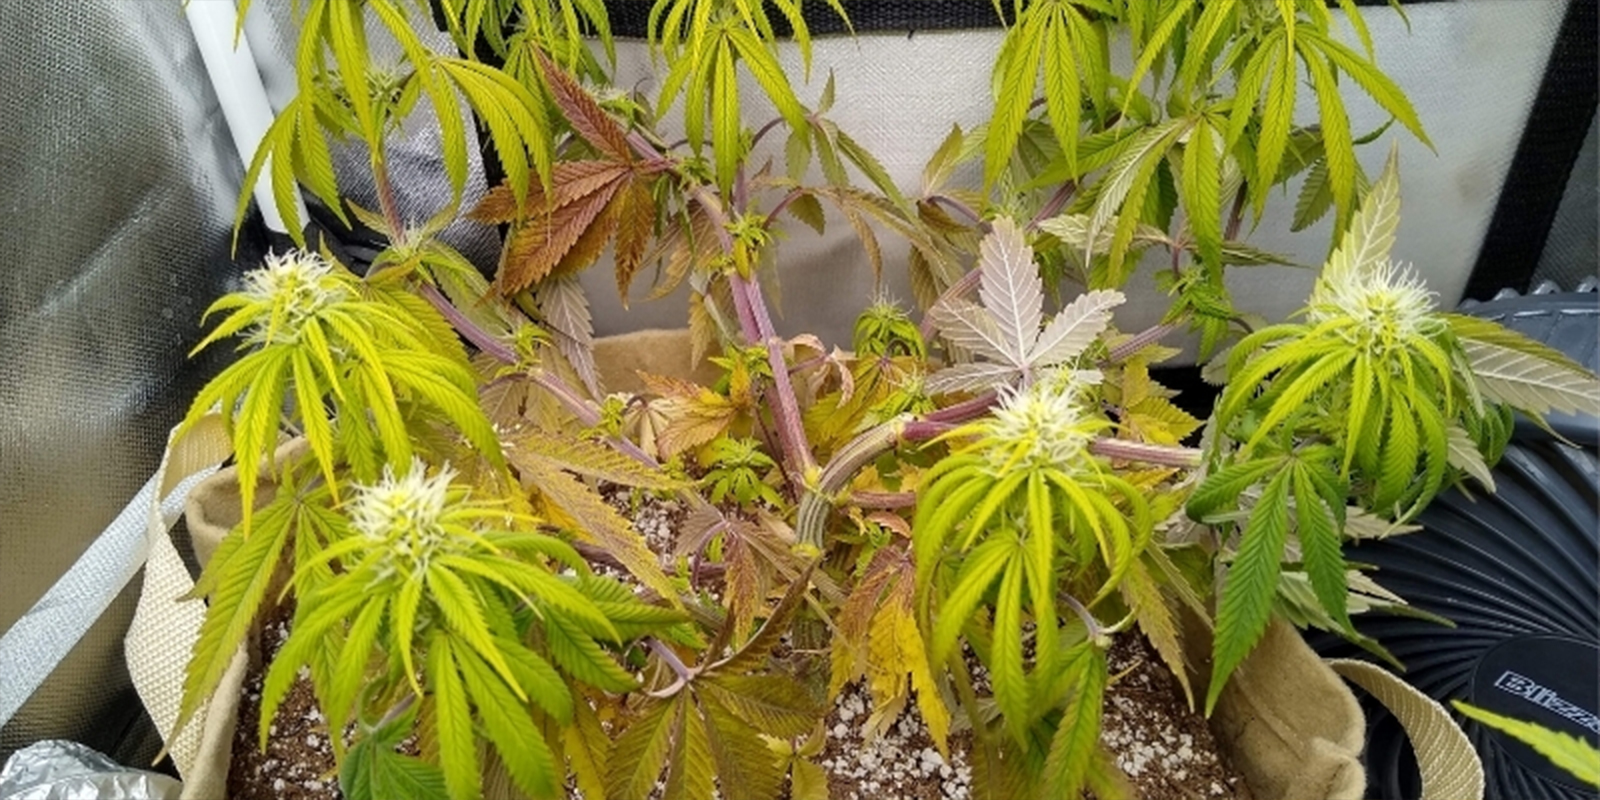
- Purple or red stems in some cases
- General nutrient deficiency symptoms that don’t improve when you add more fertilizer
These signs often point to a deeper issue: the nutrients are there, but the plant simply can’t access them because the pH isn’t right.
Ideal pH ranges for cannabis
Different stages of cannabis growth require slightly different pH levels. Getting this balance right ensures your plants can access all the nutrients they need, whether you’re growing in soil, coco, or a hydroponic setup.
Seedlings
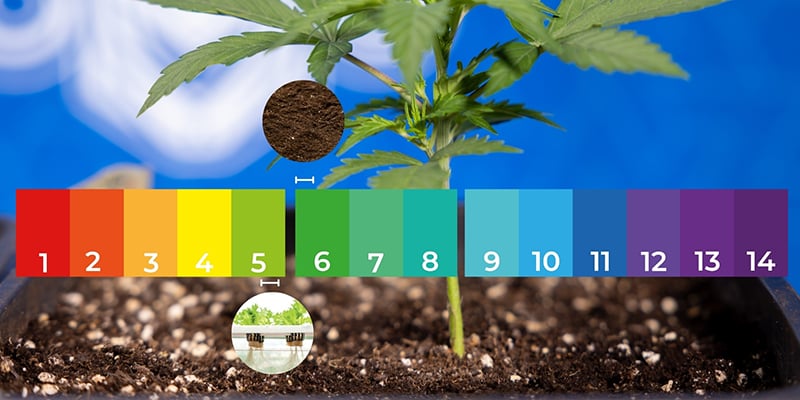
- Soil: 6.0–6.3
- Hydroponics/coco: 5.5–5.8
At this early stage, seedlings are delicate and don’t need much nutrition, but they are vulnerable to pH swings. Keeping the pH slightly lower helps establish strong roots.
Vegetative stage
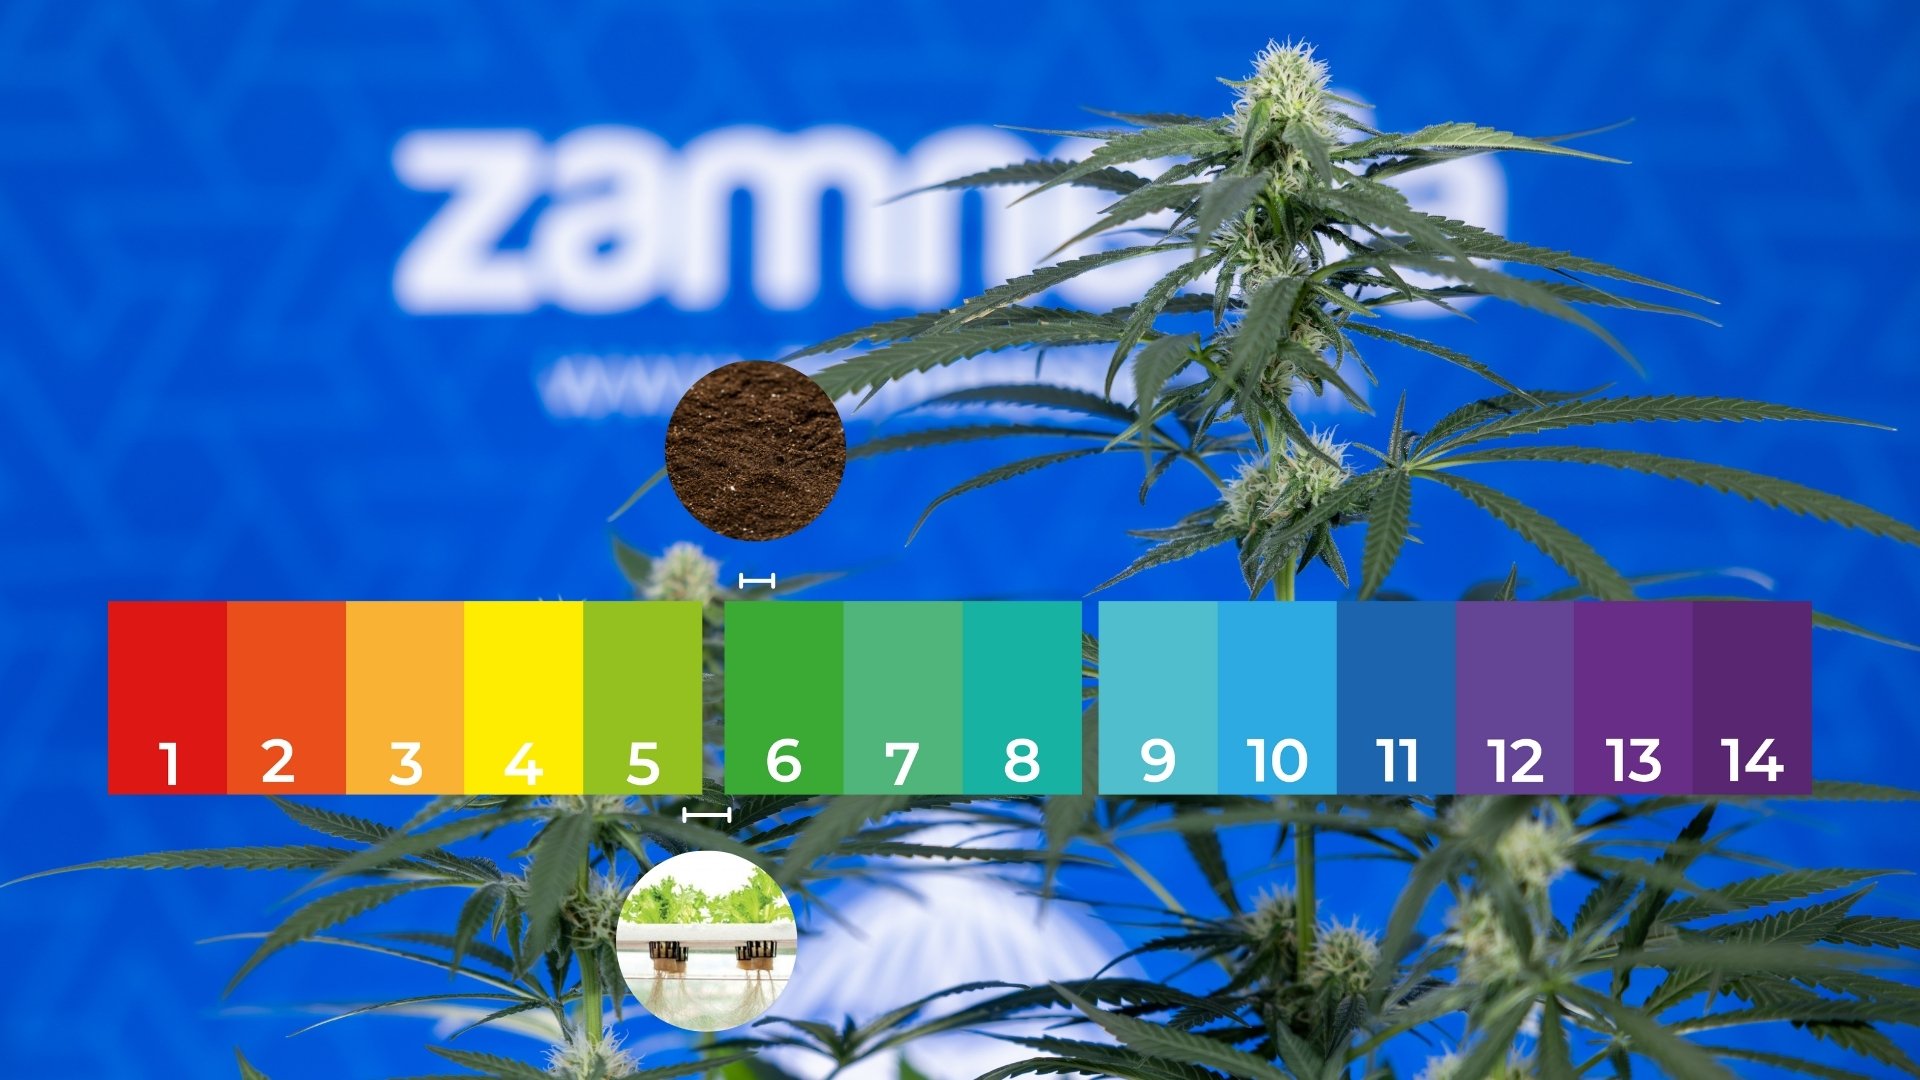
- Soil: 6.2–6.5
- Hydroponics/coco: 5.6–6.0
During veg, plants need more nitrogen, calcium, and magnesium. Staying in this pH range ensures those nutrients remain available, preventing issues like yellowing leaves or slowed growth.
Flowering stage
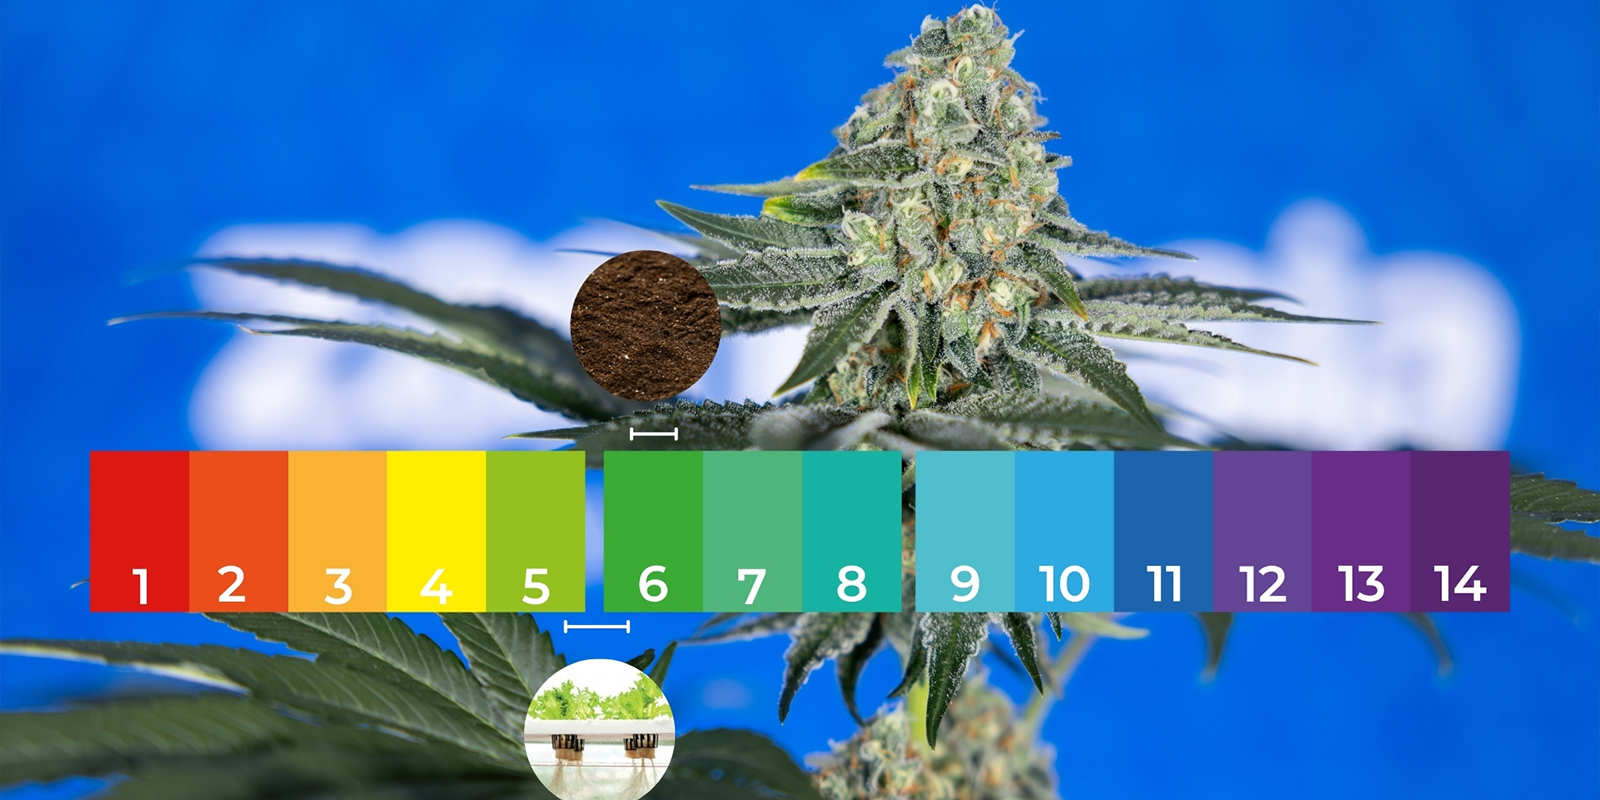
- Soil: 6.3–6.8
- Hydroponics/coco: 5.8–6.2
In bloom, cannabis shifts its nutrient demands toward phosphorus and potassium. Keeping soil pH slightly higher during this phase ensures efficient absorption, resulting in bigger buds.
Quick reference cannabis pH chart
This chart is your go-to guide for maintaining optimal soil and hydroponic pH values throughout the grow cycle.
| Growth stage | Soil pH range | Hydro/coco pH range |
|---|---|---|
| Seedlings | 6.0–6.3 | 5.5–5.8 |
| Vegetative stage | 6.2–6.5 | 5.6–6.0 |
| Flowering stage | 6.3–6.8 | 5.8–6.2 |
Check this chart to ensure your soil or hydro setup stays in the pH range where cannabis absorbs nutrients most efficiently.
.jpg)
How to test pH
No matter how carefully you feed your plants, you’ll only know if the pH is right by testing it. Luckily, checking pH is quick, affordable, and straightforward. The three main methods are liquid test drops, test strips, and digital meters. Each has its pros and cons and works best in different situations.
pH drops
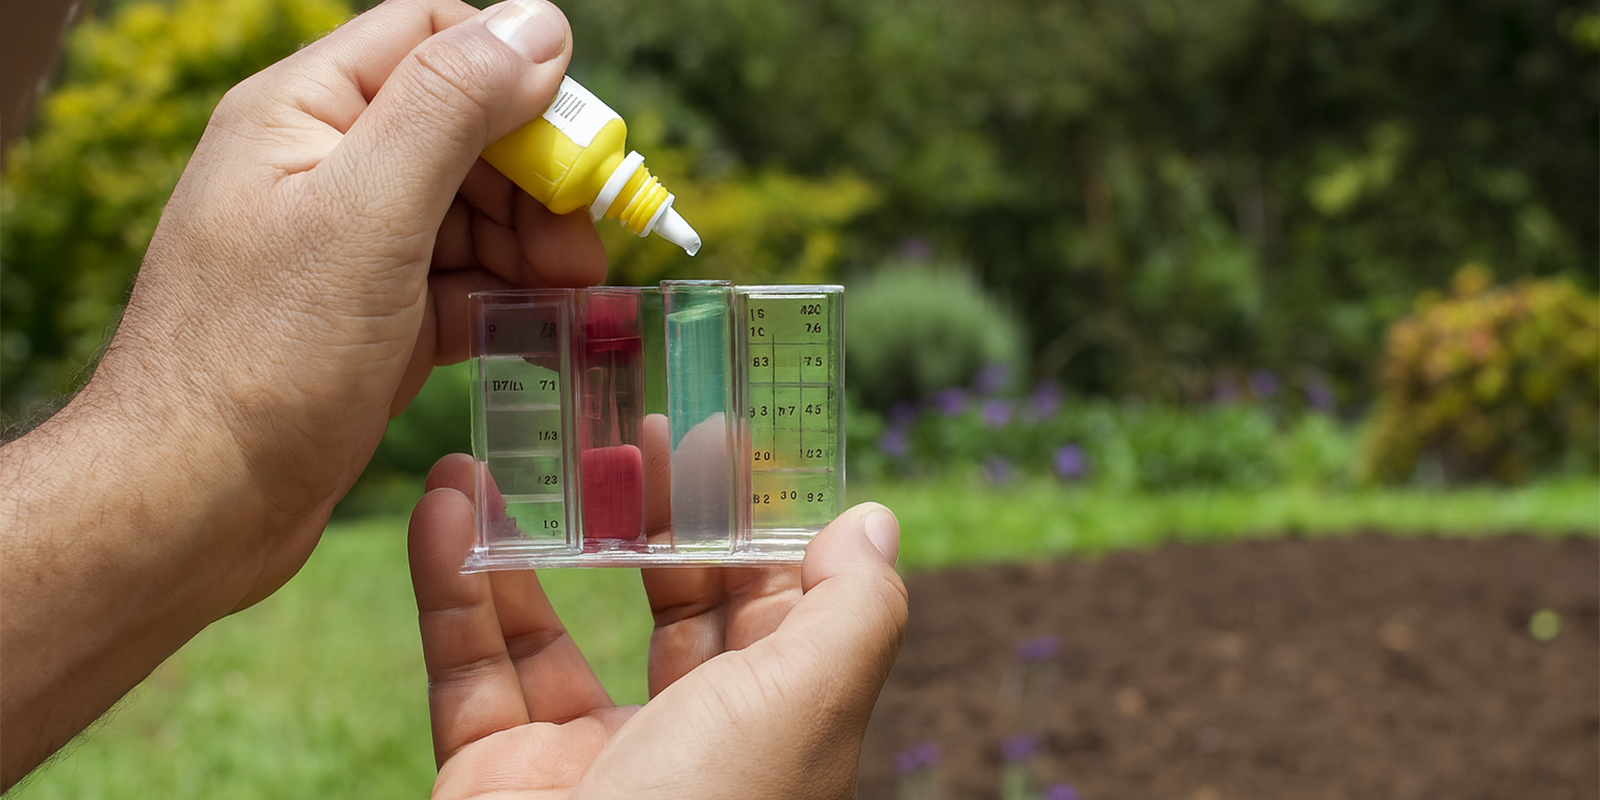
Liquid test kits use a chemical solution that changes color when it reacts with your nutrient mix or water sample. They’re a reliable, low-cost way to measure pH and don’t require batteries or calibration.
Pros
- Cheap and long-lasting
- Easy to use for beginners
- Clear visual results
Try the terra aquatica liquid pH test kit for a simple, accurate option.
How to use pH drops
- Fill a small vial with your water or nutrient solution.
- Add 2–3 drops of the test liquid.
- Shake gently and compare the color to the included chart.
- Adjust your solution if needed.
pH test strips
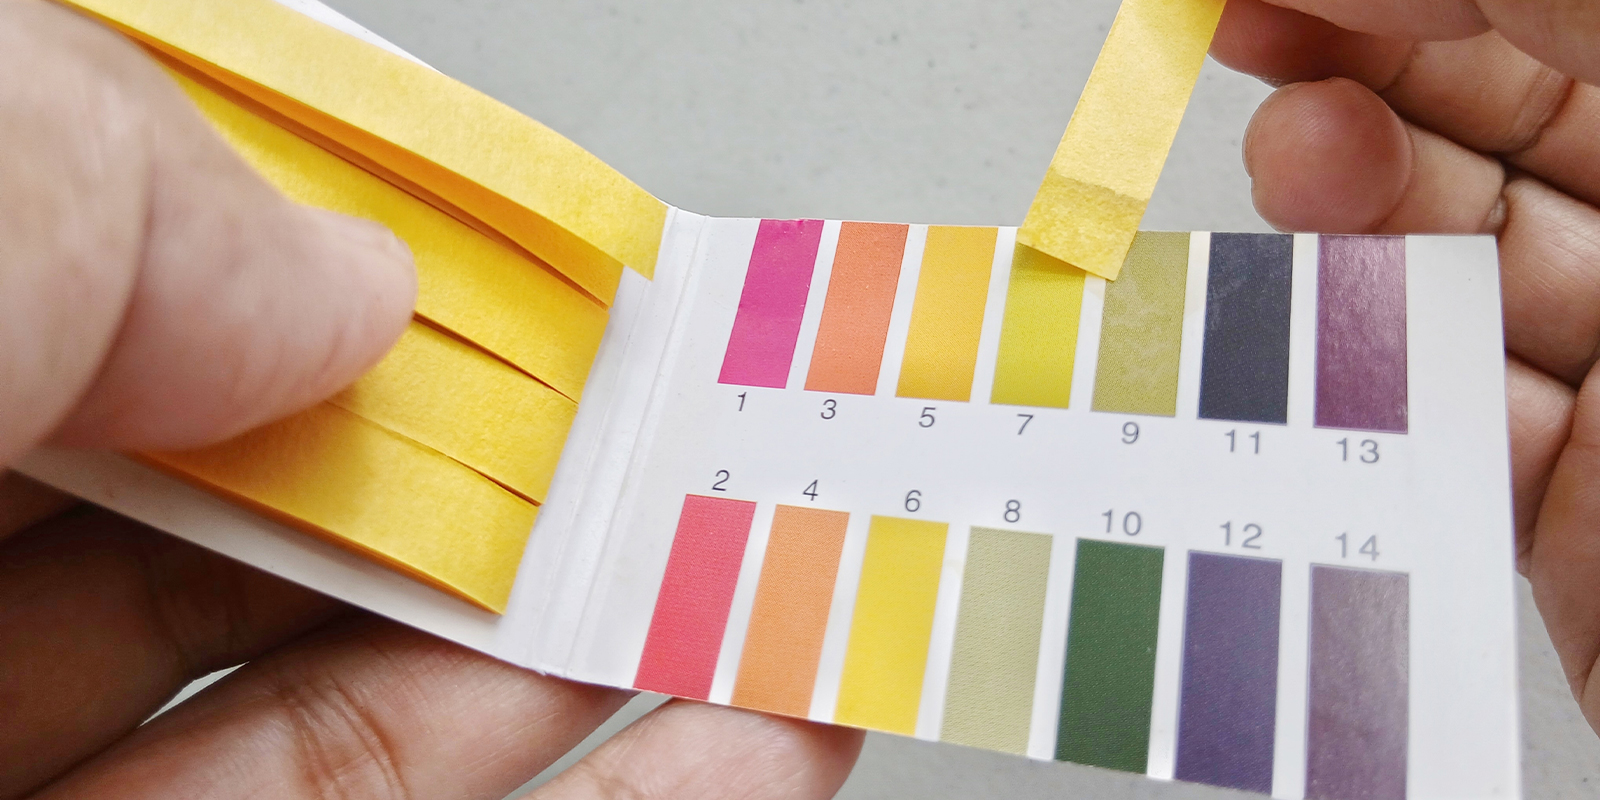
pH test strips work like litmus paper. Dip them in your solution and they’ll change color depending on the pH level. They’re portable and quick, making them great for spot checks in both soil and hydro.
Pros
- Very affordable
- Easy to carry and use anywhere
- Suitable for quick soil and water testing
Check out Zamnesia pH test strips or the pH/NPK soil test kit for a more complete soil analysis.
How to use pH test strips
- Collect a sample of your water, nutrient solution, or soil runoff.
- Dip the strip into the liquid for a few seconds.
- Wait for the strip to change color.
- Compare the color to the chart provided.
pH meter
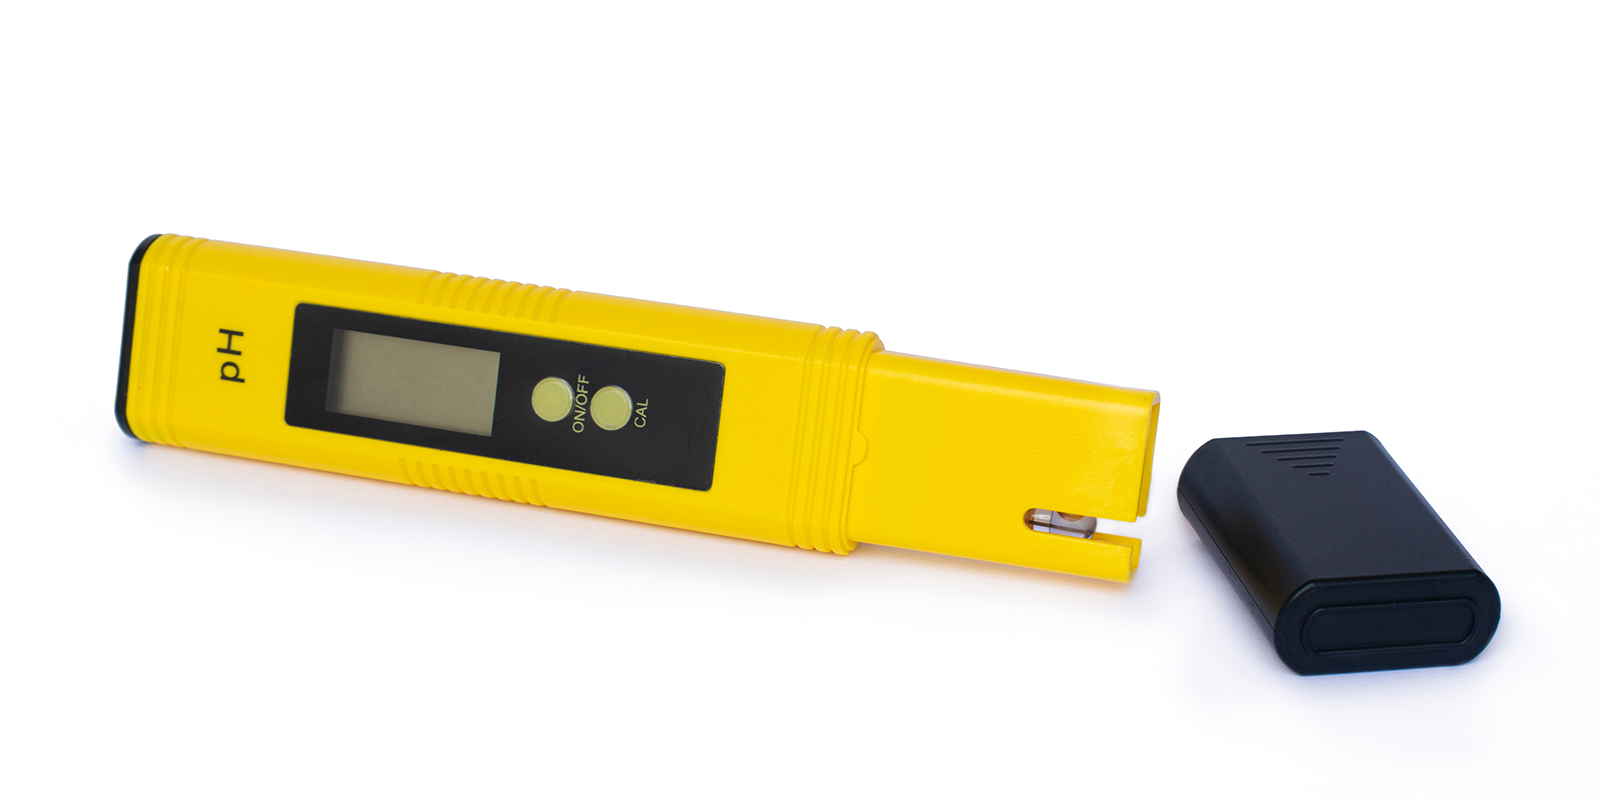
Digital pH meters are the most accurate option. They measure the electrical charge in your solution and display the pH on a screen. While they cost more and require calibration, they’re the go-to tool for serious growers.
Pros
- Very accurate and precise readings
- Quick results, no color charts needed
- Ideal for long-term or large grows
How to use a pH meter
- Calibrate your meter according to the instructions.
- Rinse the probe with distilled water.
- Place the probe into your solution or runoff.
- Wait for the reading to stabilize and note the pH.
- Rinse and store your meter properly after use.
How to adjust pH
Once you’ve tested your solution, the next step is making any necessary adjustments. Always follow the right order: mix your nutrients first, check EC/PPM, and then measure pH last, since nutrients will affect acidity or alkalinity. When adjusting, aim for the target range suitable for your plants’ growth stage. Make small changes, stir thoroughly, and wait a few moments before retesting. Most importantly, never use pH up and pH down products at the same time, as this can cause unpredictable swings. Always wait until the solution has settled before making further adjustments.
pH up and down products
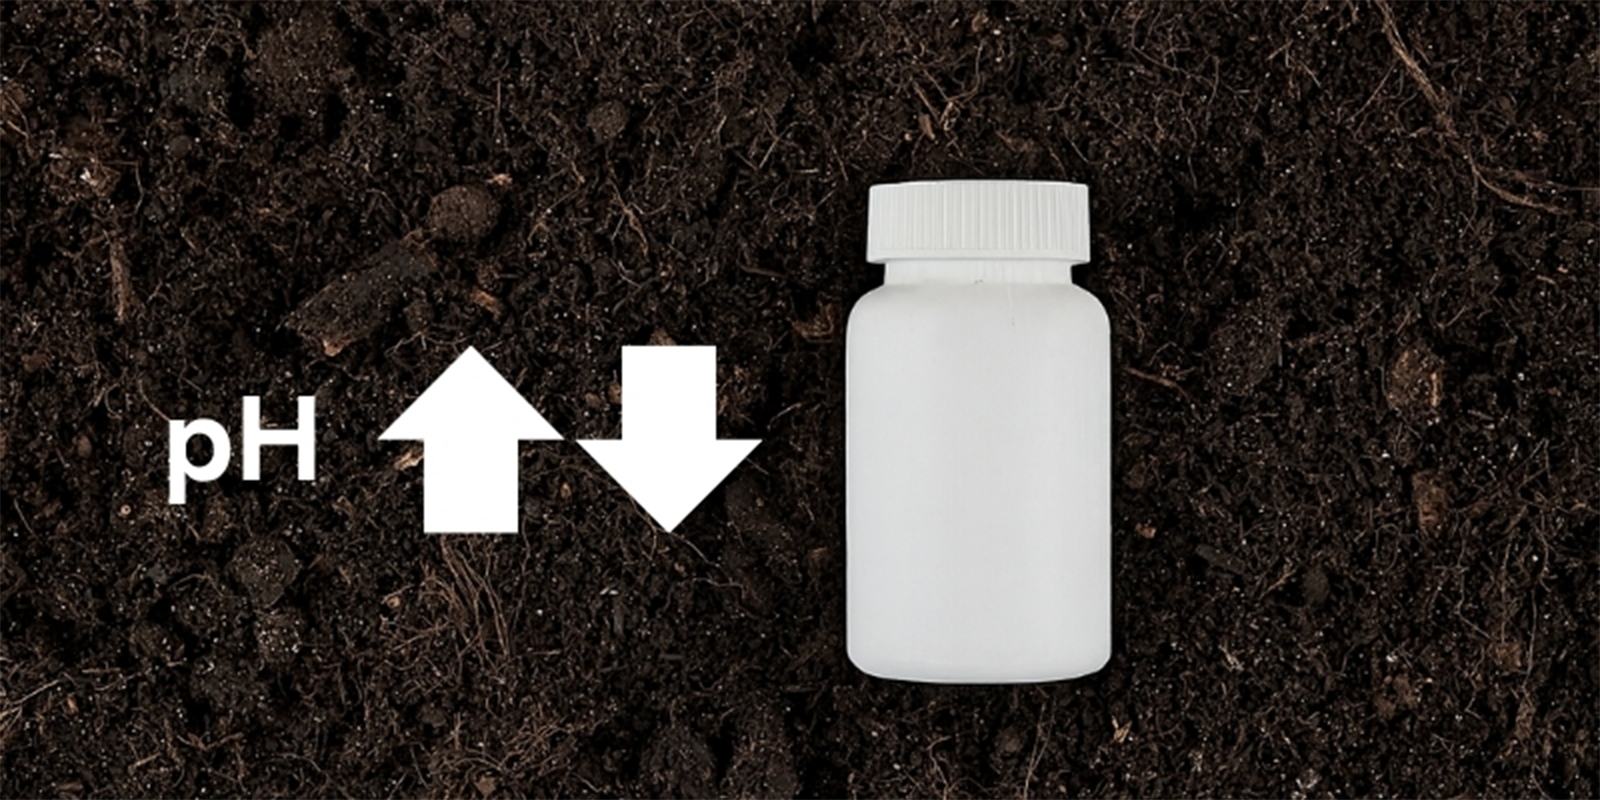
Commercial pH adjusters are fast, reliable, and the most stable option, especially for coco and hydro systems.
Step-by-step
- Prepare your feed: add all nutrients/additives, then measure EC/PPM.
- Test pH: note how far you are from the target.
- Dose gradually: add a small amount of pH up or down to increase or decrease the pH. Start with drops, stir thoroughly.
- Wait and retest: let the solution sit for a couple of minutes, then measure again. Repeat in tiny increments.
- Log it: record how much adjuster it took per liter. This will make future mixes quicker and more consistent.
- Apply and verify: water the plants and check runoff pH (soil/coco) or recheck the reservoir after 1–3 hours in a hydro system to confirm stability.
- Safety: wear gloves and eye protection, and store acids/bases securely.
Natural methods

Natural methods work well for soil, but are not recommended for hydro reservoirs or coco coir.
To lower pH
- Lemon juice/citric acid (quick, short-term): add a few drops to irrigation water and test for changes.
- Peat moss/compost (medium-term): mix into soil or top-dress to gently acidify over time.
- Elemental sulfur (slow, long-term): soil amendment that lowers pH gradually over several months.
To raise pH
- Baking soda (quick, short-term): for emergency use only. Add a small pinch to water, test, and apply. Avoid frequent use to prevent sodium buildup.
- Dolomite lime (medium-term): buffers soil and adds calcium and magnesium. Top-dress 1–2 tbsp per gallon of soil, water in, and test pH over several days.
- Wood ash (strong, use sparingly): raises pH quickly. Apply a very light dusting only, then test.
Natural method steps
- Choose the gentlest option that fits your timeline (quick fix vs. long-term buffer).
- Pre-dilute liquids and powders in water and apply evenly.
- Test runoff 24–48 hours later. Repeat small adjustments if needed rather than one big correction.
- Reassess feeding strength (EC/PPM) after pH correction to avoid overfeeding once uptake improves.
A good rule of thumb: make small, spaced adjustments and retest between applications. Overcorrection is the #1 reason pH levels fluctuate dramatically.
Common pH problems and how to fix them
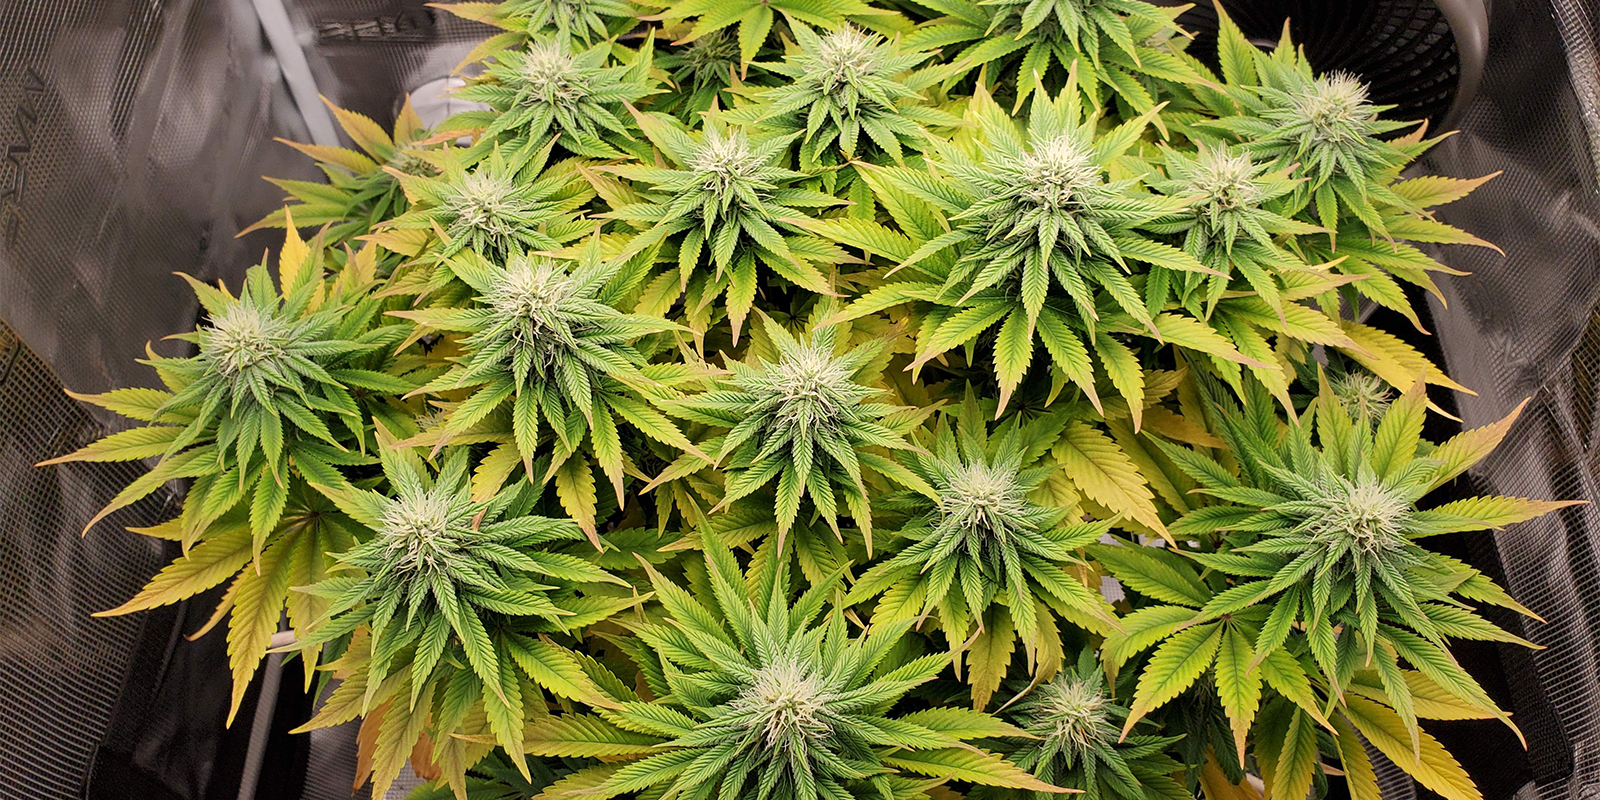
Even with the best feeding schedule, pH issues can still creep in. When the pH of your soil, coco, or hydro solution drifts too far outside the optimal range, cannabis plants begin to struggle. The most common result is nutrient lockout, where nutrients are present in the medium but unavailable to the roots. This leads to deficiency symptoms, poor growth, and weak yields.
Symptoms of pH imbalance
As mentioned earlier, the symptoms of a pH imbalance can show up in many ways, such as:
- Leaf yellowing or spotting despite adequate feeding
- Nutrient deficiencies that don’t improve after adding fertilizer
- Slow or stunted growth compared to healthy plants
- Runoff pH readings consistently outside the safe range
- Soil pH drifting too high (alkaline) or too low (acidic)
If your cannabis soil pH is too high, iron, manganese, and phosphorus become locked out. If it’s too low, calcium, magnesium, and potassium uptake is reduced. Either way, the plant can’t access what it needs to thrive.
Nutrient lockout explained
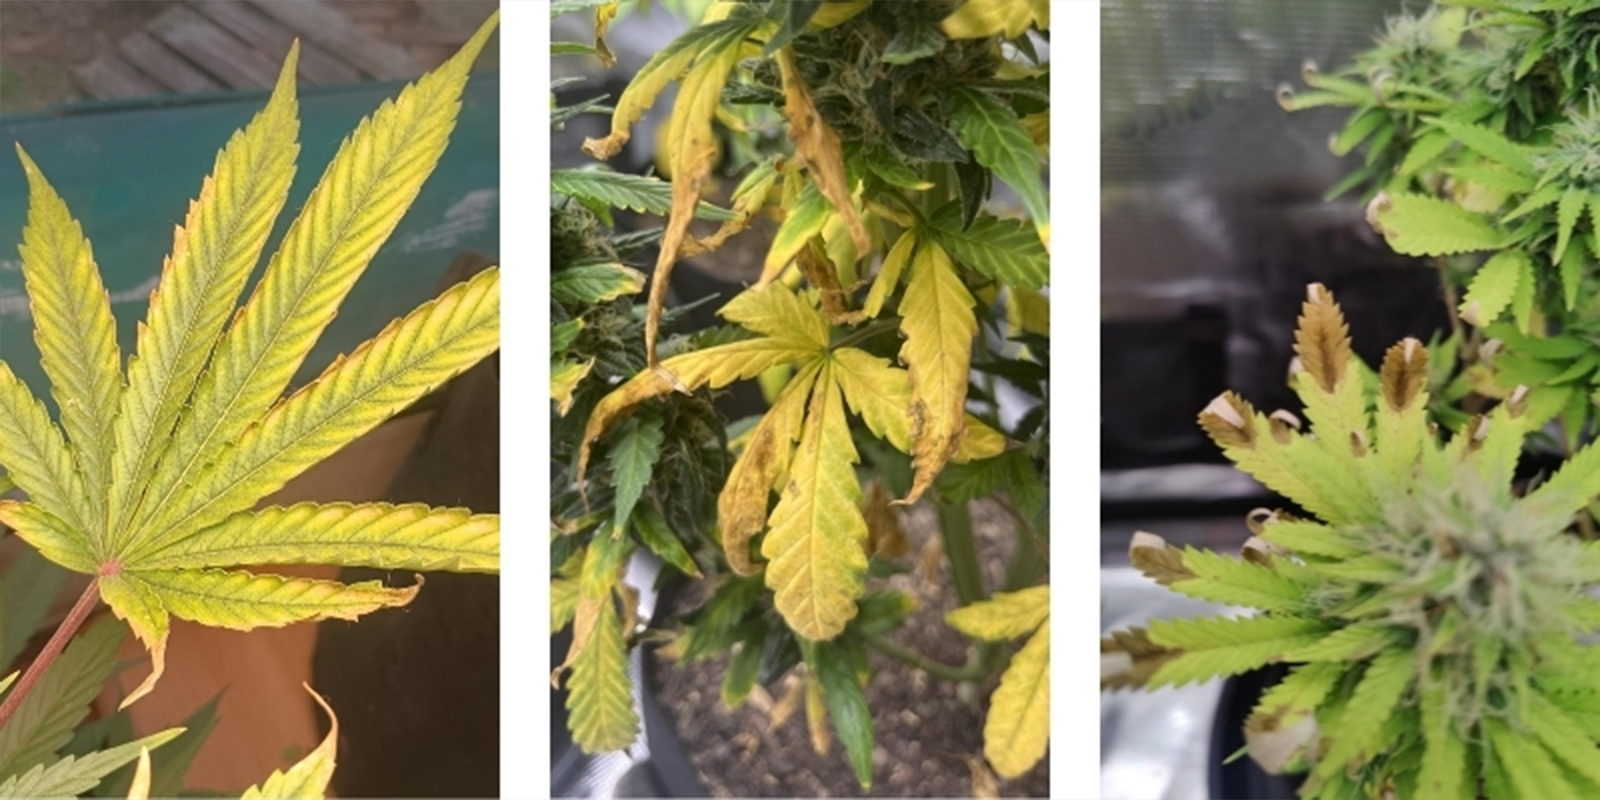
Nutrient lockout doesn’t mean your plants are starving; it means they’re unable to absorb what’s already there. This is why simply adding more fertilizer rarely helps and can actually make things worse by overloading the medium. Maintaining the right pH for cannabis in your chosen setup is key to preventing this invisible barrier from forming. For a detailed look at how specific nutrient shortages appear, check out our guide on cannabis nutrient deficiencies.
Prevention tips
To prevent pH problems, it’s best to take a proactive approach. Test the pH of your feed and runoff at least once a week, and always make small, gradual corrections rather than big swings. If issues persist, flush your medium with clean, pH-balanced water to reset it. Using high-quality water is also important, as hard or unfiltered water can skew both pH and EC/PPM values. Finally, keep a simple log of your readings and adjustments. This makes it much easier to spot patterns early and fix problems before they affect your plants. By following these steps, you’ll keep pH stable, avoid nutrient lockout, and maintain strong, healthy growth right through to harvest.
Maintaining stable pH throughout the grow

Keeping pH stable isn’t about constant tinkering; it’s about building consistency into your routine. Always water and feed with balanced solutions, test your runoff regularly, and make small, steady adjustments when needed. By doing this, you’ll avoid sudden swings, prevent nutrient lockout, and keep your plants in the sweet spot for growth.
Think of pH as the foundation of nutrient availability. When it’s right, everything else falls into place. For a deeper look at how pH influences nutrient uptake throughout the growing cycle, check out our guide on cannabis nutrient availability.


 United States


