Cannabis nutrient burn: How to spot it & save your plants
.jpg)
Noticed yellow tips or burnt edges on your cannabis leaves? You could be dealing with nutrient burn. Whether you're growing in soil or hydro, overfeeding can strike fast. Learn how to spot, fix, and prevent cannabis nutrient burn with Zamnesia and get your grow back on track.
Yellow leaf tips? Burnt edges? Don't panic, cannabis nutrient burn is a common ailment and completely fixable.
Overfeeding cannabis plants is an easy mistake to make and affects both beginner and experienced growers. This guide will help you quickly identify the signs of cannabis nutrient burn, show you how to treat it before things get worse, and offer practical tips to prevent it in future grows. With real nutrient burn images, step-by-step fixes, and expert insights, you'll soon get your plants back on track without any stress.
What is nutrient burn?
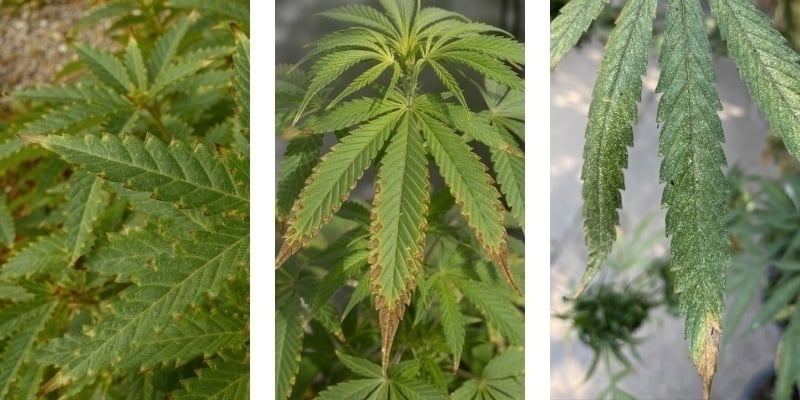
Nutrient burn, sometimes referred to as fertilizer burn, is a common issue caused by overfeeding your plants. When plants receive more nutrients, particularly nitrogen, than they can process, the excess builds up in the growing medium, disrupting the plant's ability to absorb water properly. The result? Bright yellow or brown tips, crispy edges, and curling leaves: all clear signs of distress in your plant.
Note that nutrient burn isn’t a sign of poor growing ability; it's one of the most frequent challenges new growers face and can even affect seasoned growers, too. Most commercial nutrients are formulated with maximum potency. Hence, without proper dilution or monitoring, it's easy to go overboard.
Is nutrient burn reversible?
Fortunately, nutrient burn is reversible, especially if you catch it early. While affected leaves won’t recover from the damage they received, new growth should quickly return to normal once you correct your nutrient levels.
The key is to act quickly and adjust your feeding habits. With the right level of care, your plants can bounce back, complete their cycle, and still produce a high-quality harvest. Later in this guide, we'll walk you through how to flush your medium, modify your schedule, and check for signs of recovery.
What does nutrient burn on weed plants look like?
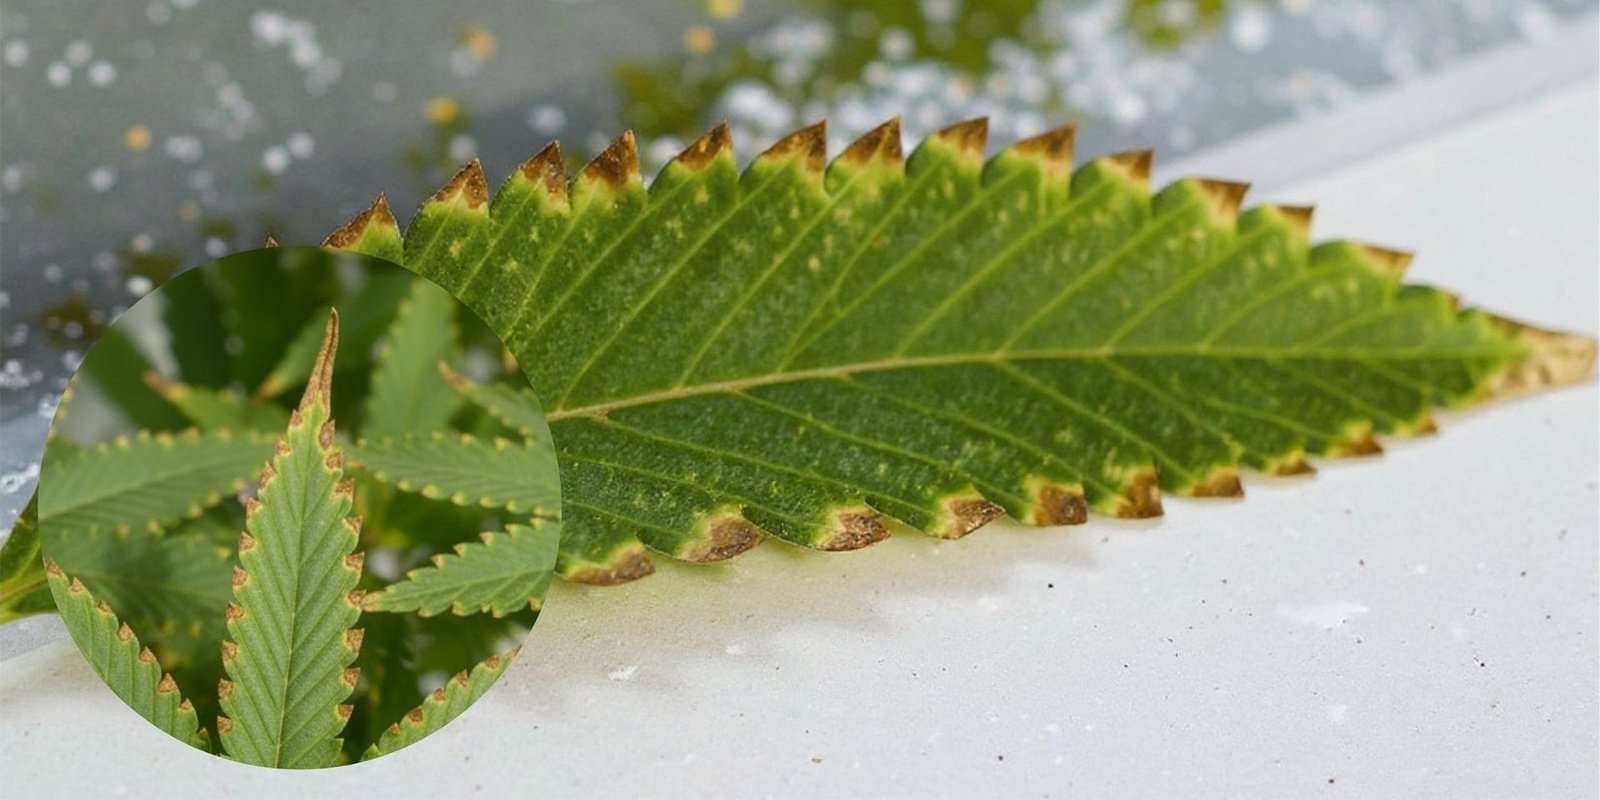
Recognizing cannabis nutrient burn early can mean the difference between a simple fix and stunted plants. The symptoms usually appear at the tips and edges of fan leaves, working their way inward as the issue worsens. Here’s what to look out for:
- Yellow or brown leaf tips: This is the most common early sign of nutrient burn. Tips of the leaves may look “burnt” or scorched, turning yellow or brown as the excess nutrients damage the tissue. This is often mistaken for natural aging, but it's a red flag for nutrient toxicity. To learn more, check out our comprehensive guide on yellow cannabis leaves.
- Crispy or dry leaf edges: As fertilizer burn progresses, the damage spreads along the leaf margins.
- Curling or clawing leaves: Excess nitrogen and salts can cause leaves to curl or “claw”, particularly at the top of the plant. However, this symptom shares some similarities to overwatering or heat stress, so it's best to rule out these other ailments first. Take a look at our curling leaves article for more info.
- Discoloration and spotting: In more advanced stages of cannabis nutrient burn, you'll see irregular patterns of yellowing or browning between the veins of leaves, sometimes accompanied by necrotic spots.
How to tell the difference between light burn and nutrient burn
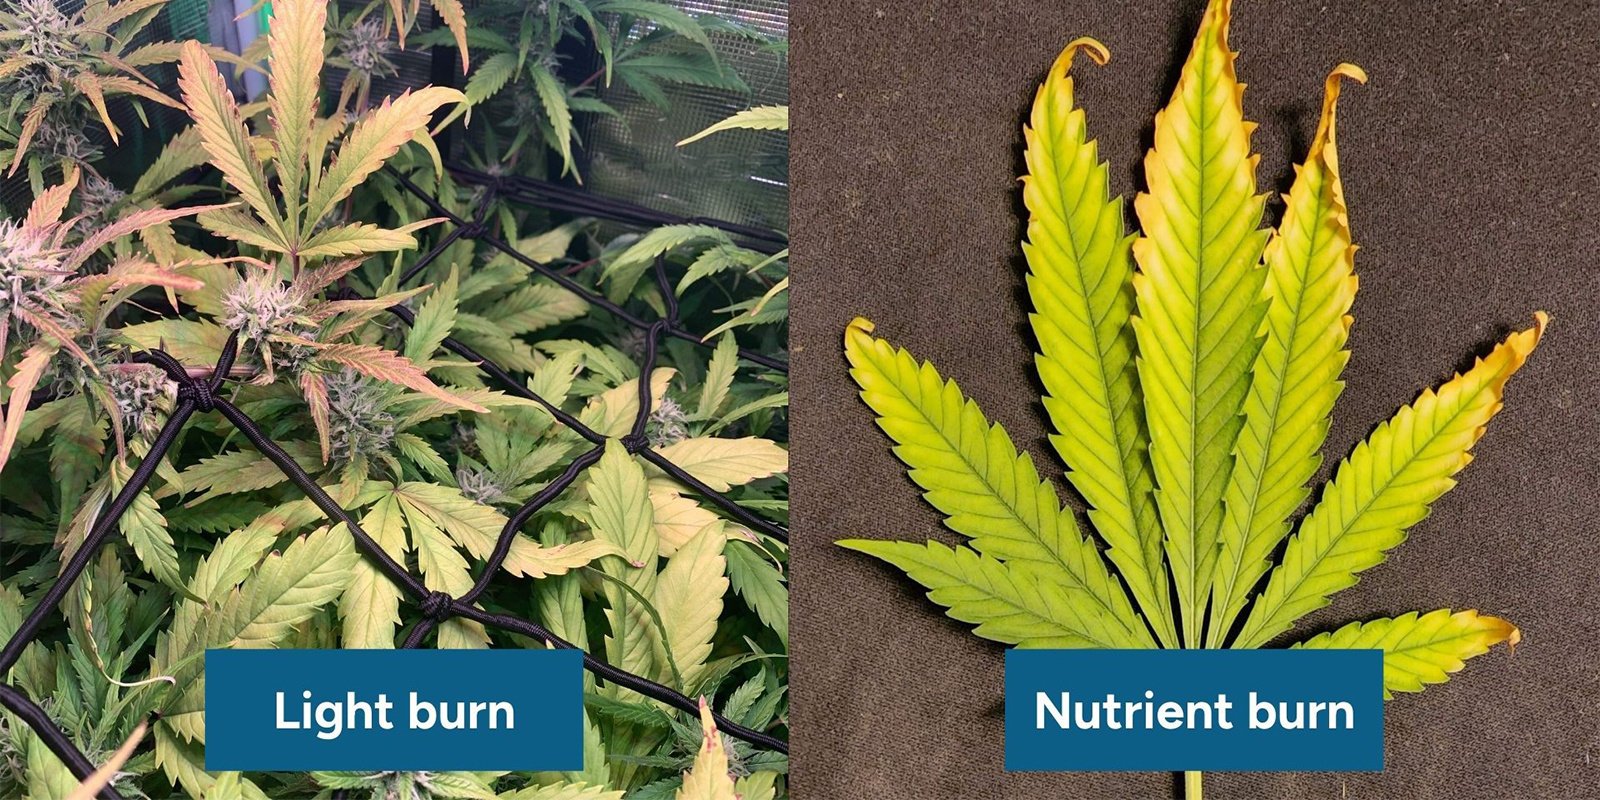
Nutrient and light burn can look surprisingly similar, but they have different causes and solutions. Here's how to tell them apart:
- Location of damage: Light burn usually impacts the uppermost leaves and buds closest to the light source. In contrast, signs of fertilizer burn often start to show on a plant’s outer edges and lower to mid-level leaves.
- Pattern of damage: Light burn tends to bleach plant foliage or cause a uniform yellowing from the top down, while nutrient burn begins by causing dark or bronze leaf tips that spread inwards in a patchy pattern.
- Touch test: Leaves affected by nutrient toxicity feel dry and brittle, while light-stressed leaves might feel dry but still soft or flexible.
Stages of nutrient burn
.jpg)
Understanding how nutrient burn develops can help you catch it early and prevent any lasting damage. The symptoms often begin subtly before progressing into more serious issues. Here's how to recognize cannabis nutrient burn at different stages:
Early signs
The earliest signs of nutrient burn can be easy to miss, especially for first-time growers. Look out for:
- Discolored leaf tips
- Glossy or dark green foliage (a sign of nitrogen toxicity)
- Slight curling at leaf tips
These symptoms usually appear gradually, and if caught at this stage, your plants can recover with minimal long-term effects.
Severe cases
If allowed to progress, nutrient burn can cause more serious signs and symptoms, including:
- Widespread browning and crisping
- Dead spots and leaf loss
- Stalled growth or flowering issues (such as delayed flowering or hermaphroditism)
- Root damage (salt build-up restricts nutrient and water uptake and can damage roots)
Left further unchecked, nutrient burn can significantly reduce the size and quality of your harvest. Hence, it’s important to regularly monitor your plants and act accordingly at the first signs of stress.
How to fix nutrient burn
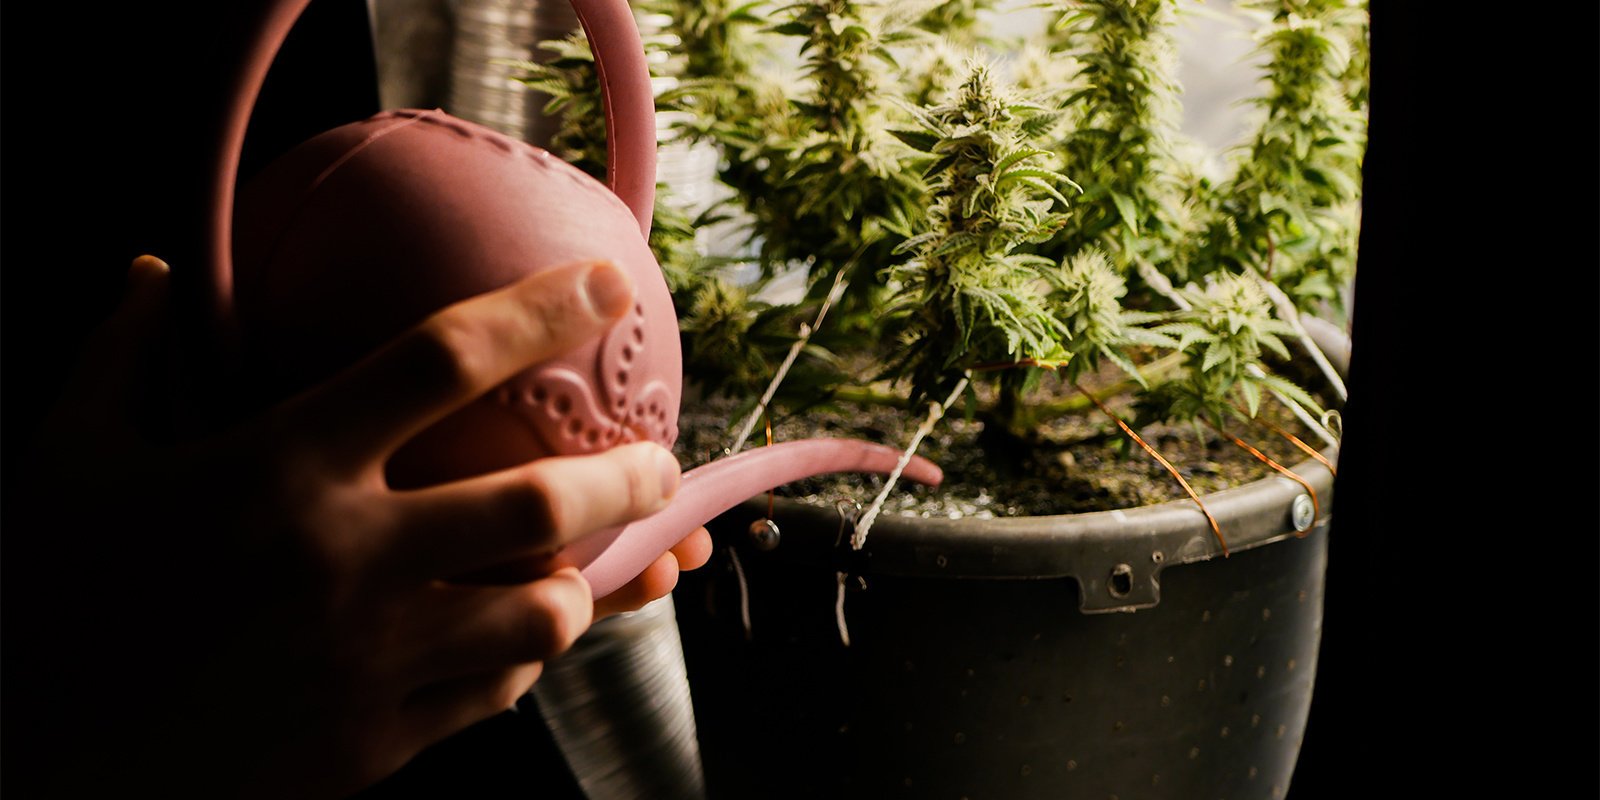
The good news? Cannabis nutrient burn is usually fixable. If you've spotted any of the signs we've mentioned already, your plants still have time to bounce back.
Here's a straightforward approach to treating nutrient burn, reversing the damage it caused, and getting your grow back on track.
Flush your medium
The first step in treating fertilizer burn is flushing your growing medium to remove the excess salts and nutrients it contains.
Step-by-step flushing process:
- Use plain, pH-balanced water, ideally between 6.0 and 6.5 for soil, or 5.8 and 6.2 for hydroponic/coco setups.
- Water slowly and thoroughly until you see runoff draining from the bottom of your containers.
- Flush each container with 2–3 times its volume in water. For example, if you’re growing in 1.3 gallon pots, flush them using 2.5–4 gallons of water.
- Allow the medium to drain thoroughly and avoid watering again until the top layer of soil has dried out.
After flushing your plants, avoid feeding them for at least a few days. Then, reintroduce your fertilizer gradually.
Adjust nutrient schedule
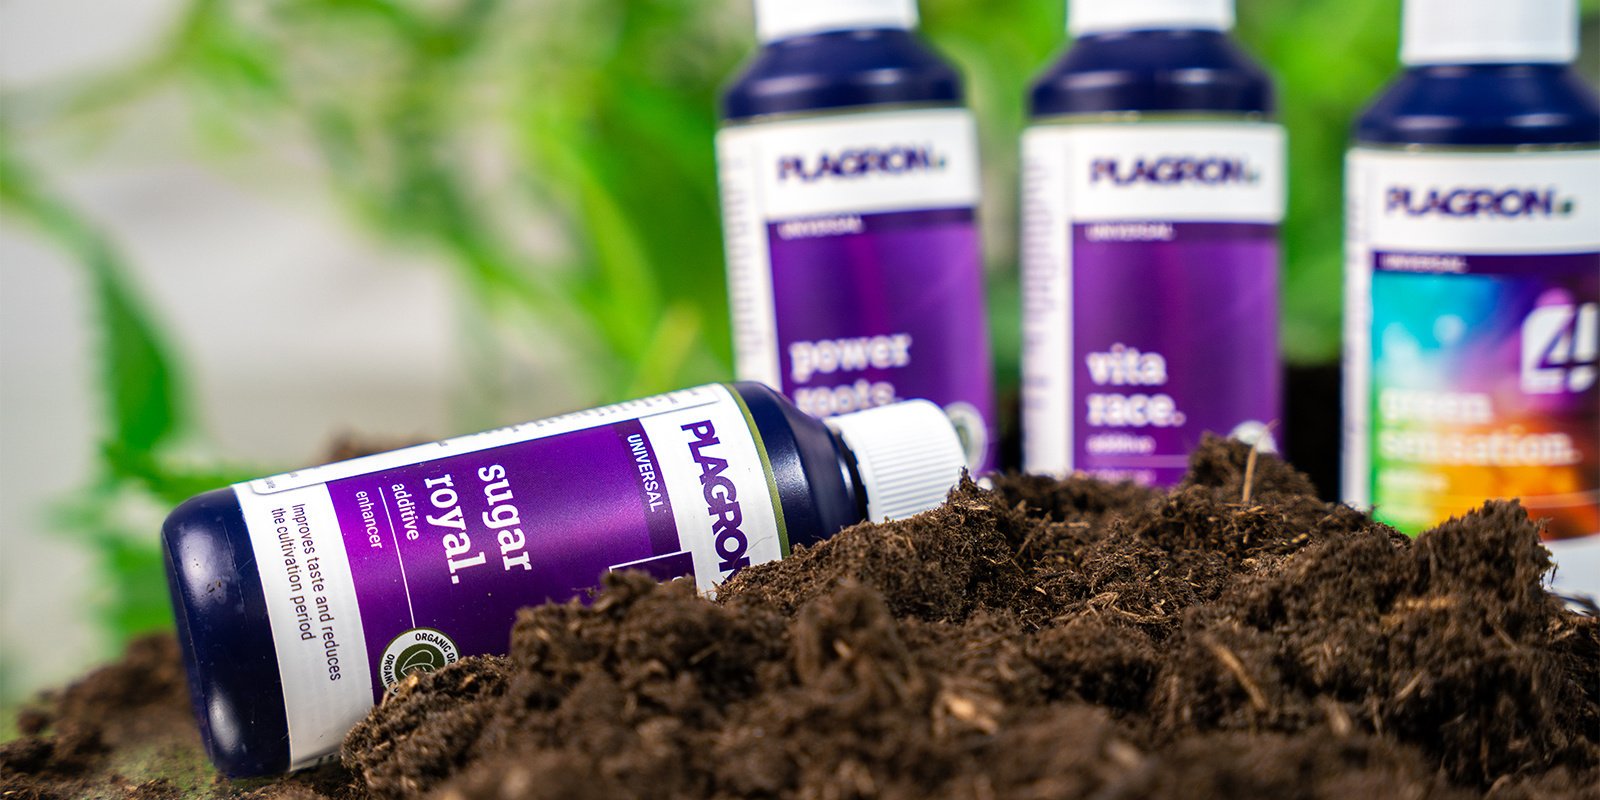
Once you've flushed your plants, the next step is to rethink your feeding approach. Using too much fertilizer is a common mistake, especially among beginner growers who think that the more they feed their plants, the faster they’ll grow.
How to scale back feeding
- Follow fertilizer manufacturer guidelines, but treat them as a maximum dose, not a starting point.
- For autoflowering strains, begin with 25–50% of the recommended dose. Autos are generally more sensitive to nutrients than photoperiod plants.
- Use a feeding chart, but adapt it based on the reaction of your plants.
- Consider switching to beginner-friendly nutrient packs.
Monitor new growth
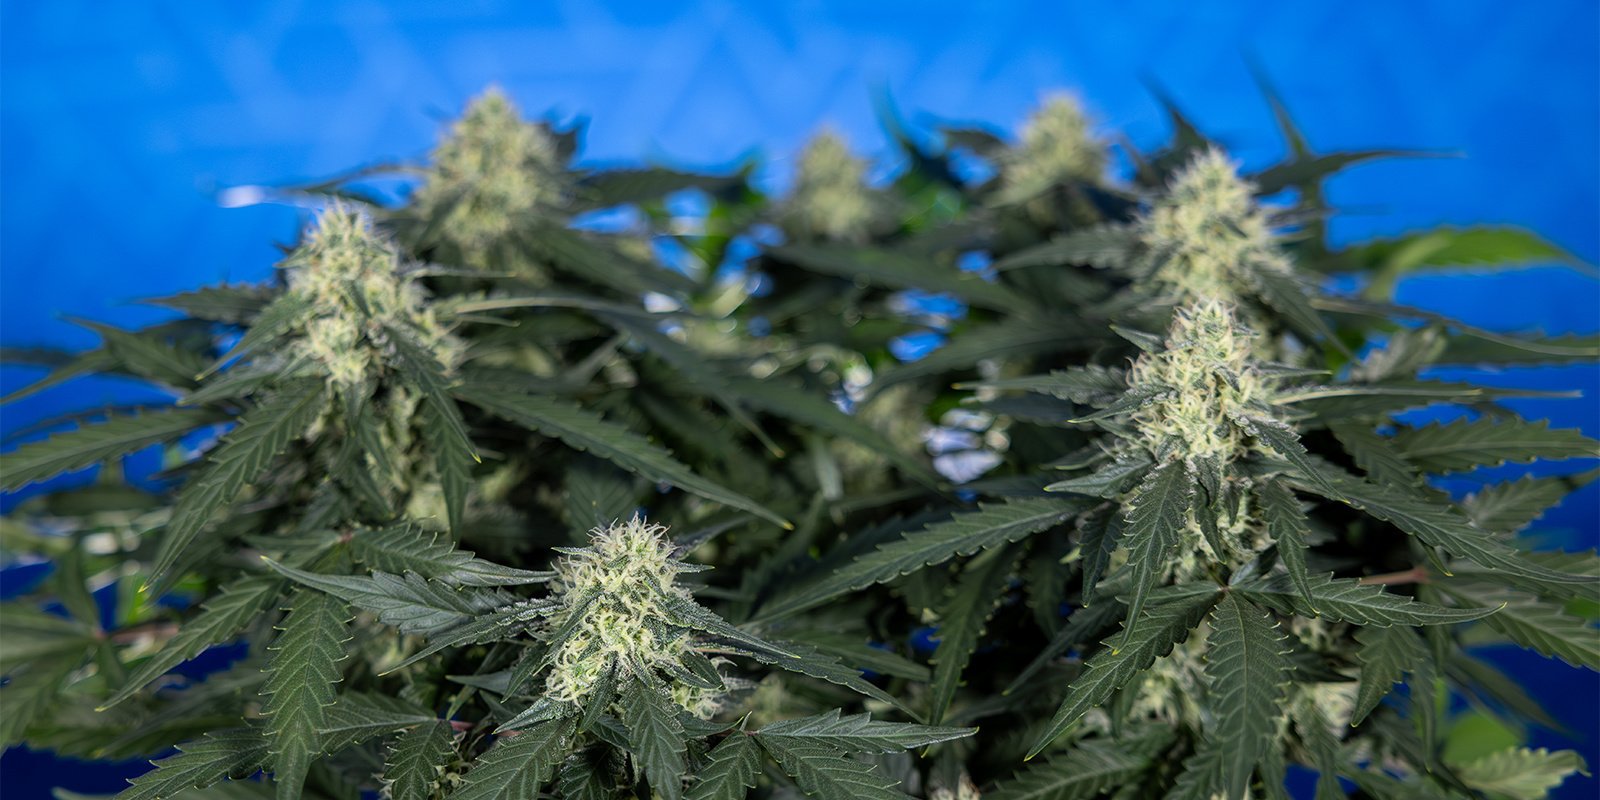
After flushing and adjusting your feeding schedule, it's time to observe how your plants respond. While damaged leaves won't recover, new growth is your best indicator of recovery.
Here's what to look for:
- Healthy, evenly colored new leaves without burnt tips
- No more yellowing or curling at the edges
- Steady upward growth and healthy internodal spacing
How long does it take a plant to recover from fertilizer burn?
Recovery can take one or two weeks, depending on the severity of the burn. New growth should appear healthy within days, but complete visual recovery can take a little longer, so be patient.
Once your plants are thriving again, remember that good nutrition is essential for growth and the quality of your bud. As harvest approaches, be sure to brush up on your drying and curing techniques.
Preventing nutrient burn
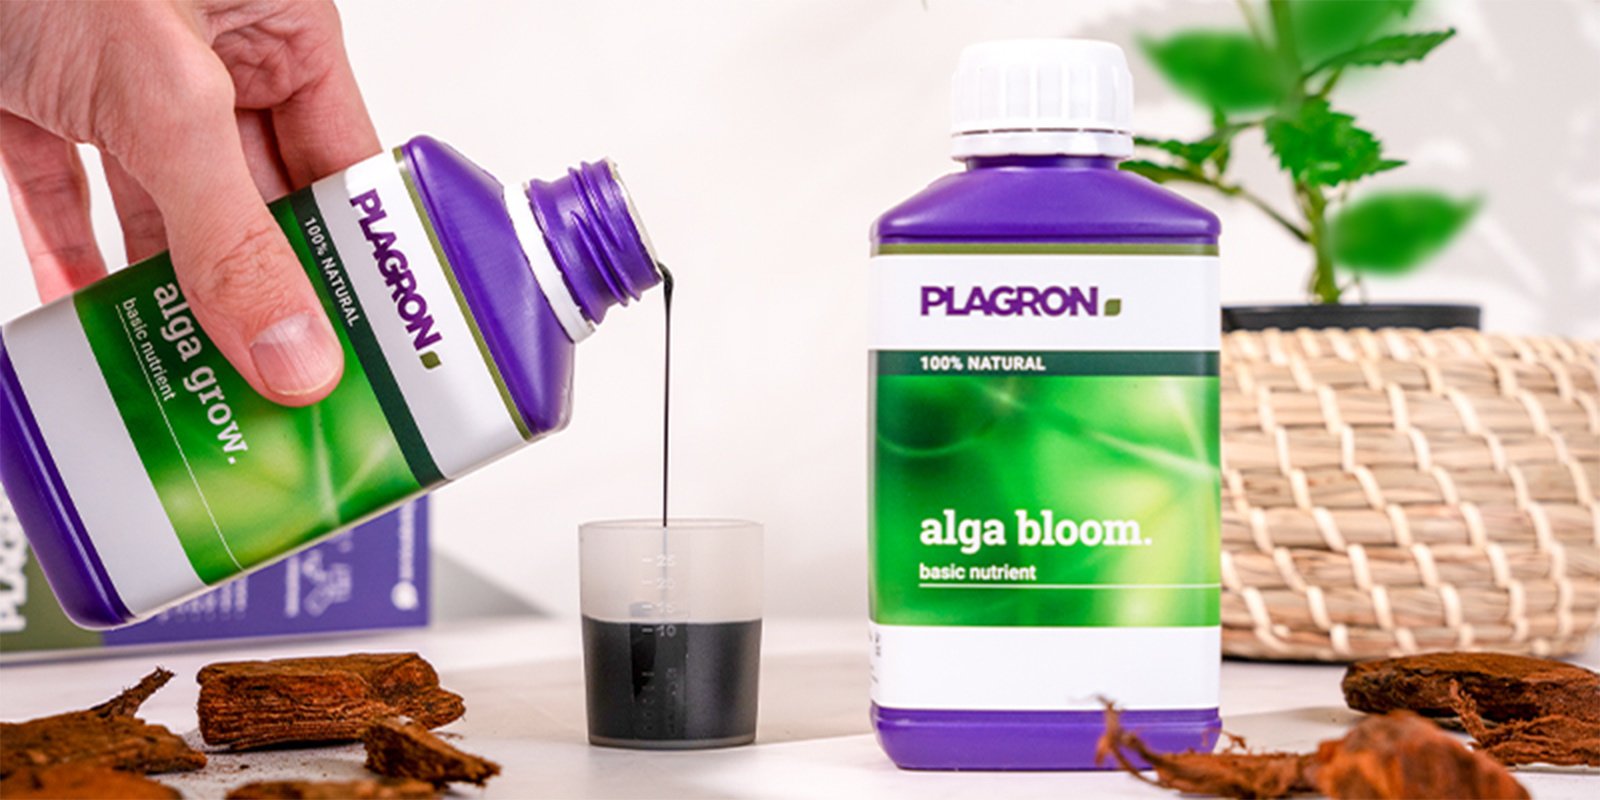
Fixing nutrient burn is one thing; avoiding it in the first place is even better. Prevention saves time, reduces stress and leads to bigger, healthier yields. Here's how to avoid cannabis fertilizer burn in your future grows.
Follow manufacturer guidelines
When using store-bought nutrients, always refer to the manufacturer’s instructions. Remember, however, that these guidelines are typically based on growing photoperiod plants in perfect conditions.
As a rule of thumb, start with 50–75% of the manufacturer’s recommended dosage when growing photoperiod strains, and 25–50% when growing autos. From there, you can gradually increase the dose based on your plants’ needs.
Use EC/pH meters
Using tools like EC (electrical conductivity) and pH meters gives you precision over guesswork. These devices help you understand exactly what's going into your plant's root zone so that you can avoid overfeeding. EC meters help you track nutrient strength in water or runoff, whereas pH meters ensure nutrient uptake isn't blocked by an imbalanced environment.
Both meters serve a valuable purpose and are worth investing in. Remember, regular testing allows you to catch problems early before they have a chance to cause significant damage to your plants.
Start low, go slow
When it comes to feeding cannabis, especially in the early stages, restraint is key. Remember to:
- Begin with a diluted solution during the seedling and early vegetative stages.
- Observe your plants before increasing feeding; let them guide you.
- Resist the temptation to try and “boost” growth with extra nutrients early on in the grow.
Identify and treat nutrient burn like a pro
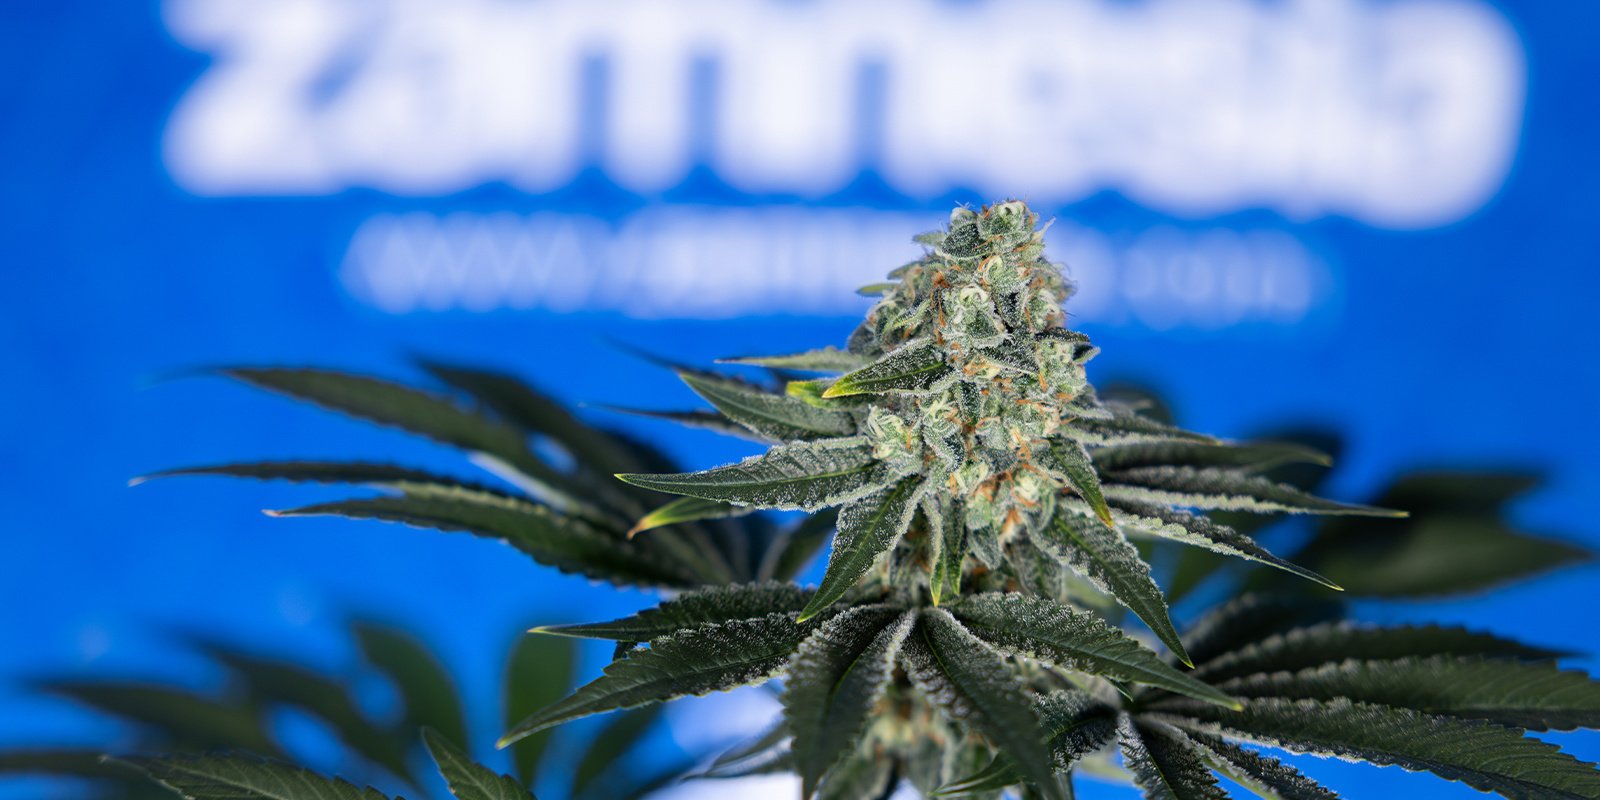
Every grower, whether experienced or a complete novice, will run into issues, and cannabis nutrient burn is one of the most common. The key is recognizing it early on, taking clear steps to flush and reset, and preventing future problems by adjusting your feeding habits.
Don't be discouraged if your plants show signs of fertilizer burn; it’s rarely a fatal issue, and with a little care, your crop can still thrive and deliver a strong, high-quality harvest.
If you found this guide helpful, share it with fellow growers who might be facing similar challenges. When you're ready to dial in your nutrition with confidence, explore our full range of fertilizers and associated products to keep your garden green, healthy, and, most of all, productive.


 United States


