How to spot and prevent bud rot when growing cannabis
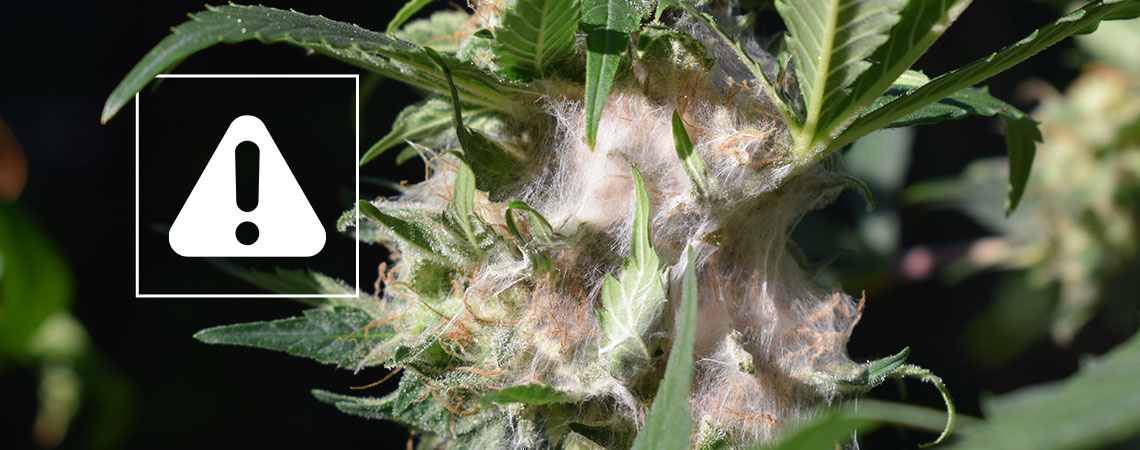
Bud rot can quickly wipe out your cannabis crop if left unchecked. Learn to identify early signs, act fast, and prevent it long term. This guide is packed with tips and tools for every grower, from beginner to pro.
Your buds might look fine today, but bud rot can set in and ruin them overnight. Learn how to stop it in its tracks.
Bud rot, also known as Botrytis cinerea, is a fungal infection that silently destroys cannabis plants from the inside out. Whether you're growing indoors or outdoors, understanding the early signs of bud rot, how to identify bud rot vs. mold, and what to do when your buds start turning brown is essential to protecting your harvest.
This guide will walk you through everything you need to know, from spotting initial symptoms to implementing proven bud rot treatments and prevention strategies. With helpful tips, tools, and early-stage bud rot pictures along the way, you'll be equipped with everything you need to stop weed bud rot before it spreads, and to keep your plants healthy.
What is bud rot (Botrytis cinerea)?
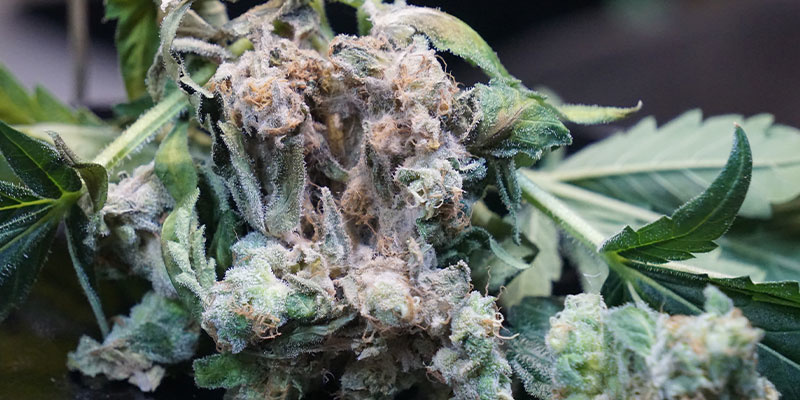
Bud rot is a fungal disease that attacks cannabis flowers, starting deep within the buds and quickly spreading outward. It thrives in cool, humid conditions with poor airflow, especially during late flowering, causing brown buds on weed plants, a musty smell, and soft, decaying flowers. Often mistaken for over-ripeness or mold, bud rot weed is difficult to detect early on. Common triggers include high humidity, dense foliage, and inadequate ventilation. Understanding how to recognize bud rot and knowing its environmental causes is key to preventing this destructive issue before it ruins your harvest.
Early signs of bud rot
Catching marijuana bud rot early is the best way to save your crop. As mentioned, because bud rot starts from the inside of the flowers, outward signs can be subtle and tricky to spot. Here's a checklist of the most common early bud rot symptoms to watch out for:
- Discoloration: Brown or yellow patches appear on sugar leaves and small buds
- Grey or white mold: A wispy, dusty coating inside the bud structure, often confused with trichomes or cobwebs
- Soft or mushy texture: Buds feel damp or collapse when squeezed gently
- Buds turning brown from the inside: Check near the stem or cola base
- Bad odor: Faint musty or mildew smell, especially up close
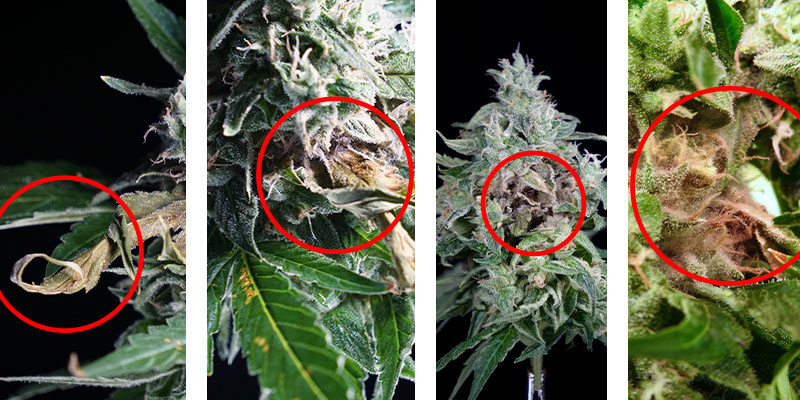
So if you find yourself asking, “Why is my bud turning brown?” or noticing strange decay in your colas, you're likely witnessing the early stages of bud rot.
Advanced symptoms and misdiagnosis risks
If early bud rot goes unnoticed, the infection can quickly spread from the inner core of the bud outward. At this stage, the damage is more visible, but is often confused with other issues.
Signs of advanced bud rot
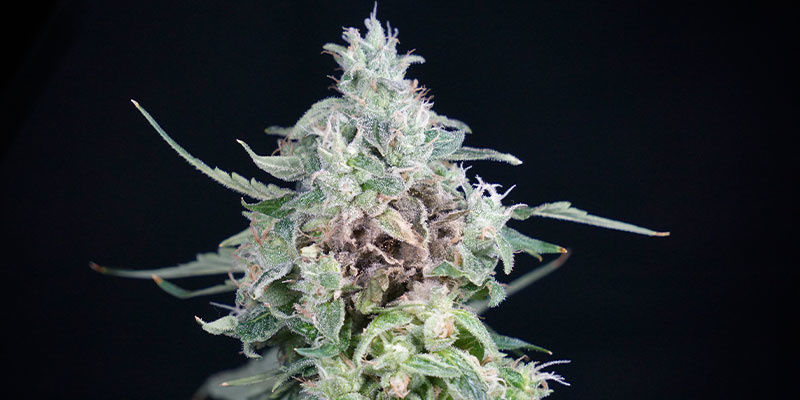
Here are some telltale signs of advanced bud rot:
- Deep brown or black decay in the centre of large colas
- Dry, crumbly outer buds, while inner buds are soft and rotting
- A strong, musty, ammonia-like scent, a clear sign of fungal activity
- Buds may appear shrivelled, with grey mold coating inner segments
- Insects (like fungus gnats) may appear, drawn to decomposing plant tissue
Bud rot vs. mold vs. trichomes
It's easy to mistake bud rot for:
- Powdery mildew: This fungal disease causes a white, flour-like dusting to appear on leaves
- Trichomes: These crystal-like glands contain cannabinoids and terpenes, and are sticky, not fluffy or dusty
- Nutrient burn or over-ripeness: These may cause brown tips, but not soft decay
If you're unsure whether you're seeing bud rot or mold, or wondering what bud rot looks like up close, a handheld scope can help. To confirm your diagnosis, use a Carson MicroBrite + Pocket Microscope to inspect any discoloured or suspicious areas closely. Bud rot typically appears as fuzzy grey or brown filaments embedded deep within the bud. If confirmed, act quickly: use clean, sharp pruning shears to carefully remove infected sections without disturbing healthy parts or spreading spores. Because bud rot in cannabis can escalate rapidly, it's better to act decisively; when in doubt, treat any suspicious decay as rot.
What to do if you spot bud rot
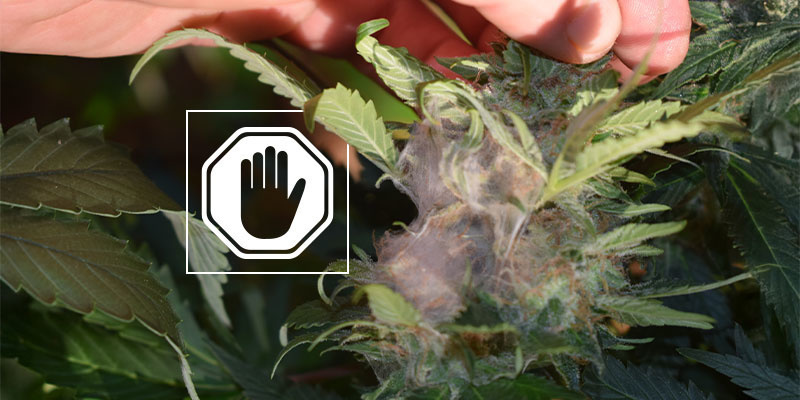
Discovering bud rot on your cannabis can be disheartening, but fast, careful action can prevent it from spreading. Here's how to handle it step by step:
Remove and dispose of infected buds carefully
As soon as you identify bud rot or moldy patches, remove affected plant matter immediately. Use sterile, sharp pruning tools and wear protective gloves to avoid cross-contamination. Carefully cut away infected colas, making sure to go deep enough to reach healthy tissue. Then, seal the material in a bag and throw it straight in the bin; never compost it, as spores can linger. Be sure to use powder-free nitrile gloves to handle the buds safely and prevent the spread of spores to other plants.
Wash salvageable buds (post-harvest)
If bud rot is spotted after harvest, some unaffected buds might still be salvageable. A gentle wash in a solution of hydrogen peroxide and water can help remove surface spores. This step can save portions of your crop, though it's always best to avoid harvesting infected plants in the first place. For more information, follow our full bud washing guide for step-by-step post-harvest cleaning tips.
Adjust grow room conditions
Once the affected material has been removed, it's time to focus on your environment. Bud rot thrives in still, damp air, so improving airflow and controlling humidity are essential. Lower your relative humidity to around 45–50% during late flowering and increase ventilation across all bud sites. Learn more about humidity and airflow management to stop bud rot symptoms before they have the chance to reappear.
How to prevent bud rot
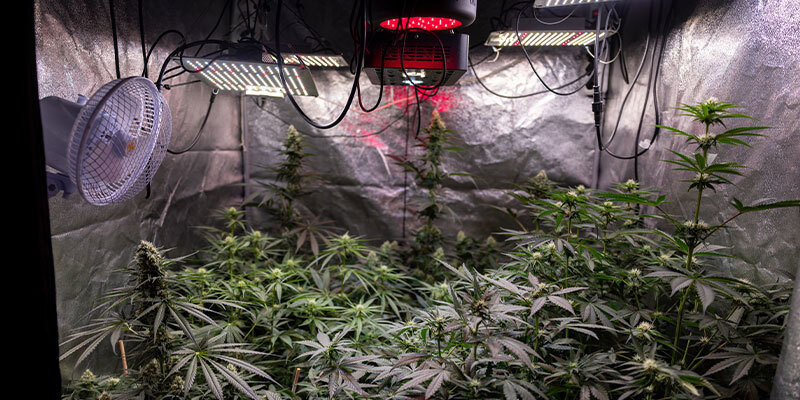
While treating bud rot in cannabis quickly is hugely important, prevention is always the better option. By creating the right growing environment and staying vigilant, you can dramatically reduce the risk of weed bud rot affecting your plants.
Environmental control
Controlling your grow environment is the first and most effective defense against bud rot.
For the best results, keep your growing space within the ideal range:
- Humidity: Maintain 40–50% RH during the late flowering stage
- Airflow: Use oscillating fans to circulate air between and around buds
- Temperature: Avoid sudden drops, especially during dark cycles
Consider using a hygrometer/thermometer to help you monitor microclimates within the canopy for better grow space control.
Choose mold-resistant strains
Some cannabis genetics are naturally more resistant to mold, mildew, and brown bud rot. These strains are perfect for humid climates or densely packed grows, and can give you peace of mind during the vulnerable flowering stage. Unsure of where to start? Browse our top mold-resistant cannabis strains to help build a more resilient grow-op from the very start.
Inspect plants daily
Lastly, early detection is key to stopping early bud rot before it spreads. During the flowering phase, especially in the final weeks, check your buds daily for signs like discoloration, brown mold, or a musty smell. Look deep inside the colas, not just on the surface.
By staying hands-on and observant, you'll spot bud rot symptoms before they cause widespread damage.
Can you still use bud with bud rot?
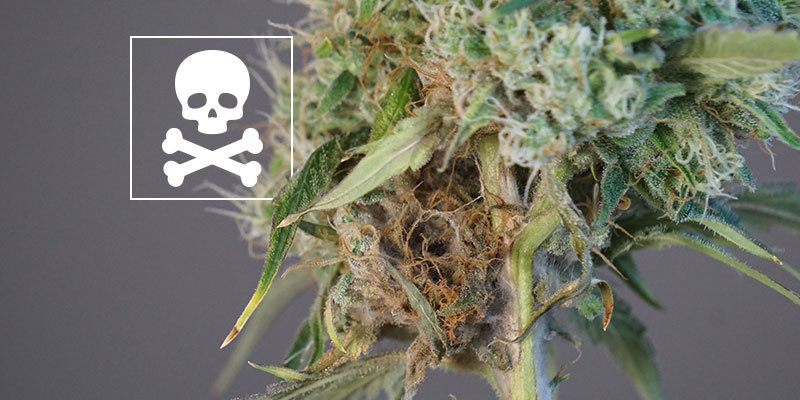
It's a common question among growers: can you still smoke weed with bud rot? The short answer is no, you shouldn't. Bud rot, caused by Botrytis cinerea, produces spores and mycotoxins that pose serious health risks when inhaled. These can irritate the lungs, trigger allergic reactions, or, in rare cases, cause fungal infection, especially in people with compromised immune systems.
Even if only part of a bud shows signs of decay, the brown mold on weed may have already spread microscopically through the rest. Just because it looks safe doesn't mean it is.
That said, if the infection was caught early and the affected areas removed immediately, some outer buds may be salvageable, particularly post-harvest with proper bud washing. However, there's always a risk, and when it comes to bud rot, it's always best to err on the side of caution.
Drying and curing for prevention
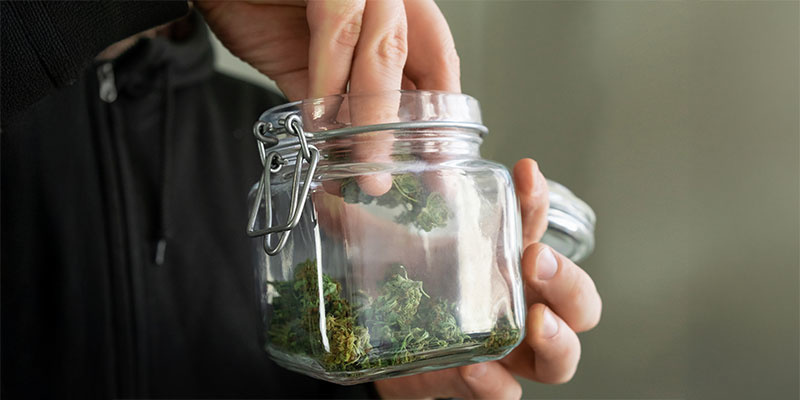
Proper drying and curing practices are crucial not just for flavor and potency, but also for preventing bud rot after harvest. Even if your buds look healthy when cut, lingering moisture, especially in dense flowers, can still invite mold during drying. Here are some top tips for further prevention:
- Dry slowly, but evenly: Aim for a temperature of 64–70°F with 50–55% humidity
- Use indirect airflow: Circulate air gently to avoid humid zones, pointing fans away from the buds
- Check daily: Feel buds for moisture and monitor for any brown bud rot or soft spots
- Trim with care: Remove excess leaf matter to help air reach the inner bud tissue
- Cure in airtight jars: Opening them daily (burping) for the first 1–2 weeks
If you've recently battled early bud rot, extra caution during drying is essential. Even a small spore left unchecked can spread during this phase. For a complete step-by-step, follow our guide to properly drying and curing cannabis buds.
Bud rot prevention starts here
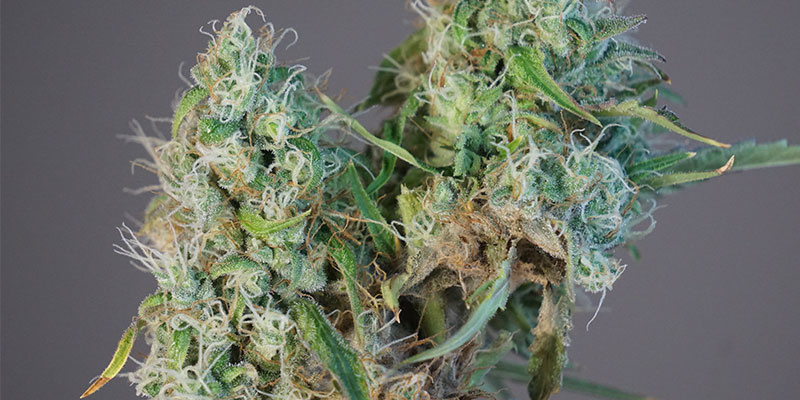
Bud rot may be one of the most frustrating threats to cannabis growers, but with the right knowledge, it's entirely manageable. Stay vigilant for early signs of bud rot on nugs, like discoloration, soft spots, and musty smells, and act fast to remove infected material. Use proper tools, protect your healthy buds, and adjust your grow environment to reduce risk. From choosing mold-resistant strains to mastering drying and curing techniques, prevention is your best defense. With these steps in place, you'll be well equipped to stop bud rot before it has the chance to start, and protect your harvest from decay and disappointment.


 United States


