Intercanopy lighting in cannabis: Do or don’t?
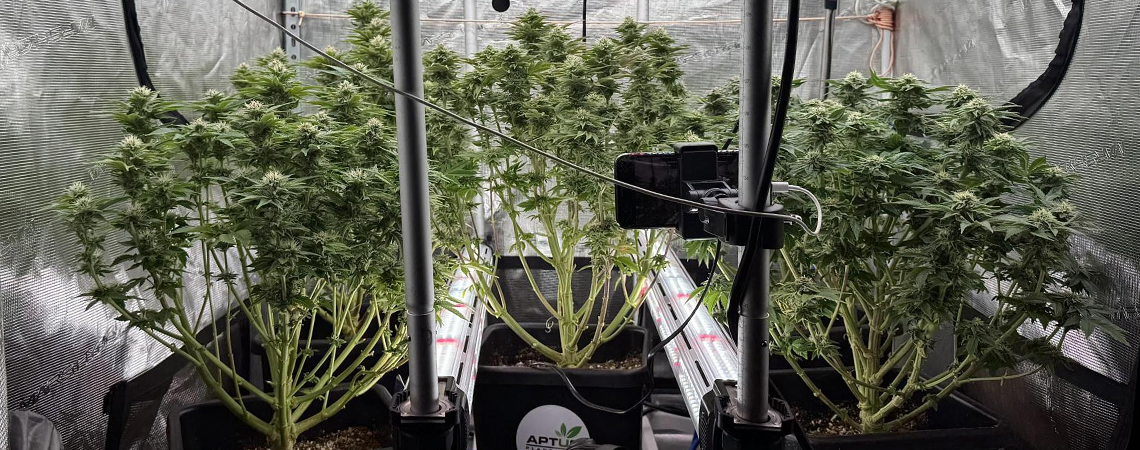
Maximize your grow space with intercanopy lighting. This technique delivers light to hard-to-reach bud sites, improving yield, quality, and plant health. Explore how it works and whether it’s right for your cannabis grow.
Intercanopy lighting (ICL) is a lighting technique that involves placing grow lights within the canopy of cannabis plants, instead of relying only on overhead lights. This method has gained popularity among growers who want to improve yields and increase the quality of buds throughout the entire plant, rather than just at the top.
This article looks at whether cannabis cultivators should use intercanopy lighting. It explains how it works, compares it with other lighting methods, and outlines the potential benefits and drawbacks to help you decide if it suits your grow setup.
- Definition: Intercanopy lighting (ICL) refers to the use of light fixtures placed within the plant canopy, typically mounted at mid-plant height. These lights are positioned horizontally, directly targeting the interior of the canopy where natural light penetration is weakest.
- Purpose: The goal is to reduce shading from upper leaves and encourage growth of healthy buds throughout the entire plant, not just the top colas.
- Placement: Fixtures are installed between rows or plant columns, generally in high-density setups or vertical farms. LEDs are most commonly used because of their compact design and low heat output.
- Best for: ICL is especially effective in dense canopies, vertical farming setups, or any situation where lower bud development suffers from lack of light.
What is intercanopy lighting (ICL)?
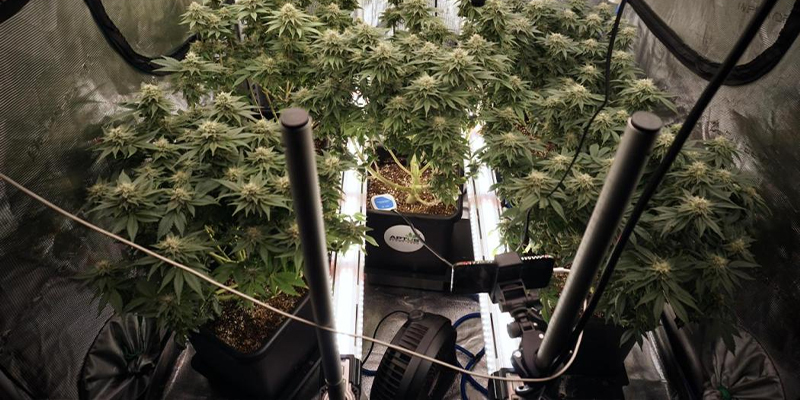
Intercanopy lighting is a supplemental lighting method designed to light the middle and lower sections of a cannabis plant. In traditional setups, light comes from above. As the plant grows taller and denser, its upper leaves can block light from reaching the rest of the plant. ICL helps fix that by providing additional light inside the canopy where it's usually shaded.
In cannabis cultivation, light is crucial for photosynthesis, bud development, and cannabinoid production. When lower branches don’t receive enough light, their buds are often small, fluffy, and low in potency. By placing lights within the canopy, growers can improve bud quality and size throughout the plant, not just at the top.
Differentiating from other lighting techniques
Here’s a breakdown of how intercanopy lighting compares to similar approaches:
| Type | Direction | Placement | Target Area | Best Use |
|---|---|---|---|---|
| ICL | Horizontal | Inside canopy | Mid/lower foliage | Dense canopies |
| Side-light | Angled side | Canopy edge | Outer side buds | Small grow spaces |
| Under-light | Upward | Below canopy | Underside of plant | Tall/bushy plants |
Why choose intercanopy lighting?
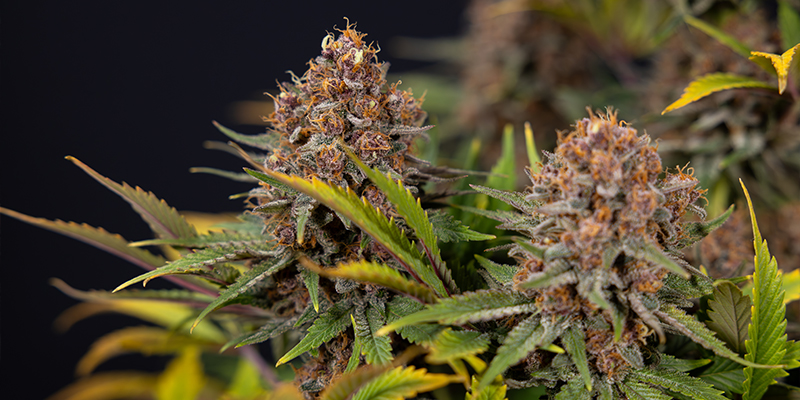
Standard top lighting can limit how much usable light reaches lower branches, especially in mature plants with thick canopies. As plants grow taller, light intensity at the bottom drops sharply. This often leads to underdeveloped buds and a less efficient harvest.
Intercanopy lighting solves this by bringing light directly to where it's needed most—within the canopy. It works alongside top lighting, not in place of it. When done right, ICL can improve yield, quality, and light efficiency across the plant.
Unlike increasing overhead light intensity (which may waste energy or cause light stress at the top), ICL targets shaded zones without overexposing the upper canopy.
Benefits of intercanopy lighting for cannabis growth
Using intercanopy lighting can improve overall plant health and productivity by ensuring more consistent light coverage across all bud sites. This section explains how ICL contributes to better results in yield, structure, and profitability, especially in high-density grows.
Increases yield and flower quality
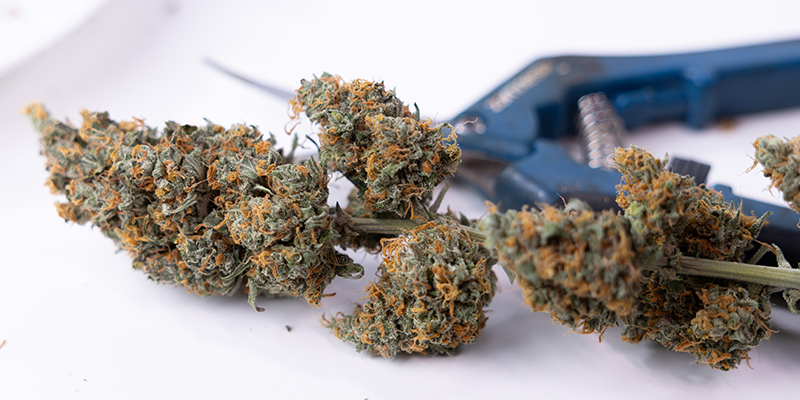
Intercanopy lighting provides better light penetration to the mid and lower canopy layers, which typically suffer from poor bud development in traditional setups. Studies on greenhouse crops show that yields can increase by up to 30% when supplemental internal lighting is used effectively (Trouwborst et al., 2010). For cannabis, growers often see more uniform bud structure across all levels of the plant.
It’s not just about quantity—buds grown with ICL tend to be denser and richer in cannabinoids. With more even light exposure, the entire plant can photosynthesize more efficiently, helping to improve potency levels and the production of terpenes, which play a key role in flavor and aroma.
Enhances plant growth and development
ICL addresses the shading issue caused by large fan leaves at the top of the canopy. By lighting the plant from the inside, you help support photosynthesis throughout the entire structure. This reduces the number of weak, small buds at the base and leads to better airflow and structure. Plants grow more evenly, with stronger lower branches and fewer “popcorn” buds.
Increases revenue from the same square yardage
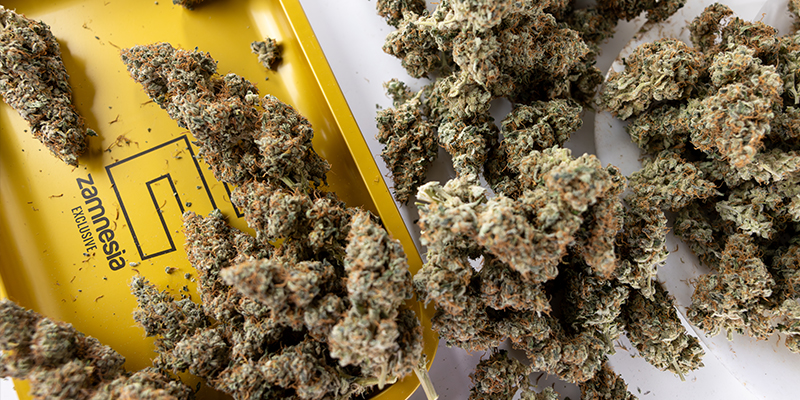
Because ICL improves light use efficiency, growers can get more out of the same grow area. This is particularly valuable for indoor or vertical farms where every square yard counts. Higher yields per cycle can lead to a 20–40% increase in revenue, simply by making better use of the existing space and plants.
Reduction in labor and plant stress
ICL can reduce the need for extensive pruning or advanced training techniques like ScrOG (screen of green). By providing consistent light throughout the canopy, plants naturally develop more balanced growth. That means less plant manipulation, lower labor costs, and less chance of stress-induced problems like hermaphroditism or reduced yield.
Best types of lights for intercanopy use
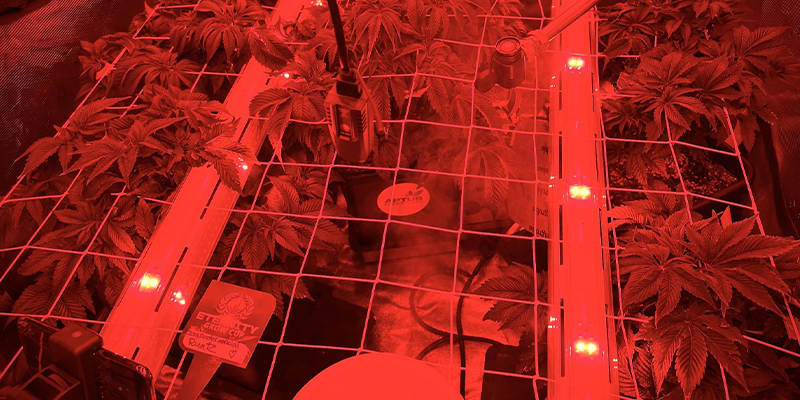
Not all grow lights are designed to be used inside a canopy. The main concerns are heat and light distribution, both of which affect plant health and safety. The best lights for intercanopy use are compact, efficient, and produce minimal heat.
When choosing your lights, always consider:
- Size and layout of the grow room
- Distance between plants and walls
- Airflow within the canopy
- Power supply limitations
- Whether lights can be dimmed or adjusted
LED grow lights
LED bars are the most common and practical choice for intercanopy lighting. They produce very little heat, which means they can be placed closer to the plant without causing burns or stress. Most LED grow bars provide a full-spectrum output, which supports all stages of cannabis growth. They’re energy-efficient, have a long lifespan, and come in various sizes to fit different grow setups.
Fluorescent tubes
Fluorescent lights, such as T5 or compact fluorescent lamps (CFLs), are another option. They run relatively cool and are often cheaper to install than LEDs. However, they produce less intense light and don’t last as long. For small-scale grows or budget-conscious growers, they can be a suitable solution. However, be aware that you may need more of them to achieve the same effect.
Low-heat HID bulbs
High-intensity discharge (HID) lights are usually associated with overhead lighting, but in some larger commercial operations, low-heat HID fixtures can be adapted for intercanopy use. These require more caution due to heat output and should only be used if the grow room has good airflow and cooling systems in place.
How to implement intercanopy lighting in your cannabis grow room
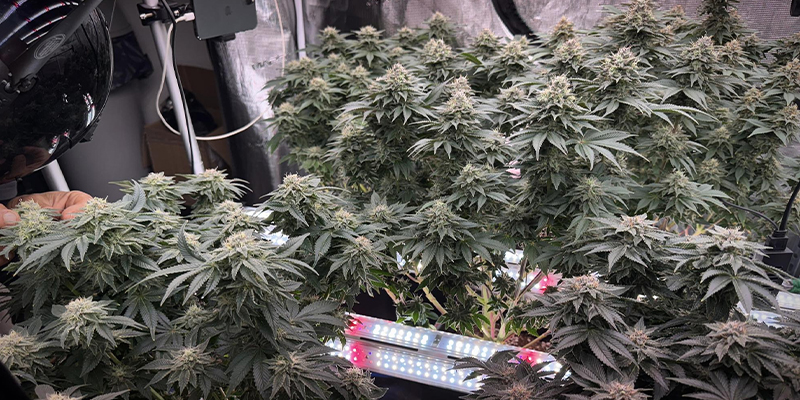
Once you've decided to use intercanopy lighting, it's important to install and manage it properly. A poor setup can cause more problems than it solves. The steps below explain how to add ICL to your grow room in a way that’s safe, effective, and adaptable to different stages of plant growth.
Step 1: Planning your lighting layout
Good planning saves time, reduces errors, and helps you get better results from your intercanopy system.
Assessing your grow room setup
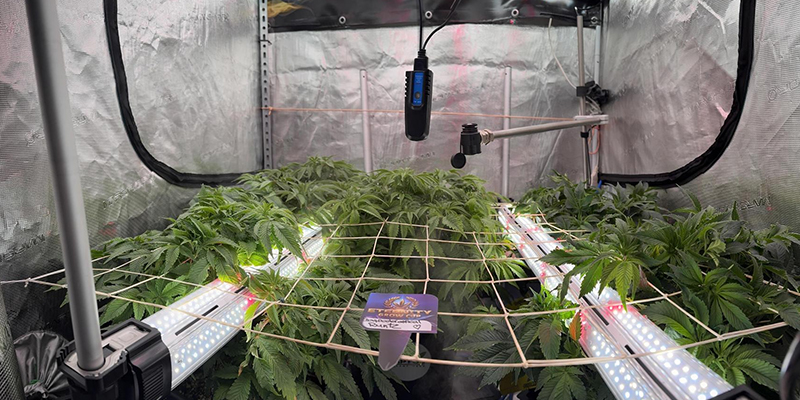
Start by measuring your grow space, including the height of your plants (or expected height) and the total width of your canopy. The number of lights needed will depend on how many plants you have, how densely they are packed, and how far the canopy extends from side to side.
Look for shadowed areas where leaves and branches receive little light. In most cannabis setups, these areas appear roughly halfway down the plant and lower. This is where your intercanopy lights should go.
Take note of any obstacles like trellis nets, poles, or irrigation lines that may affect installation. It helps to sketch a basic layout, marking out where each light will go and how they’ll connect to power.
Light positioning guidelines
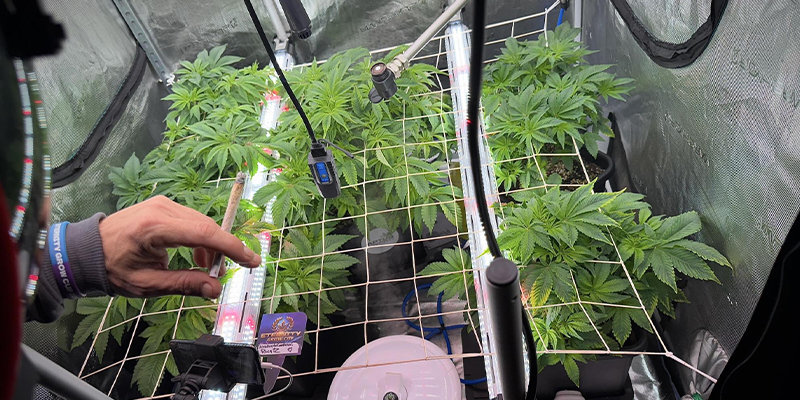
Intercanopy lights should sit vertically or at a slight upward angle at mid-canopy height. The goal is to provide side lighting that complements the overhead source.
Here are some guidelines:
- Place lights around 12–24 inches above the base of the plant.
- Avoid direct contact with leaves or stems.
- Space light bars evenly between plants to ensure full coverage.
- Angle lights slightly upwards to reduce hotspots.
- Avoid pointing lights directly at the main stem to prevent bleaching.
- In multi-tiered systems or setups with very tall plants, you can use more than one level of intercanopy lighting. In this case, make sure each level is spaced to avoid overlap or excessive light exposure.
Step 2: Installing the intercanopy lights
Once your layout is planned, it’s time to mount and connect the lights.
Required equipment
Here’s what you’ll need:
- Intercanopy light bars (LEDs or fluorescents)
- Mounting clips or brackets
- Zip ties or wire supports
- Power strips with surge protection
- Extension leads
- Plug timers or smart controllers
Step-by-step installation

- Mount the lights: Secure light bars to vertical poles, sidewalls, or the frame of your grow tent. Use brackets or clips to keep them steady. Make sure they don’t hang loose or rest against plants.
- Connect power safely: Run power cables along the frame or walls, keeping them away from wet areas. Use cable guides or zip ties to keep everything tidy. Don’t overload outlets—spread the load across multiple sockets if needed.
- Set timers: Use plug-in timers to run your intercanopy lights on the same schedule as your main grow lights. If your lights are dimmable, you can reduce intensity during early stages and increase it later.
- Test coverage: Turn on the system and check light spread across the canopy. Make small adjustments to angles or spacing to eliminate dark patches. Check for excessive brightness near sensitive leaves.
Step 3: Monitoring and adjusting
Once installed, your lights will need regular monitoring to keep them working well as the plants grow.
Observing plant response
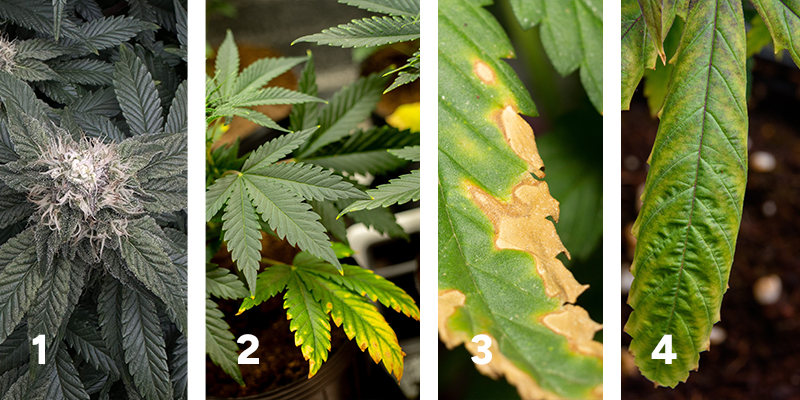
Watch your plants closely in the first few days after installation. Look for any signs of stress caused by too much light or heat, such as the following:
- Bleaching: Upper leaves turn pale or white
- Yellowing: Starts at leaf edges and moves inward
- Curling or drying: Leaves become brittle or cup downward
- Stretching: Branches move away from the light source
These signs mean the light may be too intense or too close. Make adjustments early to prevent long-term damage.
Fine-tuning your setup
As your plants grow, you’ll need to reposition the lights:
- Raise the lights to match plant height.
- Shift bars outward as the canopy expands.
- Adjust brightness using dimmers if available.
- Rotate plants regularly for even development.
- Make sure the lights aren't too close to the canopy for too long. Otherwise, bud bleaching and heat pockets can occur.
Step 4: Integrating intercanopy lighting with other growth factors
Lighting is only one part of the growing environment. For best results, it needs to be balanced with temperature, humidity, airflow, and CO₂ levels.
Optimizing environmental conditions
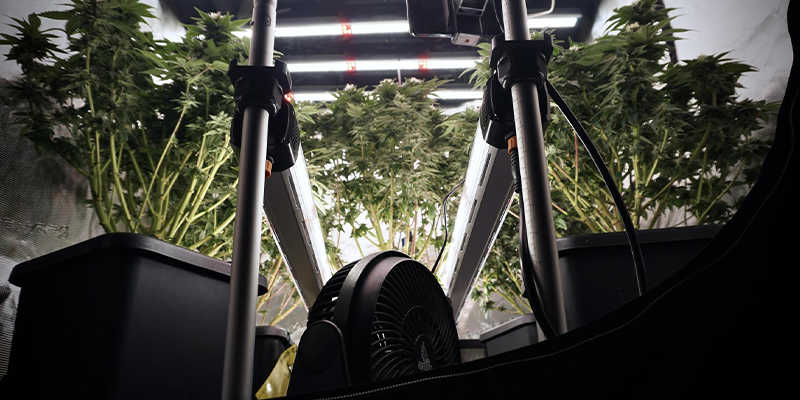
Intercanopy lighting adds more energy into the grow room, which can raise temperature and humidity. Good airflow is essential to prevent these from rising too high. High temperatures can hamper plant development and increase the risk of fires.
To avoid temperature-related problems, ensure the following:
- Fans circulate air through the whole canopy.
- Humidity is kept between 45–60%.
- Temperature stays between 71–77°F.
- Heat pockets are avoided near light bars.
- Use oscillating fans or exhaust systems to maintain steady airflow. This will help prevent heat build-up and reduce the risk of disease, heat-related growth problems, and fires.
Combining with CO₂ enrichment
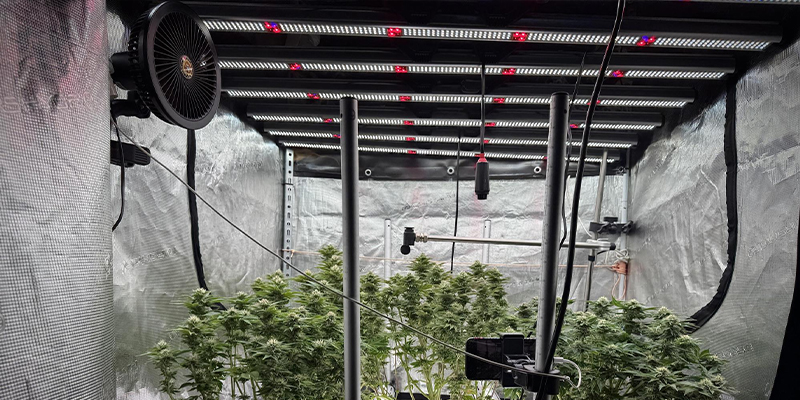
Stronger lighting increases the rate of photosynthesis, but only if CO₂ is available in sufficient quantities. If you’re running a sealed room with high light output, consider adding CO₂ enrichment.
For cannabis, consider the following:
- CO₂ levels between 800–1,200 ppm are usually effective.
- Use a CO₂ controller and regulator for consistency.
- Increase airflow to distribute CO₂ evenly.
- Avoid adding CO₂ in open rooms with poor sealing, as it won’t be effective and may be wasted.
When to use intercanopy grow lighting
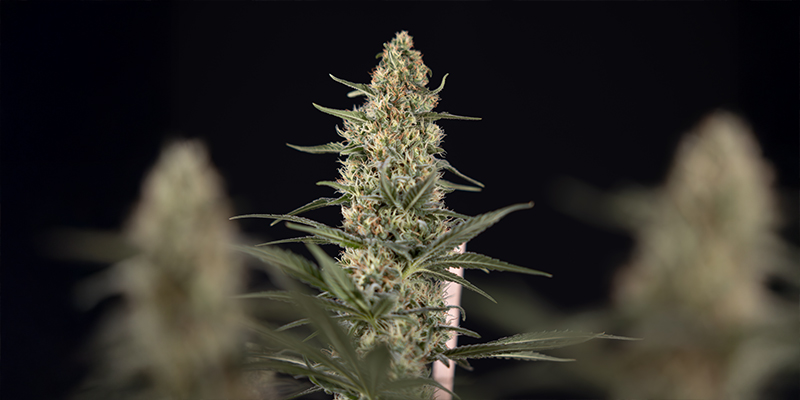
ICL isn’t suitable for seedlings and should only be introduced once the canopy starts to form. It’s most effective once your plants have developed enough foliage to shade their own lower sections.
During the vegetative growth stage
You can start using ICL once plants are well established, usually around the time they’ve reached 12–16 inches in height. At this point, lower leaves may already be losing light access. ICL supports full-plant development by boosting light penetration early on.
As the canopy starts to fill in
Light penetration to lower growth sites becomes insufficient as the canopy thickens. This is a good time to introduce or increase intercanopy lighting. Typically, this occurs when plants are 30–40% of their final size.
In the flowering stage for better bud development
During flowering, energy demand is highest. ICL helps direct light to lower buds that would otherwise struggle to develop properly. This boosts size, density, and cannabinoid levels throughout the whole plant—not just the tops.
In crowded or high-density canopies
ICL is especially useful in high-density systems, like vertical racks or closely spaced rows. In these setups, traditional lighting can’t reach inner or lower leaves. ICL ensures light reaches every layer of the plant, improving results without changing your layout.
Are there any downsides?
Intercanopy lighting can be highly effective, but it’s not without its challenges. Growers should weigh the following factors before committing to this setup.
Increased setup complexity
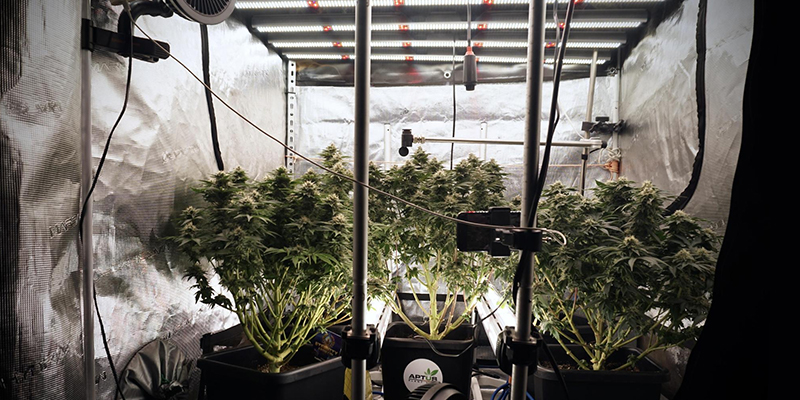
Installing intercanopy lighting requires more planning than a standard overhead system. You need to position lights at the correct height and spacing to ensure even coverage without creating hot spots. Cabling must be secured and safe, especially in high-humidity environments. Managing multiple light levels can complicate daily maintenance and increase the chances of accidental plant damage during routine work.
For growers unfamiliar with electrical layouts or spatial planning, setup can be time-consuming. However, careful planning at the start helps avoid problems later, and modular LED systems make it easier to expand or adjust as plants grow.
Higher initial investment
Adding more lights means spending more money upfront. You’ll need extra fixtures, mounts, and possibly power supply upgrades. The upfront costs may be a hurdle for smaller grows, but the payoff often comes in the form of bigger yields.
Potential heat management challenges
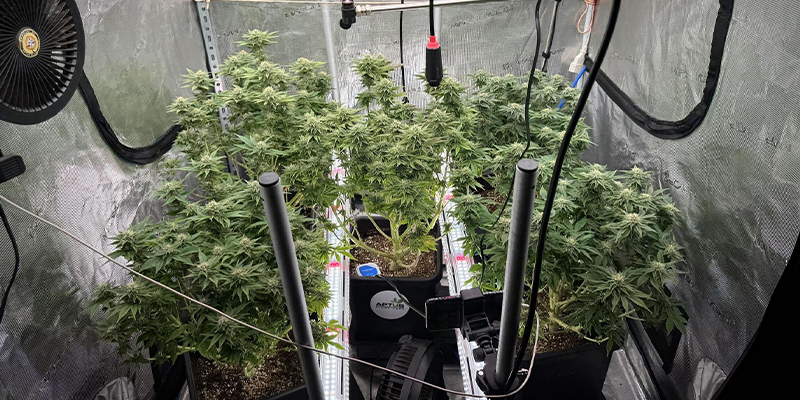
Even though LEDs produce less heat than older technologies, several lights placed inside the canopy can raise local temperatures. Without proper ventilation or spacing, heat pockets can form and affect plant health.
Risk of light stress
If lights are placed too close or used at too high an intensity, plants may suffer from light stress—especially during flowering. Symptoms include leaf curling, bleaching, or slowed growth. Proper spacing and dimmable fixtures can help prevent light stress and photobleaching.
Should you use intercanopy lighting?
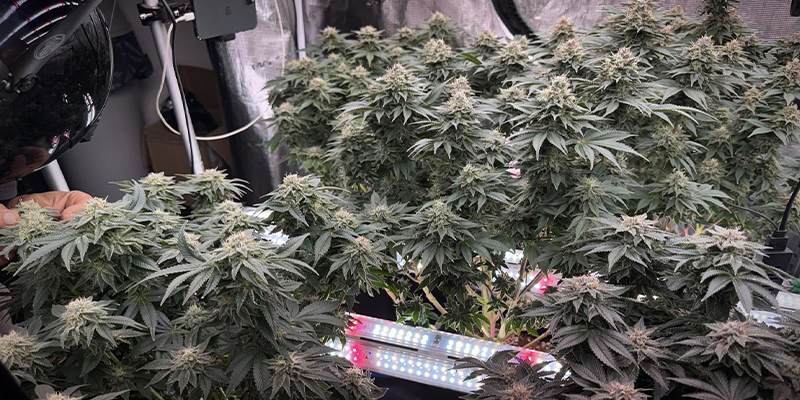
Intercanopy lighting can offer real benefits for cannabis cultivation, especially in dense or high-output setups. It enhances bud development across the entire canopy while cutting down on the need for intense plant training. Combined with modern LED tech, it allows growers to achieve greater results from the same space—safely and efficiently.
That said, ICL isn’t for everyone. It requires a bigger upfront investment and more complex installation. It also needs regular monitoring to avoid issues like heat buildup or overexposure. But if you're aiming to maximize returns from a small or stacked grow space, the gains in bud quality and volume can outweigh the downsides.
If your canopy is thick and your bottom buds are weak, ICL might be a smart addition to your setup.


 United States


