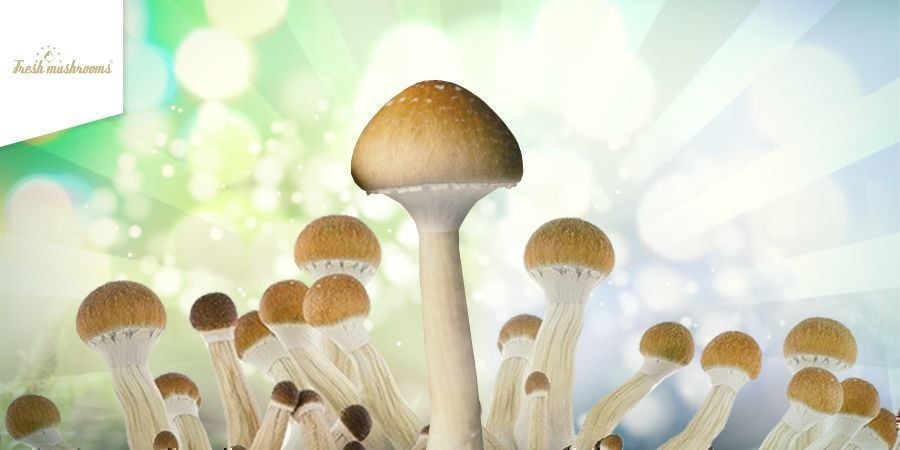
How To Grow Fresh Mushrooms Kits

Here are our simple and easy instructions for growing your mushrooms using the Fresh Mushrooms Grow Kit. Follow these instructions precisely.
Please note: You are currently on the instructions page for "Fresh Mushrooms" brand grow kit. Please be aware that "Zamnesia", "Supa Gro", and "Copelandia" grow kits each have their own instructions.
Growing with a Fresh Mushrooms Grow Kit is as easy as can be. Thanks to a completely colonised substrate, these kits are extremely low maintenance. There is no need to soak or spray them to get them going for the first flush. All you need is the right growing conditions and some patience!
Important:
-
These kits are 100% ready to grow.
-
DO NOT submerge them for a soak.
-
DO NOT spray the kits - you can just leave them in the bag without opening it.
-
DO NOT use aluminium foil when growing mushrooms; it is not necessary for these kits.
-
DO NOT breath into the bag.
-
ALWAYS wash hands before working with a grow kit.
STEP 1Take the Fresh Mushrooms box out of the cardboard box, but don’t throw the cardboard box away yet! Remove the lid from the plastic container. Wash it under running water and store it – you will need it for the next flushes. |
STEP 2Lay the grow bag down on a flat surface and slide the grow kit into it. Fold up the bag under the grow kit and make sure the micro perforation is located just above the cake and pointing upwards. Then put the whole setup in the original cardboard box to block light from the sides. By folding the bag under the grow kit, you have mainly closed the bag and you don’t have to worry about air circulation anymore. |
STEP 3Place in an area with plenty daylight that maintains 18°C-28°C. DO NOT place in direct sunlight. Although mushrooms will grow within this temperature range, 23°C is the ideal temperature you need to maintain for optimal yields. A grow kit heating mat can help achieve this if you are in a cool area. Mushrooms require indirect sunlight to grow. Note: A grow kit heating mat can support the growing process, but it won’t make up for a room temperature that’s too low. |
STEP 4When the first pins have appeared you can change the position of the grow bag and place it upright. Again there’s no need to spray. The first mushrooms should become visible after 1-3 weeks. |
STEP 5When the first caps have become clearly visible, the bag must remain slightly opened so that excess moisture can evaporate. Too much moisture can be harmful for the mushrooms. |
Fresh Mushrooms Grow Kits are able to produce their first flush quickly. Usually, the first pinheads will start to appear after 1-3 weeks. It usually takes 1 week for mushrooms to fully develop once caps have appeared.
Harvesting
Cleanliness is essential when it comes to harvesting your Fresh Mushrooms Grow Kit. Be sure to wash hands and forearms thoroughly with disinfecting soap, and wear sterile gloves when it comes to harvest. It is very important that you harvest your mushrooms before the veils under the caps of the mushrooms tear. If you don’t harvest them before this moment, the kit most likely won’t produce any further flushes!
Grab the base of the stalk, and with a gentle motion, twist and pull the mushroom away. It is important to twist and not simply pull, as doing so may damage the mycelium, negatively impacting the next flush. After picking, the stems may turn bluish. This is called ‘bruising’ and it’s nothing to worry about. Actually, it is evidence of the potency of the Flesh of the Gods!
Storing your grow kit
As this is a fresh product, it is highly recommended you start growing as soon as you receive your kit. We do not recommend storing your kit unless you have no other choice. A grow kit may remain viable if stored in a fridge at 3-5°C. It may last up to 4 weeks here – but there is no guarantee. Be sure to put the kit in a sealed, clean plastic bag to minimise the risk of contamination.
STEP 6Additional harvestsThese kits do not just produce one harvest of mushrooms. It is possible to obtain multiple flushes. To do so, fill the tub with cold tap water after you have finished your first harvest – this is known as cold-shock and reinvigorates the mycelium. Place the lid back on the tub (you have hopefully kept it as we instructed). Now leave the tub for 12 hours to soak. After 12 hours, open a corner of the lid and carefully drain out excess water. Don’t worry if there’s almost no water left. This is a natural product and the amount of excess water may vary per kit. Now all you need to do is clean and store the lid and continue from step 2 again. You should be well on your way to another harvest of bountiful magic goodness! This process can be repeated multiple times. |


 United States


